This document is a guide for how to update your Time Zone and Language settings in WebEd.
Demo
If you don't have an administrator access, you won't be able to edit the site's content. Kindly have your consultant or site administrator create one for you.
Here's video tutorial on Logging In to WebEd or on the WebEd Training Video Tutorials
Step by step guide
Below are step by step guide to update your time zone and language settings.
Login
STEP-BY-STEP
-
1Login to your website

-
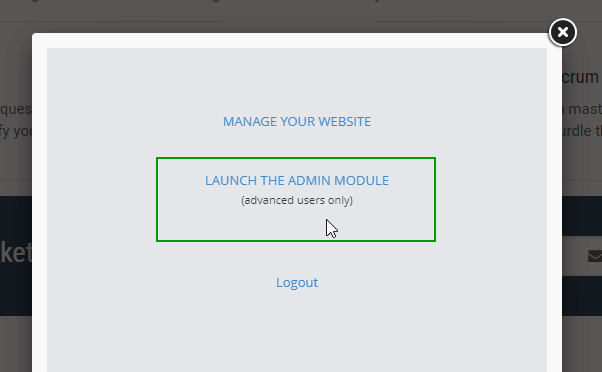
2Click "Launch the Admin Module" (if exists, otherwise, you will be taken to the Admin Module straight away)
Change Time zone via the top navigation
This is for when you want to update your Time Zone and Language.
Change Time zone and Language via the User Management module
This is for when you want to update the Time Zone and Language for other users as well as yourself.
STEP-BY-STEP
-
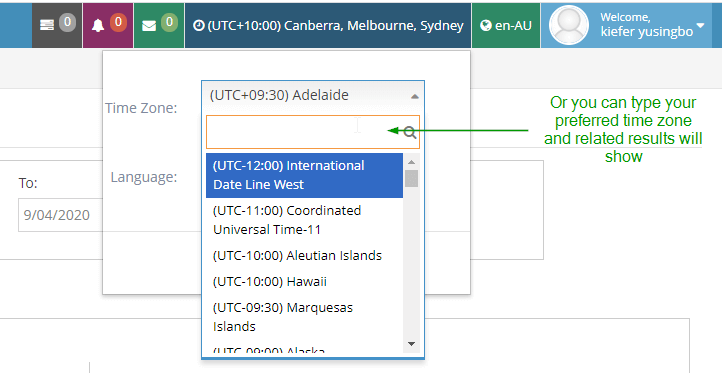
1Once logged in, you can see on the top navigation, on the right corner, the current time zone is displayed

-
2Click on it, and select which time zone you prefer on the dropdown. Or type in and related results will show
-
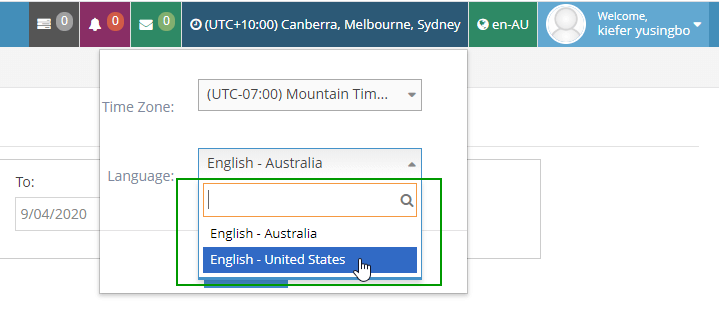
3You can also change the Language
-
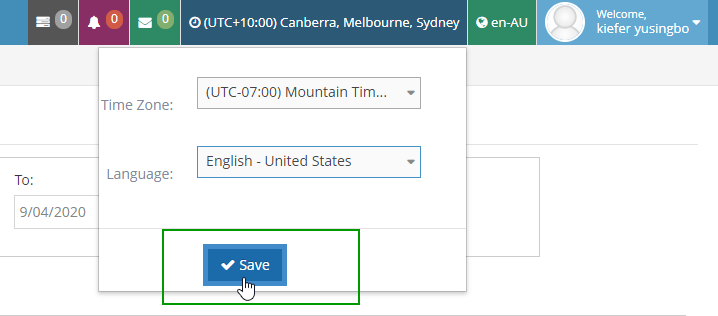
4After making the changes, click the Save button
-
5A notification pops up that you have change your settings successfully
Change the Time Zone and Language via Site Settings
This is for changing the default Time Zone and Language for all users.
STEP-BY-STEP
-
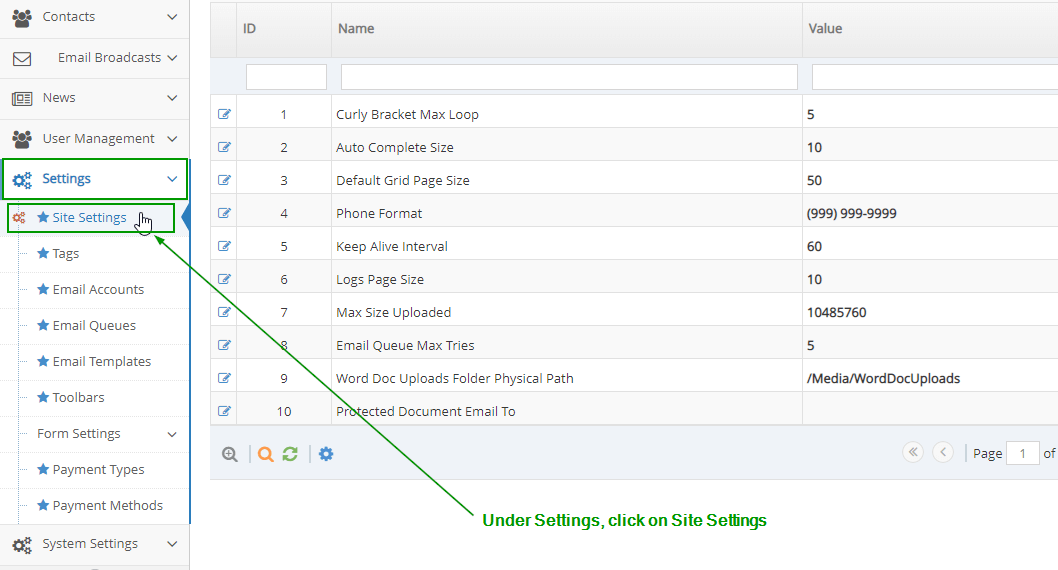
1On the left navigation, click on Settings.
-
2Under Settings, click Site Settings.
-
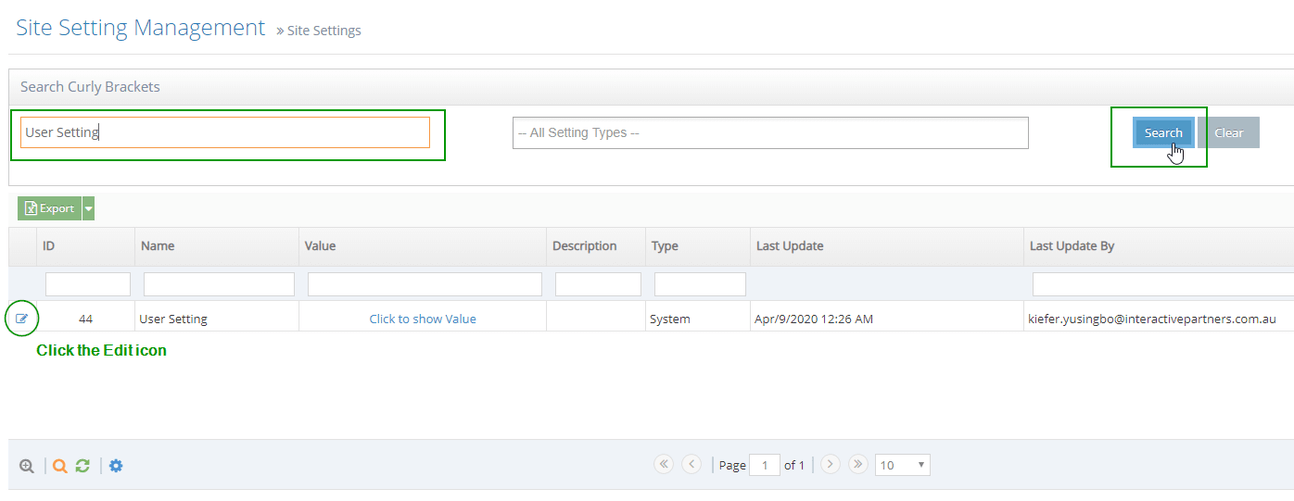
3On the Keyword, type in “User Setting”.
-
4Click on the Edit icon to the left.
-
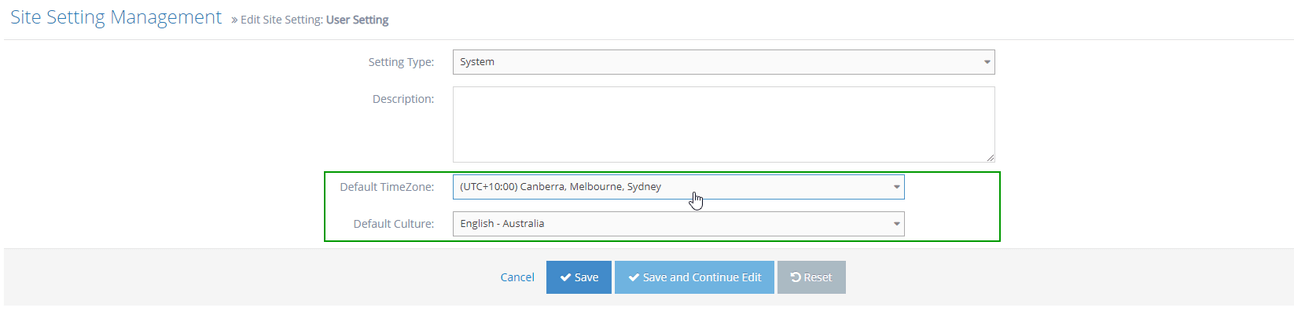
5Update the Time Zone and Language as you prefer.
-
6Click Save to save your changes and go back to Site Settings, or Save and Continue to save your changes and stay on the page.
Congratulations, now you have successfully updated your time zone and language settings.