What is the Social Media Share Button Module
Consist of different kinds of social media buttons that can be easily added on the WebEd9 pages or page template using the curly bracket.
This was the social media pushed in WebEd7.
Why would you use Social Media Share Button?
To encourage the users or visitors to share the page/content on their social media accounts.
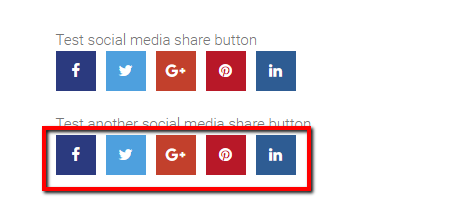
Example of Social Media Share Button, see it in action
Social media share buttons are added to the page
How to implement add social media icons in page content
STEP-BY-STEP
-
1Log in as an administrator and go to the Admin Dashboard.
Learn how to log in here → -
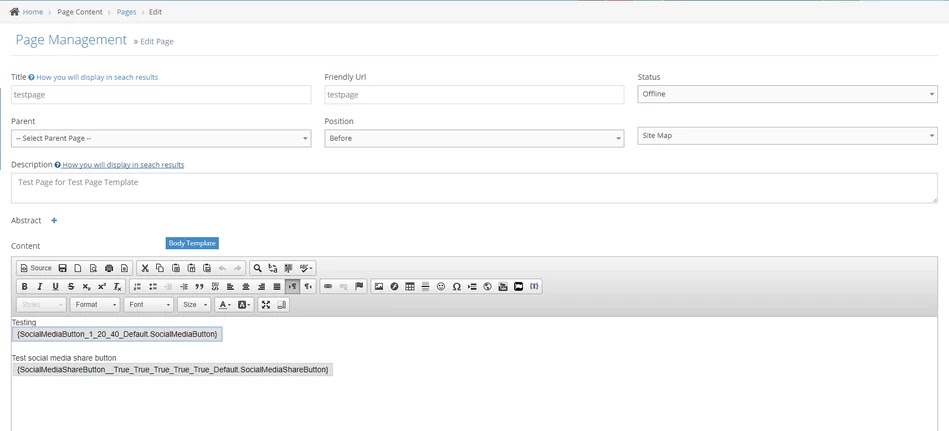
2Create or Edit any page.
-
3In the editor, click on {} icon and click Configure

-
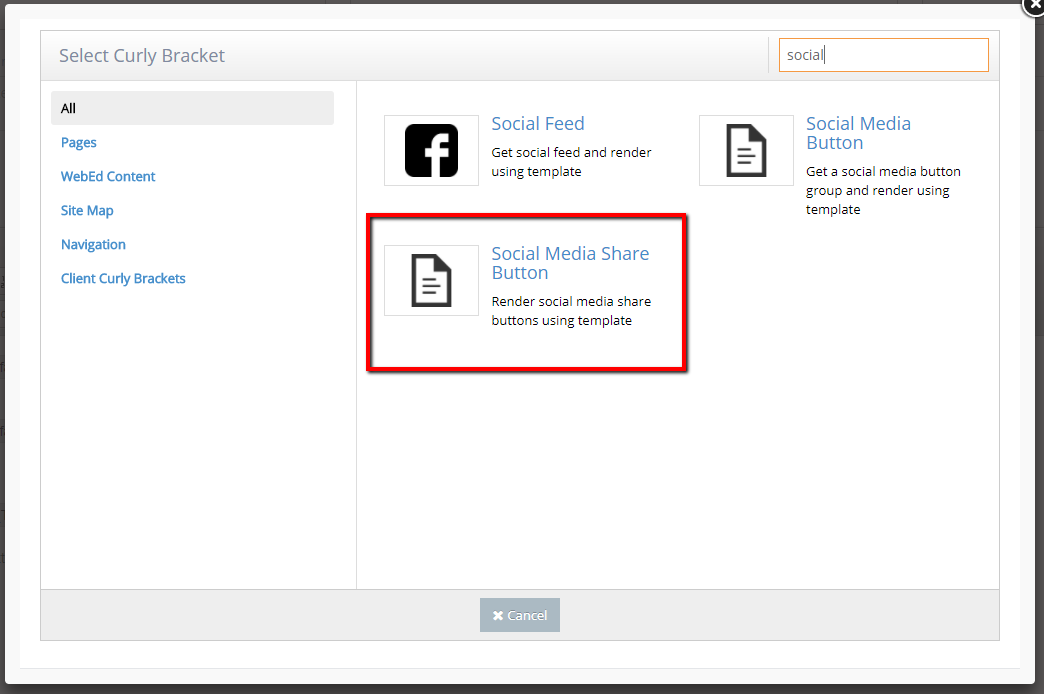
4When selecting the curly bracket, select Social Media Share Button instead of Social Media Button
-
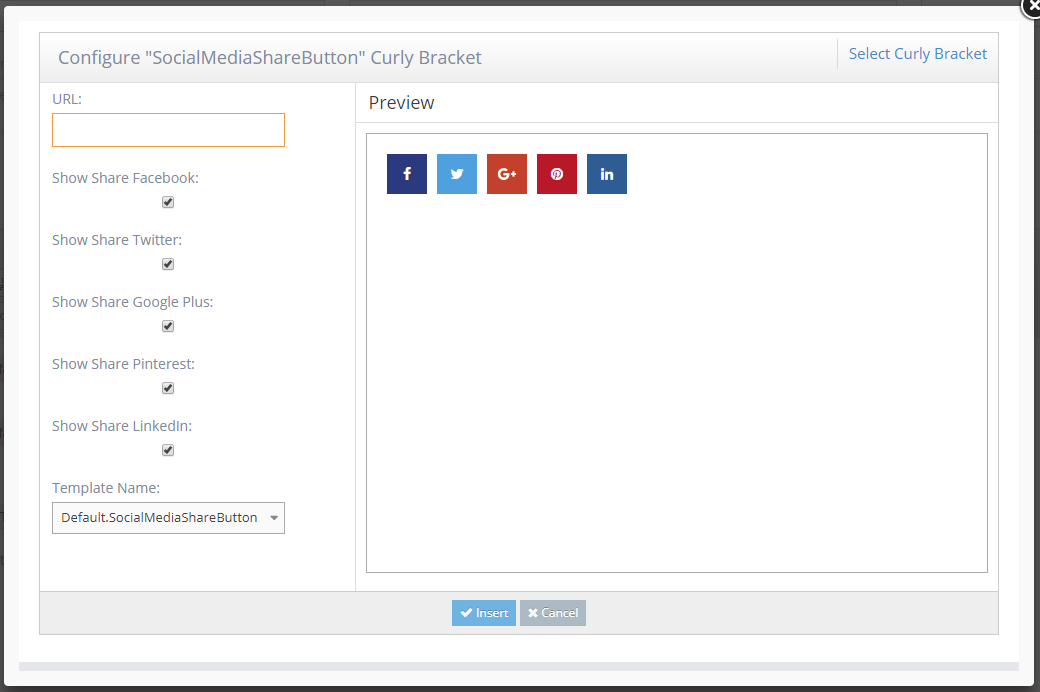
5The configuration for the curly bracket will show up. If you leave the URL empty, it will share the link to the current page. Toggle check buttons to hide or show the buttons that you want.
-
6Click the Insert button and click OK from the configuration popup
-
7Save the page and refresh.

Settings for Social Media Buttons
STEP-BY-STEP
-
1Log in as an administrator and go to the Admin Dashboard.
Learn how to log in here → -
2Go to admin > Module > Social Media buttons > Social Media Button Group
-
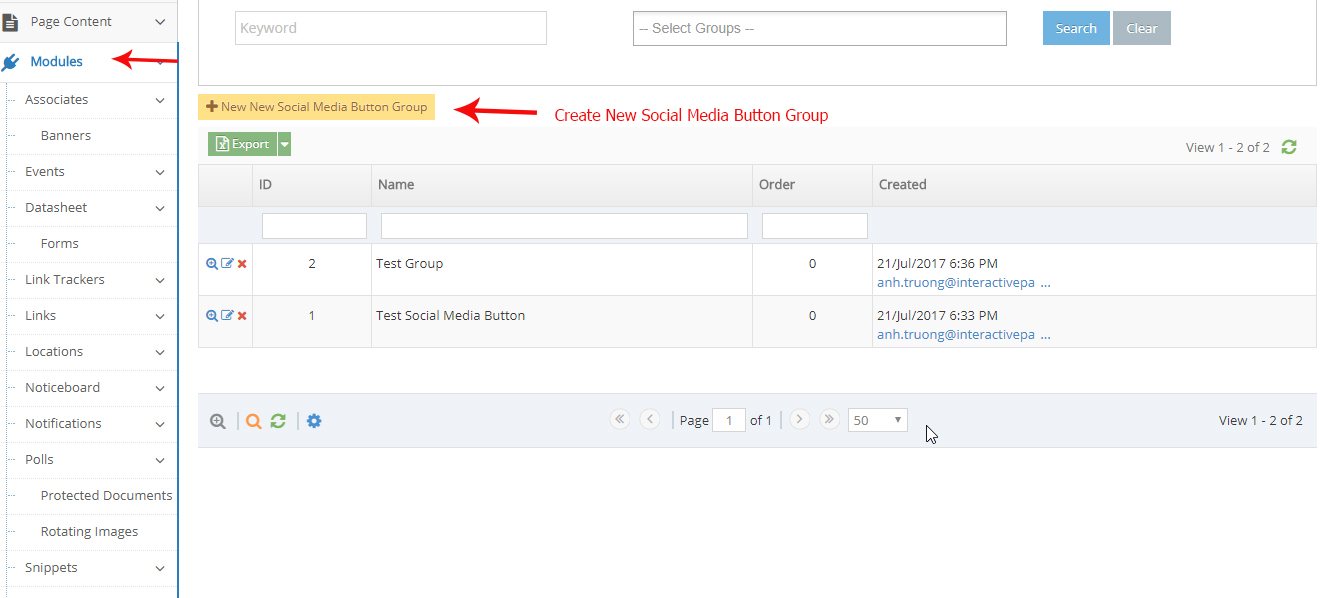
3Click the New Social Media button group
-
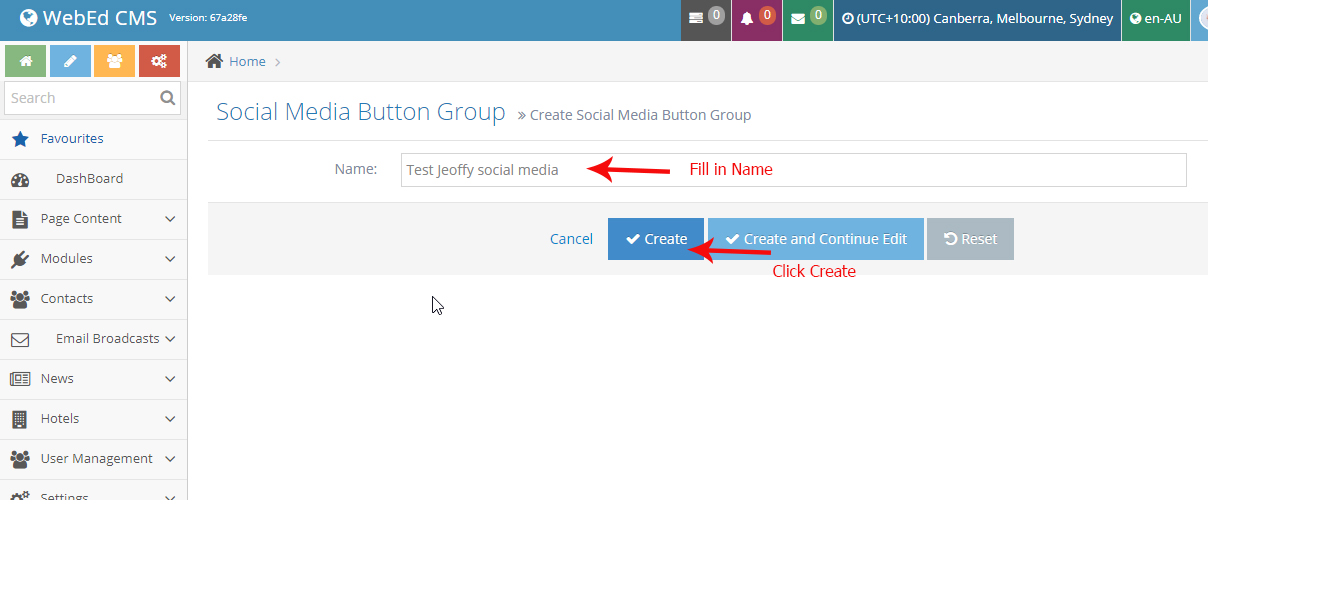
4Enter the name field of the social media button group and click create
-
5Next is to create a social media button list
-
6Go to admin > Module > Social Media buttons > Social Media Button Listing
-
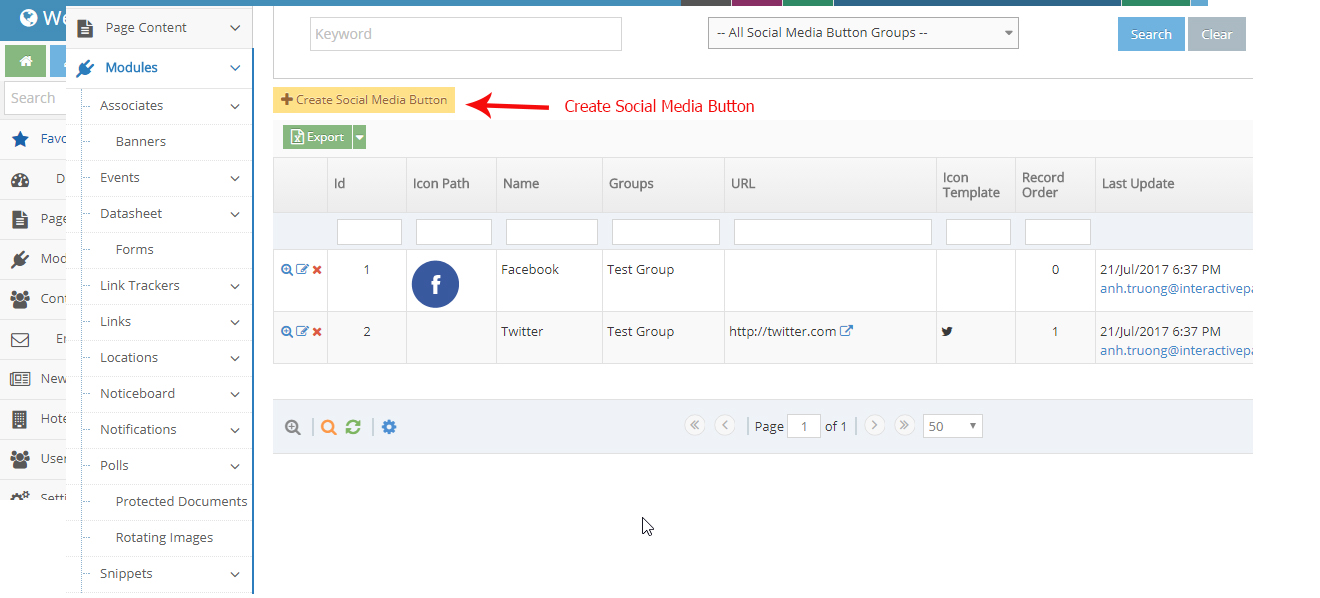
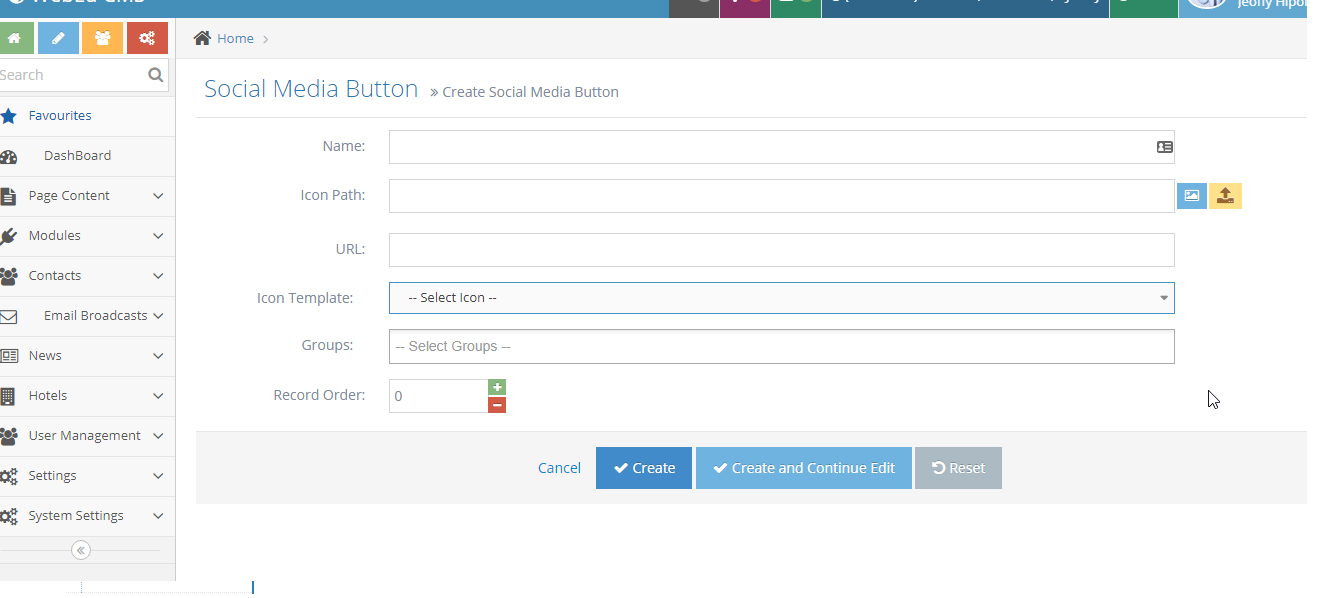
7Click Create New Social Media Button
-
8Enter the necessary fields:
- Name- the name of the social media
- Icon Path - The icon/image URL path for your social media icons
- URL - the URL of your social media account
- Icon Template - Select the default icon template for the specific social media account
- Groups - Select a group name you've recently added
- Record order - Set the order for the display of this button
- Click Create
-
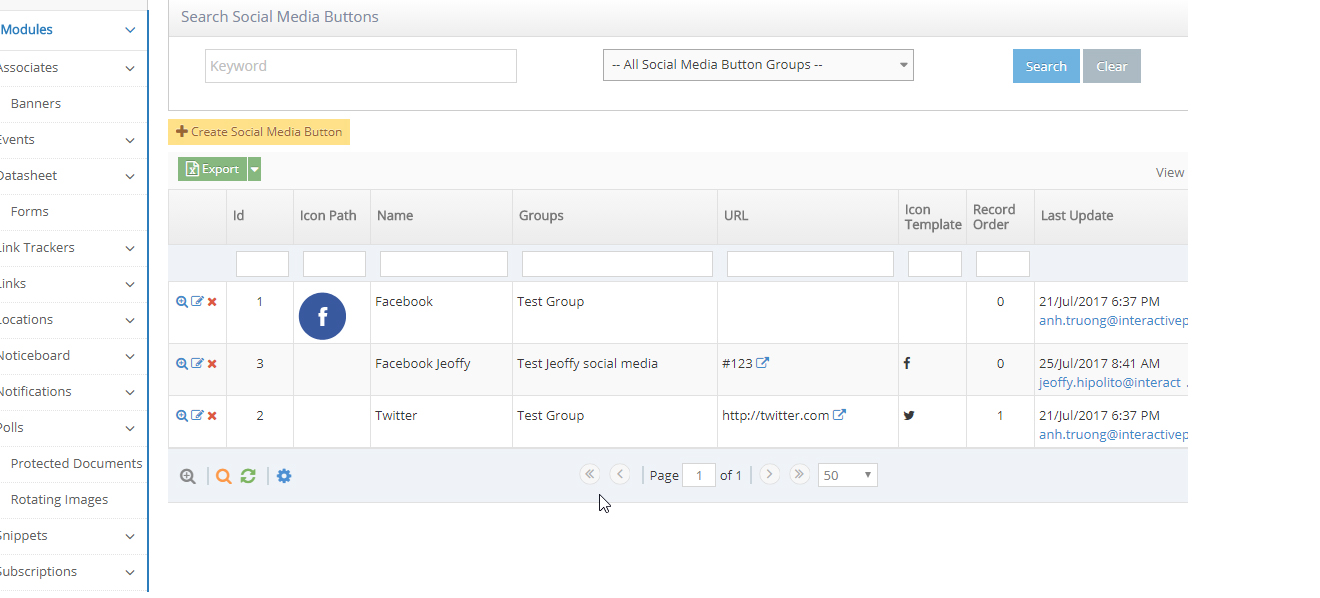
9See the sample listing of social media
