- What is a Vehicle Request more info Form?
- What does it control?
- How to Edit the Vehicle Request More Info Form
- Editing the Auto Response Template for the Vehicle Listing Enquiry form
Editing the Vehicle Request More Info Form
What is a Vehicle Request more info Form?
- The form "Request More Info" is displayed on the vehicle listings.
- It allows anyone interested in a vehicle to send a request to the site owner
- The data is saved in contact and tagged with the product of interest for the vehicle make, model
What does it control?
- Request More Info Success Message - The text displayed to the end user after they submit
- Request More Info Email Address - The Email Address to which the request will be sent. This should be set to sales@ or enquiries@
- You can enter multiple email addresses separated by a semi-colon (;)
- Always leave the email address [email protected] in the email to list so Interactive Partners support staff can troubleshoot any issues
- The Auto Response Template. This is the email the user will receive after they submit a request
- The Notify Template. This is the email sent to addresses listed in the "Request More Info Email Address"
How to Edit the Vehicle Request More Info Form
STEP-BY-STEP
-
1Log in as an administrator and go to the Admin Dashboard.
Learn how to log in here → -
2Go to the admin area
-
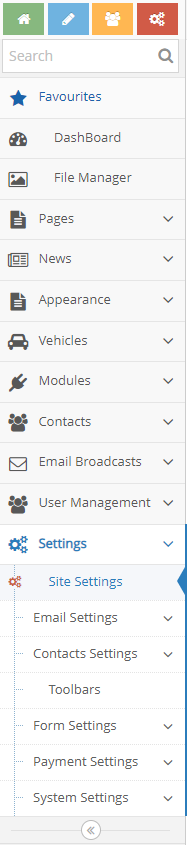
3Locate Settings on the left panel then click on Site Settings
-
4Or use the search box at the top of the admin menu to search "site settings"
-
5A list of Site Settings should appear
-
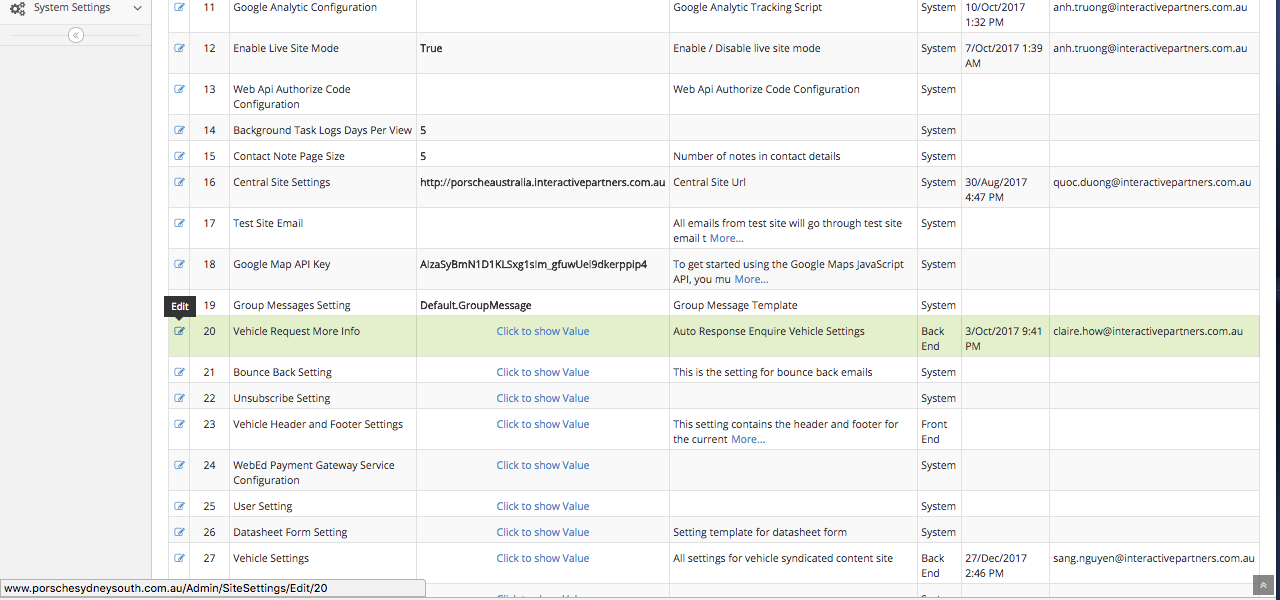
6Either scroll down and look for Vehicle Request More Info or type "Vehicle Request More Info" in the name text box at the top of the listing
-
7Once you've located it, click on the Edit icon
-
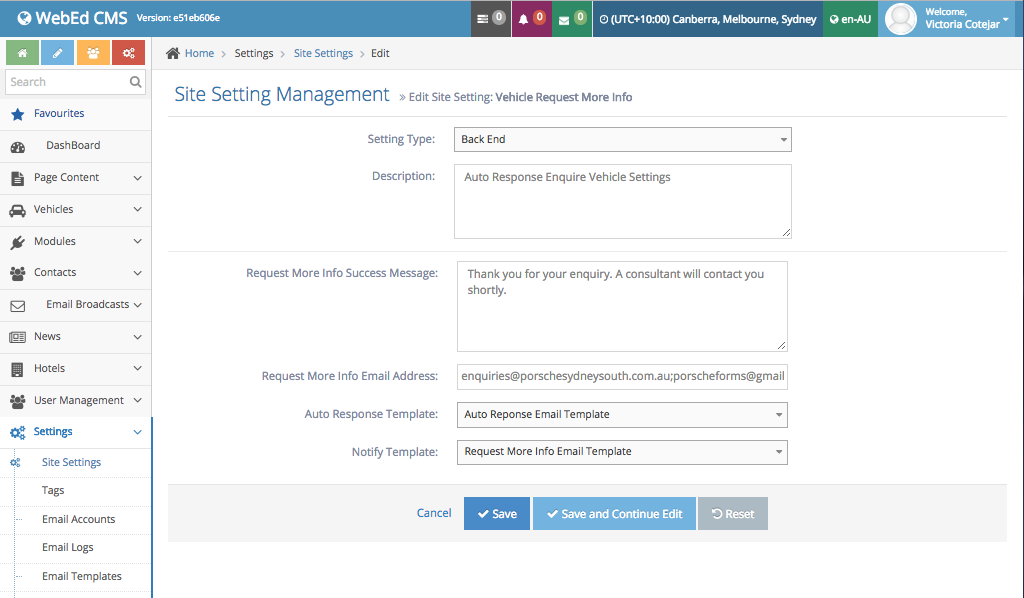
8After clicking on Edit, the setting for the form should appear:
- Description: the description of the setting
- Request More Info Success Message: This text will display after the form submit
- Request More Info Email Address: List email addresses will receive form information, each email separate by comma or semicolon
-
9Edit the email address it's coming from.
- And choose which Email Template will be sent to the client
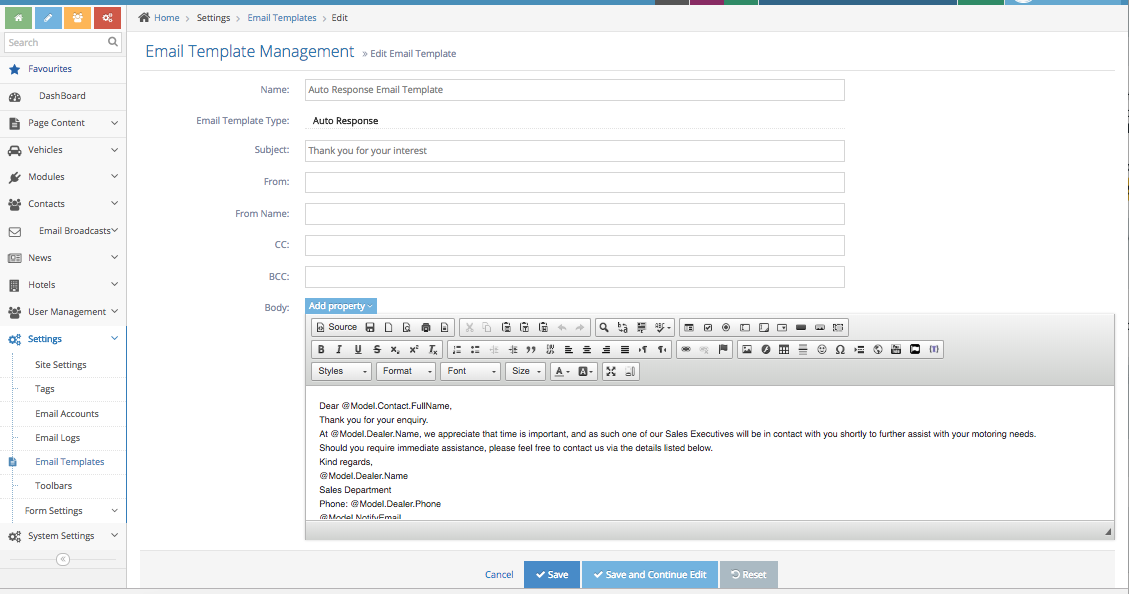
Editing the Auto Response Template for the Vehicle Listing Enquiry form
STEP-BY-STEP
-
1To Edit the Auto Response Template (or other templates shown in the drop-down)

-
2Look for and click on Email Templates on the left menu panel under Settings
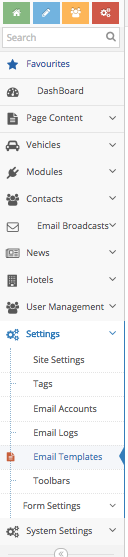
-
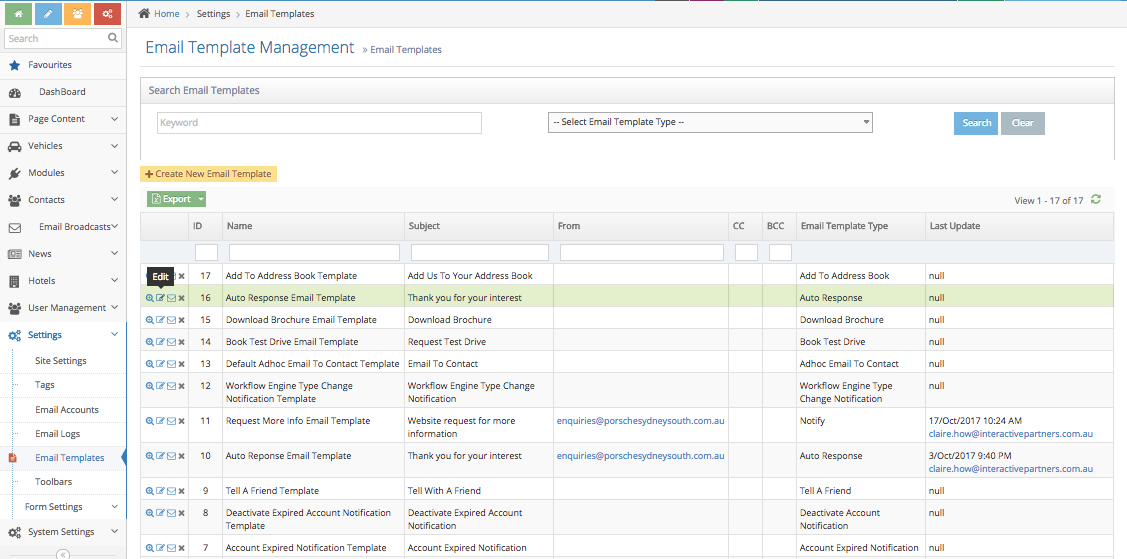
3A list of Templates should show, Scroll to look for Auto Response Email Template (Or the template you wish to edit)
-
4Then click on the Edit icon
-
5The Template form should show - where you can edit the template body (Auto Response)
-
6Once the template has been finished, click on Save