Website Styles Overview
When a user or designer needs to create new page and reference style document for build a content. This module helps every designers to control the font formatting, text and page content. If a designer wants to modify their site designs to look how they want them to look then it's the designers opportunity to use this helpful module.
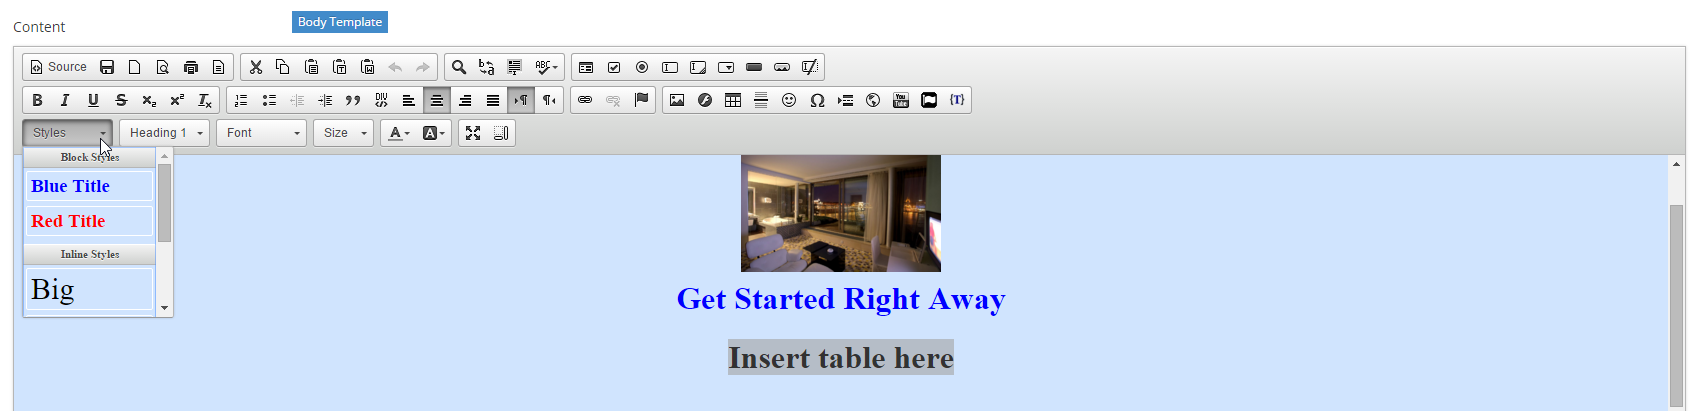
Styles Sheet
- The Style Sheet sets the look and feel of your website and was determined when your website was originally designed and built - and is generally written from a designers specifications.
- To keep the Styles consistent across your site, the Editor is set to apply the Styles that you need to keep uniform right across your site when add or changing your web pages, - i.e, Style - default settings - are set via your Style Sheet;
- Your "Style Sheet" is set up so that all content entered in the Editor picks up the pre-determined default Styles (e.g..,font type, font size, attributes colour and underline, etc.)
Clearing Styles
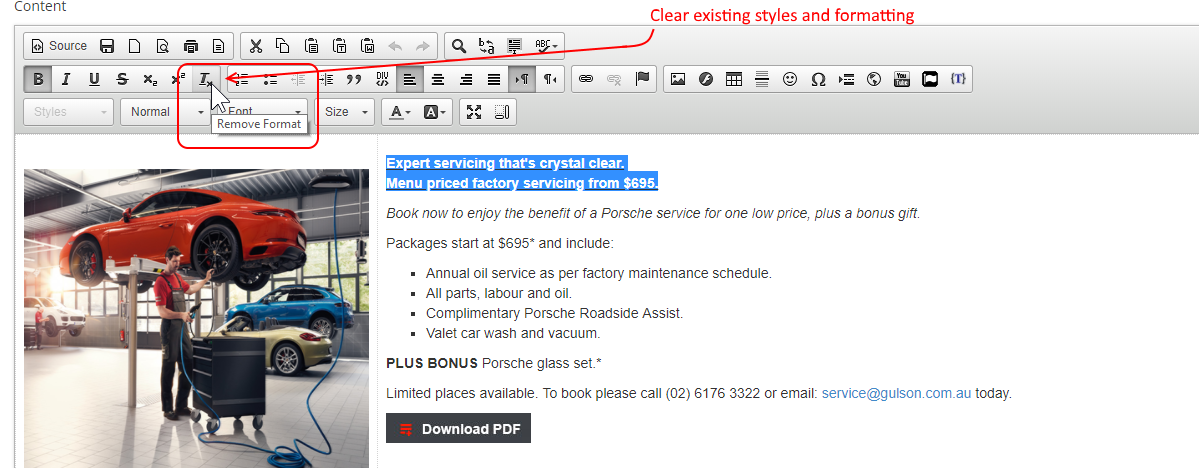
It is a good practise to clear styles and start over to ensure you have exactly the formatting required.
At times content can become confused with multiple conflicting styles
STEP-BY-STEP
-
1To clear the style and start over, just select the text
-
2
Then select the clear styles icon
-
3All styles on the selected text will be rest back to the default site style
Heading Styles and Search Enginie Optimisation
- Headings on your page are very important as they summarise the content that is on that page - as well as guiding a user through the content at a quick glance.
- Search engines realise the importance of headings on a page and look for them when indexing and ranking your site.
- This is, part of the work that Search Engine Optimisationencompasses,is making sure that heading tags are applied properly in your page content.
- The tags that need to be utilised are the Heading 1 - Heading 6 tags.
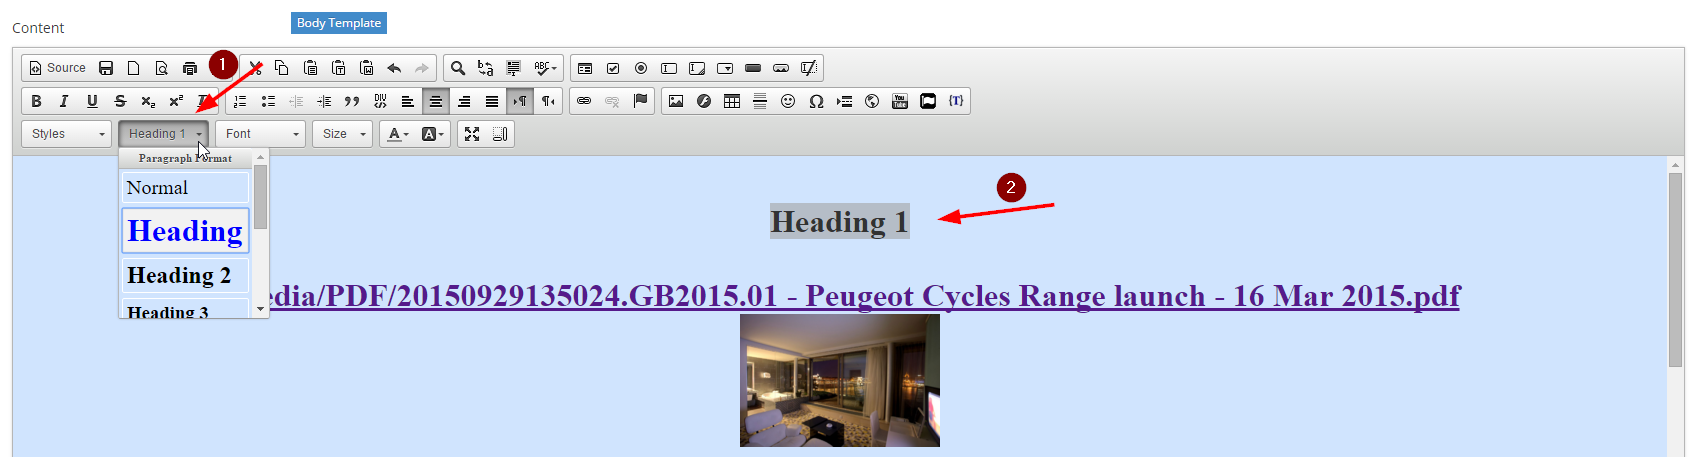
- Heading Styles 1, 2, 3, 4, 5 or 6 -should be applied ONLYthrough the "Paragraph Drop Down Selector" (See Arrow 1 below)
- NB.Please doNOT use the "Style Editor Tool"for the purpose of adding Headings 1 thru 6 - these must be applied using the "Paragraph Drop Down Selector ONLY for purposes of Search Engine Optimisation