- What is a snippet?
- Why you would use a snippet?
- How to create a new Snippet
- How to edit/view details/delete a snippet
- How to add display Snippet curly bracket to page
How to add display Snippet curly bracket to page
STEP-BY-STEP
-
1Log in as an administrator and go to the Admin Dashboard.
Learn how to log in here → -
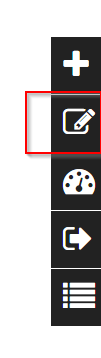
2Select a page that you want to show the snippet and click Edit
-
3In the editor, click the Curly Bracket button to open the configuration curly brackets

-
4Click the Configure button in the popup
-
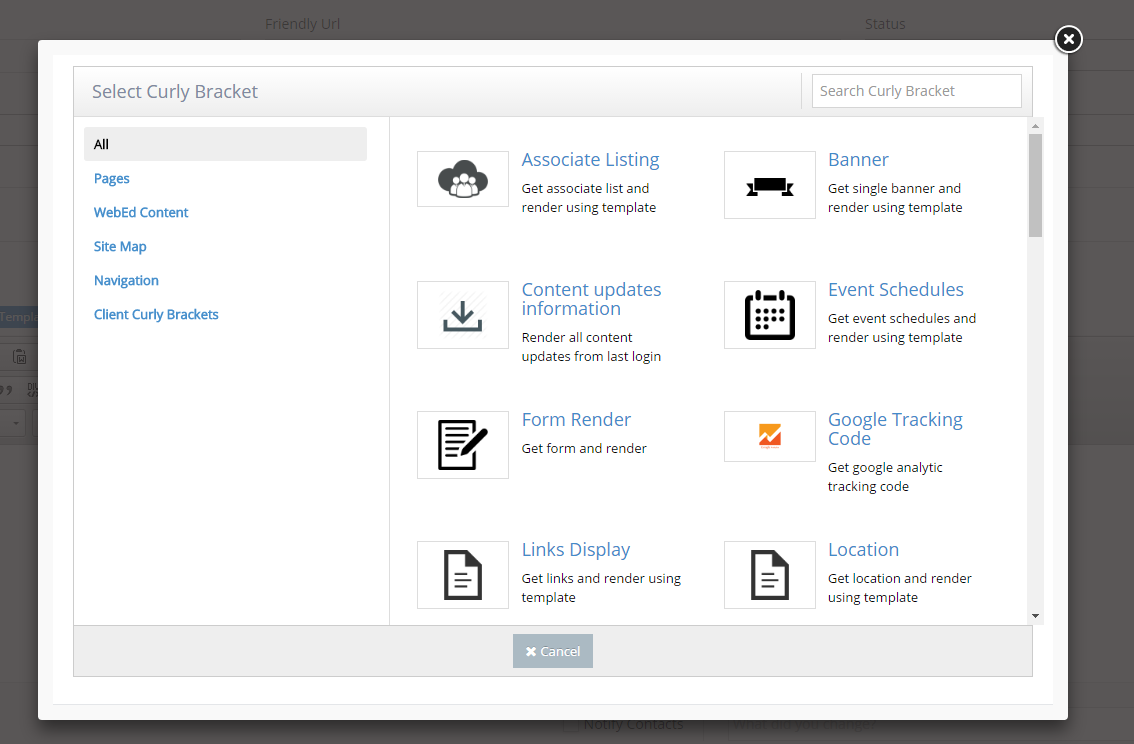
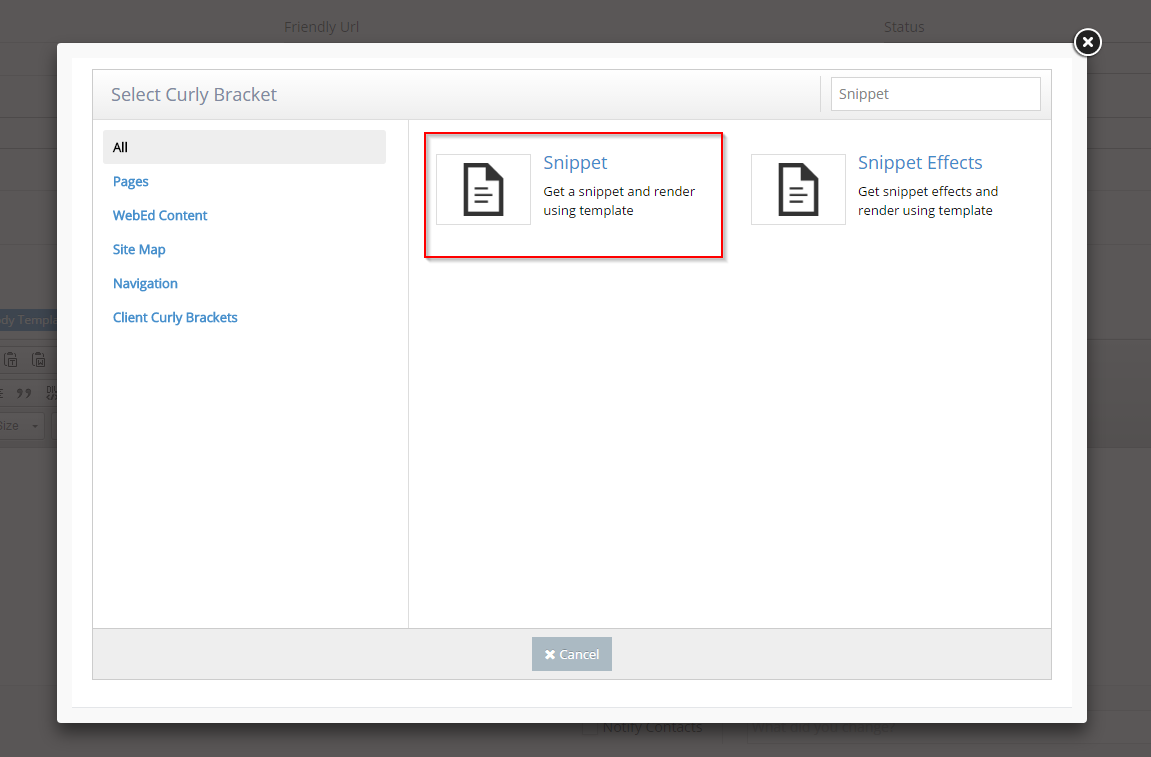
5Search for Snippet on the popup and click on the Snippet item in the resulting search
-
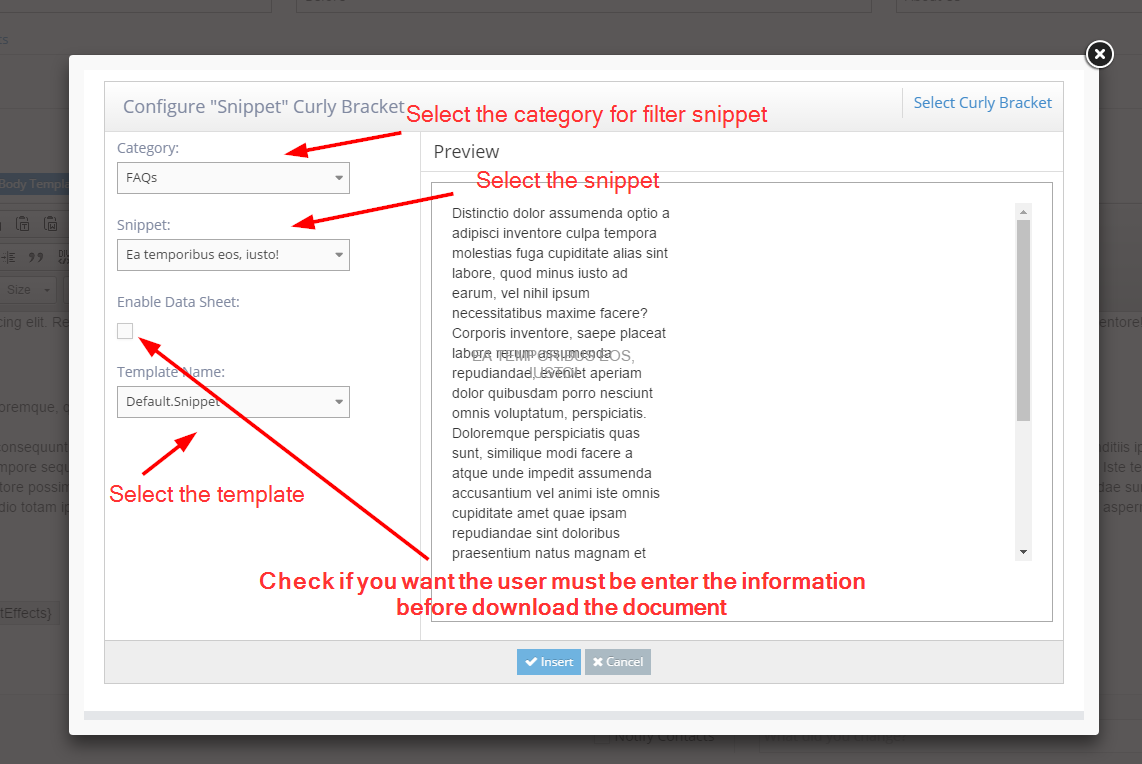
6The configuration popup will display. Setup configuration options on the left side and review the UI (User Interface) on the right side
- Category - select the category from the dropdown to filter the snippet
- Snippet - select the name of the snippet you want to display
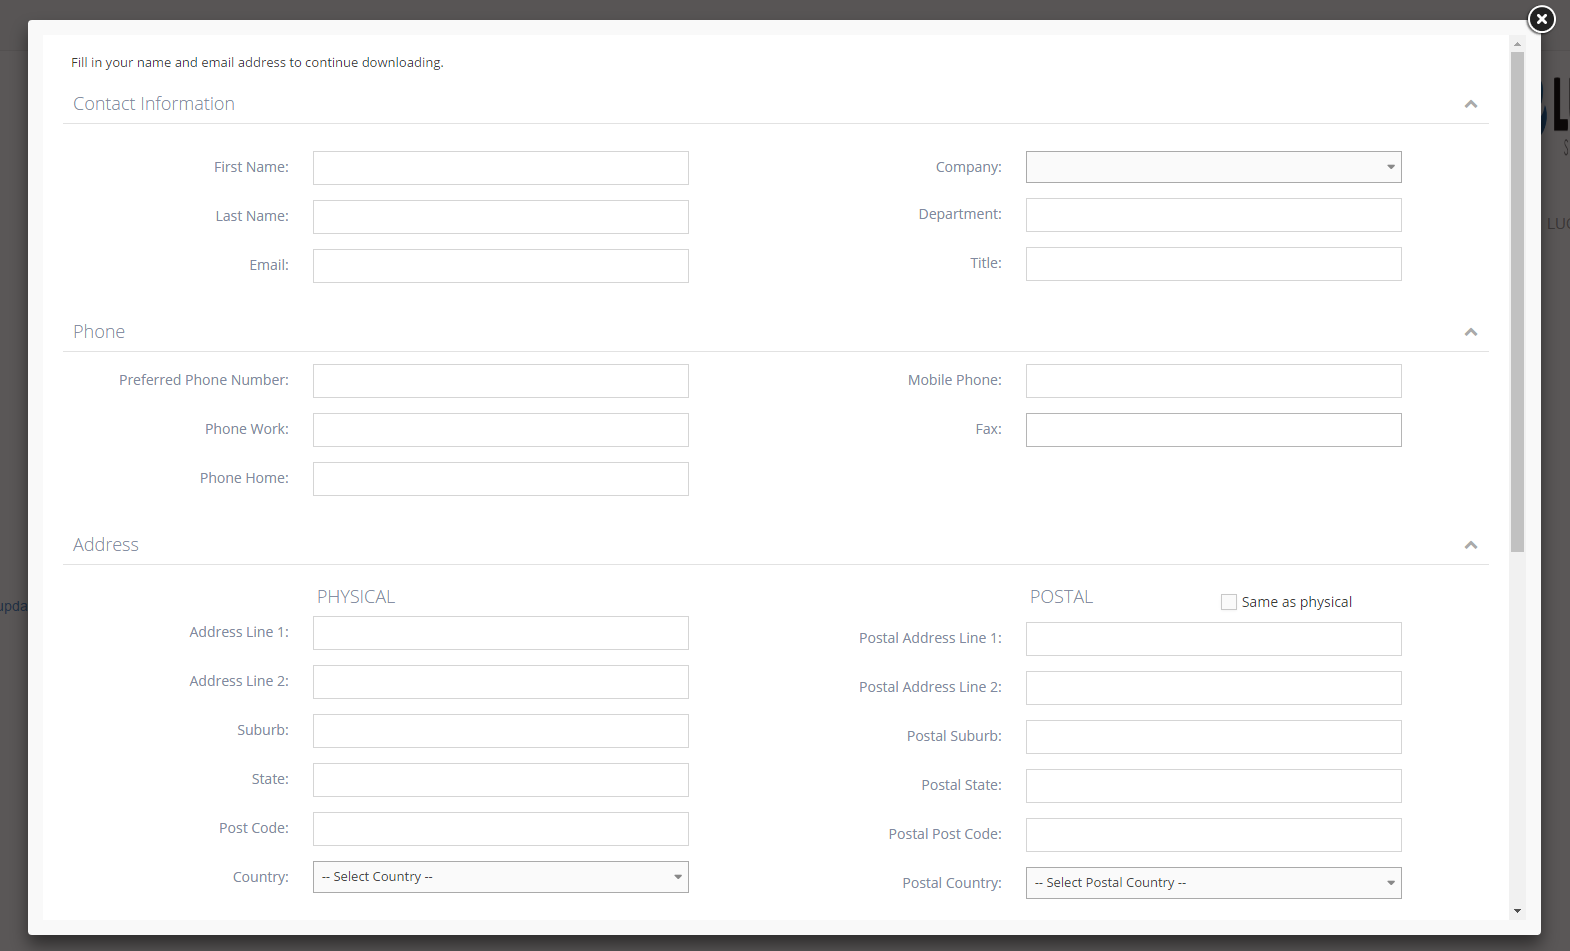
- Enable Data Sheet - a checkbox option where the user must enter first their information or details before they can download any document on the page.
- Template Name - select a template name from the select dropdown.
-
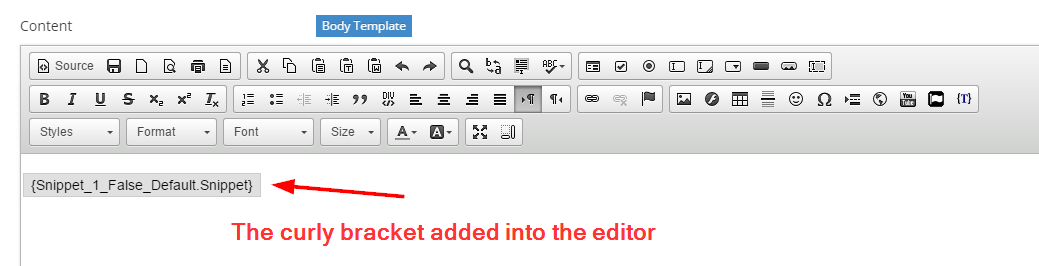
7Click the Insert button to save. Click the OK button in the next popup to complete.
-
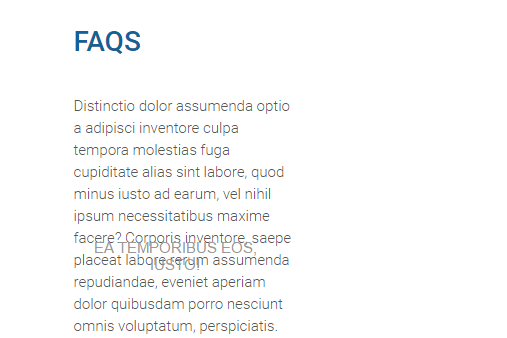
8Click Update And Close. Then you can see the snippet on the page
-
9Click on the snippet (has the document and enable data sheet from)