Content Editor Overview
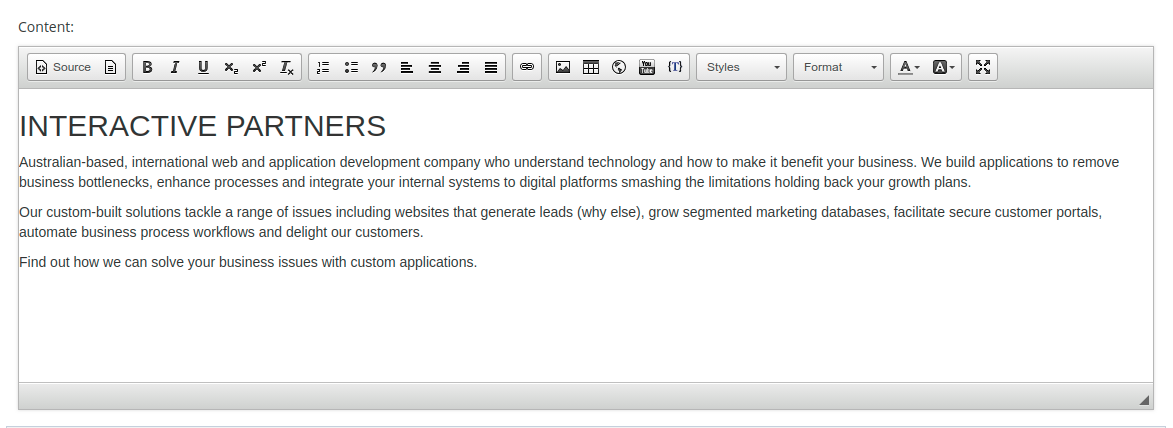
The WebEd Content Editor is a WYSIWYG-rich text editor which enables writing content directly inside of web pages or online applications.
Toolbar Icons
| Icon | Description |
|---|---|
 |
View/Edit Source (allows you to view and edit the source code -normally used by advanced users familiar with HTML) |
| Save content | |
| Clear content | |
| Preview page content | |
| Print the page content | |
| Insert page template into content | |
| Cut (to cut text or images) | |
| Copy (to copy text or images) | |
| Paste (to paste copied text or images) | |
| Paste from Word (removes Word formatting and allows you to paste directly from a word document). | |
| Paste plain text | |
| Undo (un-does the last command) | |
| Redo (re-does the previous command) | |
| Find text in the content | |
| Replace text in the content | |
| Select All (text and image) in content | |
| Spell checker in content | |
| Bold (bolds selected text) | |
| Italic (italics selected text) | |
| Underline (underlines selected text) | |
| Strikethrough (strike through selected text) | |
| Subscript (subscript selected text) | |
| Super Script (superscript selected text) | |
| Remove Format (remove format selected text) |
Paragraph Formatting
| Icon | Description |
|---|---|
| Numbering (creates numbered sentences & paragraphs) | |
| Bullets (creates bulleted sentences & paragraphs) | |
| Outdent (creates an indent on the right) | |
| Indent (creates an indent on the left) | |
| Block quote (Block quote selected paragraph) | |
| Insert new DIV into content | |
| Justify Left (lines text up on the left) | |
| Justify Centre (centres selected text) | |
| Justify Right (lines text up on the right) | |
| Justify Full (spreads text evenly over the line or paragraph of selected text) | |
| Jump the white space tab to the right | |
| Jump the white space tab to the left | |
| Set language for selected text |
Insert media into content
| Icon | Description |
|---|---|
| Insert font awesome (reference site: Font-Awesome) | |
| Insert an image into the content | |
| Insert flash into content | |
| Insert table into content | |
| Insert horizontal line into content | |
| Insert icon smiley into content | |
| Insert a special character into content | |
| Insert page break to printing | |
| Insert iframe into content | |
| Embed Youtube videos into content | |
| Insert curly bracket into content (1) |
Other Features of the Toolbar
| Icon | Description |
|---|---|
| Add style for image/text...etc... selected | |
| Heading format for selected text | |
| Fonts format for selected text | |
| Set fonts size for selected text | |
| Foreground Colour (allows you to choose or create a foreground colour or text colour) | |
| Background Colour (allows you to choose or create a background colour) | |
| Toggle full-screen editor | |
| Absolute Positioning. (allow you to absolutely position page elements) | |
| Get editor version information |
The Default Toolbar
The Content Editor's Default toolbar contains icons for the most commonly used actions available to the user.

- Source - used to switch to Source code view
- Bold - used to make highlighted text bolded
- Italic - used to make highlighted text italicized
- Underline - used to make the highlighted text underlined
- Subscript - used to make the highlighted text a subscript
- Superscript - used to make the highlighted text a superscript
- Remove text format - used to remove all formatting of the highlighted text
- Ordered list (numbered list) - used to make the highlighted text an ordered/numbered list
- Unordered list (bulleted list) - used to make the highlighted text an unordered/bulleted list
- Block quote - used to make the highlighted text a block quote
- Left align - used to make the highlighted text aligned left
- Centre align - used to make highlighted text aligned centre
- Right align - used to make the highlighted text aligned right
- Justify - used to make the highlighted text aligned left and justified
- Link - used to make the highlighted text a link, the Link window appears when clicked
- Image - used to insert an image, the File Manager appears when clicked
- YouTube video - used to insert a YouTube video, the Embed YouTube Video window appears when clicked
- Table - used to insert a table, the Table Properties appear when clicked
- iFrame - used to insert an iFrame, the Table Properties appear when clicked
- Curly bracket - used to insert a curly bracket, the Select Curly Bracket window appears when clicked
- Styles - if styles are present, the styles should appear in the dropdown which the user can apply to highlighted text
- Format - used to apply the format to highlighted text
- Text colour - used to apply colour to highlighted text
- Text background - used to apply background colour to highlighted text
- Maximize - brings the editor into full screen
Configuring the Default Toolbar
-
1Log in as an administrator and go to the Admin Dashboard.
Learn how to log in here → -
2
In the site admin, go to Settings > Toolbars
-
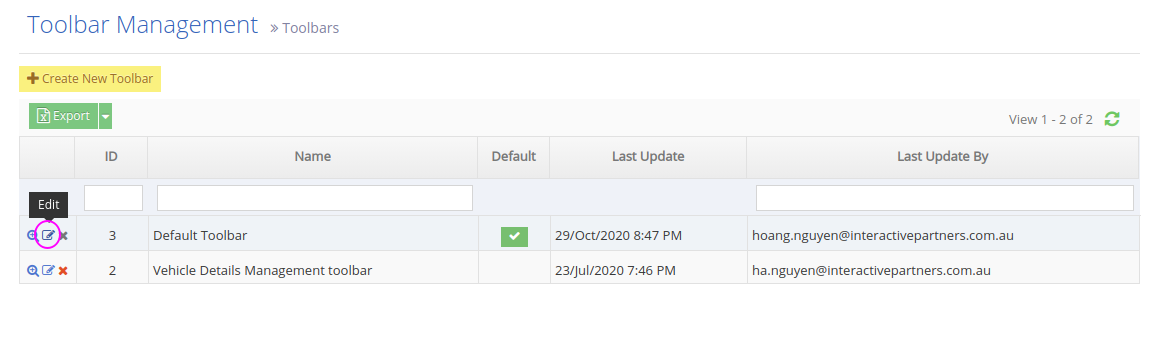
3
From the Toolbar Management, click the Edit icon to the left of the "Default Toolbar"
-
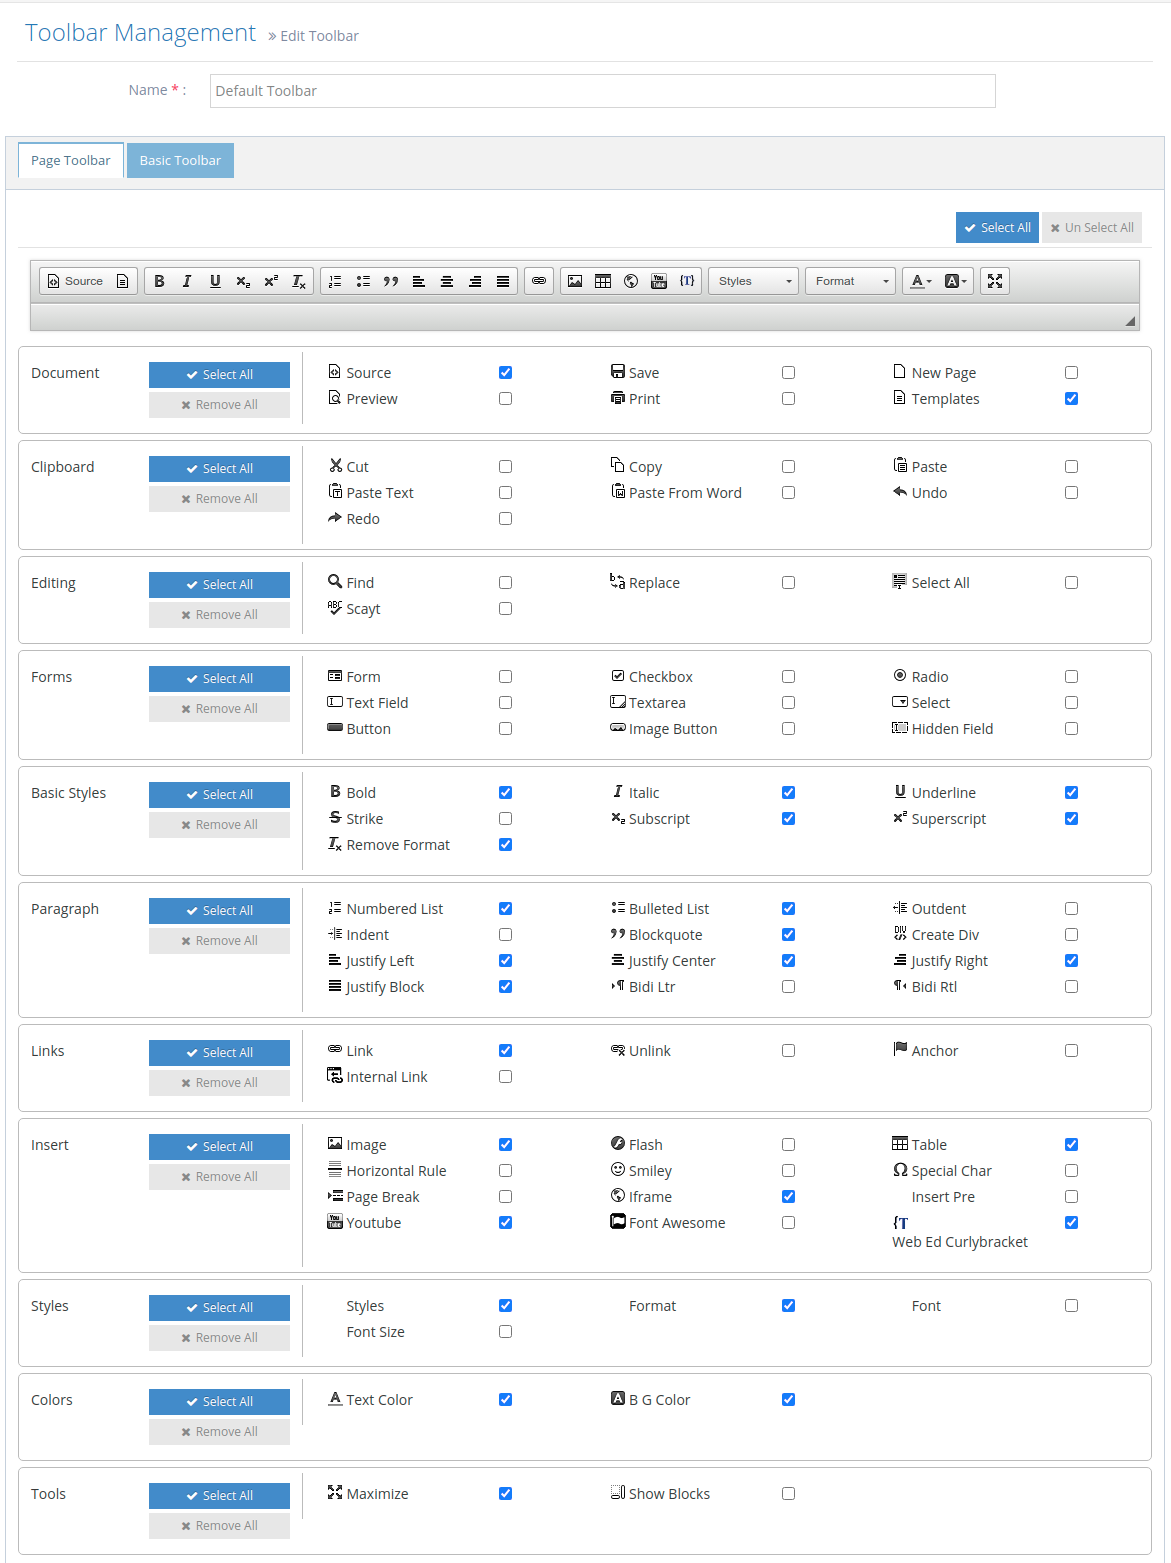
4
On the Toolbar Management page, simply tick the checkbox next to the icon you want to show on your default toolbar. The changes you make shall appear on the preview instantly.
-
4
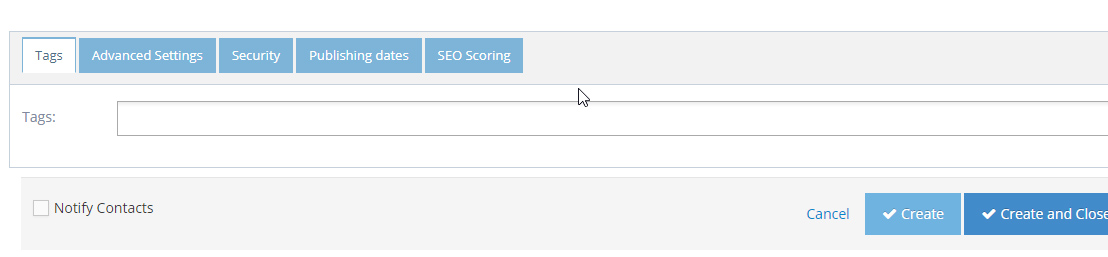
Once you're done, click "Save" or "Save and Continue" at the bottom to stay on the page
Other Admin Functions
At the bottom of the editor, there are extensive functionalities available to content editors.
To view the detailed information of these features go to this page.