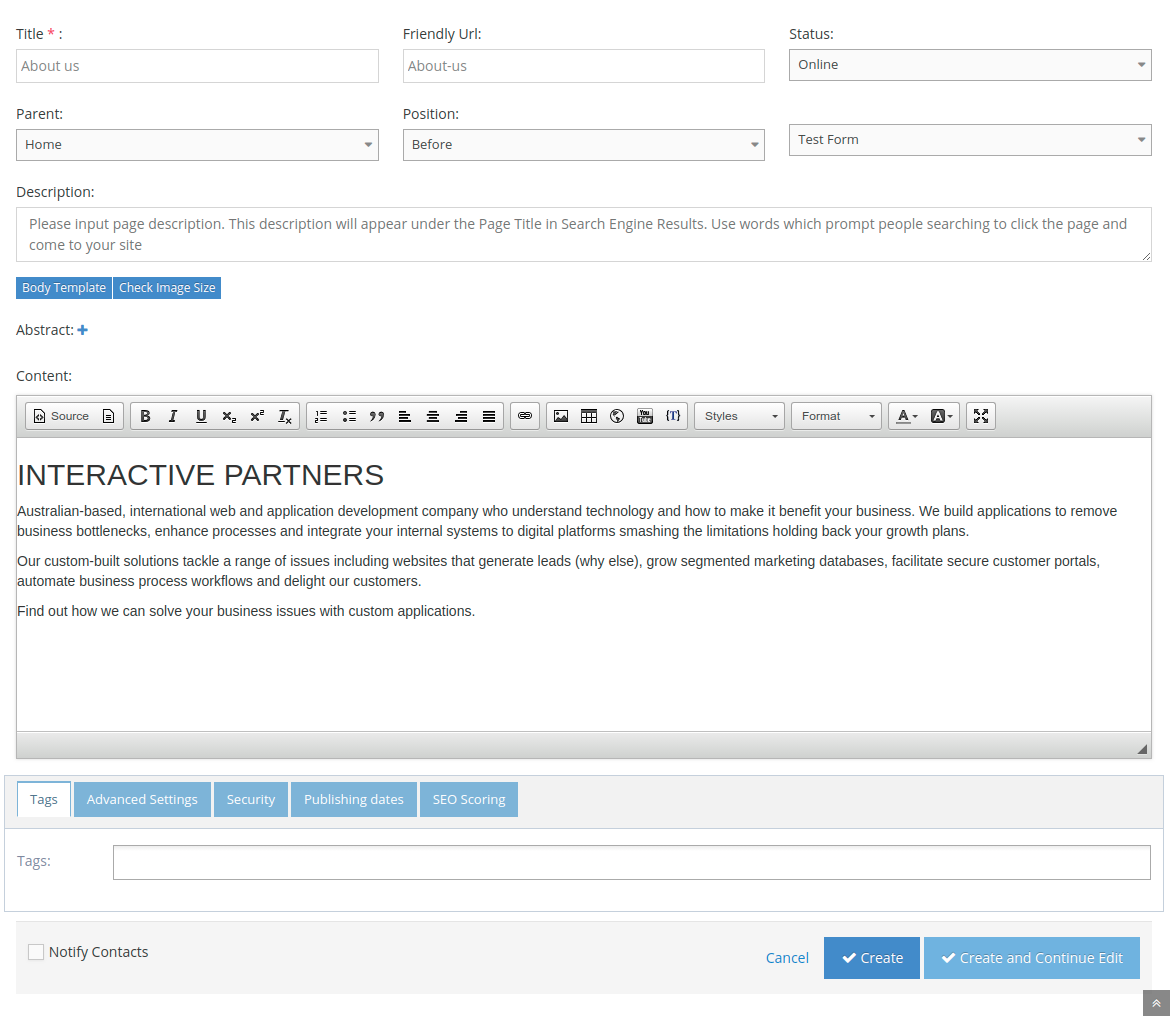
Page Editor Properties
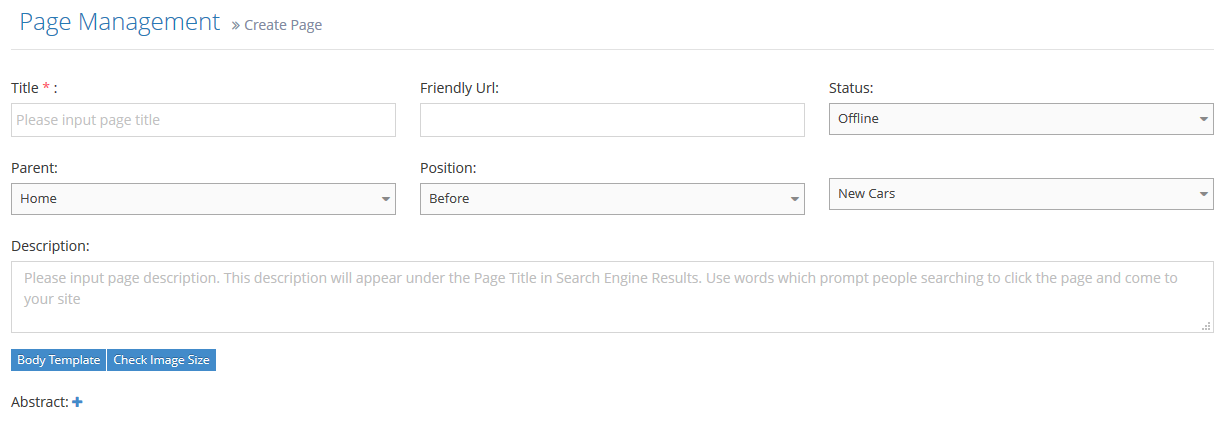
- Title - The title of this page. This is normally the heading and is also the page title that will appear in search engine listings.
- Friendly URL - The URL for this page. Make page URLs meaningful and easy for the visitor. See more at Changing the Page URL.
- Status - The status of this page. See more at Page Status: Draft versus Online.
- Draft - Allows the page to have one version online and one version in the draft. A draft page has a recent change that is not yet published. This means the page will be accessible to anonymous visitors, but the recent changes will not be displayed on the page and can only be viewed by administrators.
- Online - The page is available for viewing even if visitors are not logged in.
- Offline - The page is not available for viewing, however, system administrators that are logged in can view and edit the page as usual.
- Note: An offline page with an End Publishing Date that has passed cannot be viewed even by system administrators - there is no way to view it unless the End Publishing Date is removed.
- Parent - the parent of this page. This sets this page location in the site map. See more at Moving a Page: Different Parent.
- Position - The order of this page in this section. See more at Moving a Page: Same Parent.
- Description - This will appear under the page title in Google Search Engine results and is one of the more important aspects of SEO, therefore should never be left blank. The Page Description directly affects how your site will appear in a result results listing in Google Search Engines.
- Enter a page description for every page
- Ensure you use keywords for your products and services
- Make the text appealing enough that the user will be interested
- Use calls to action for your products and services
- We recommend having a description of between 50–160 characters
- Text longer than 160 characters will appear as ... which can then be used in a teaser mode
- Abstract:
- It appears in your site search results when visitors search the site.
- Can also be used when presenting a list of pages to your visitors, for example, the see members functionality.
- It appears in your site search results when visitors search the site.
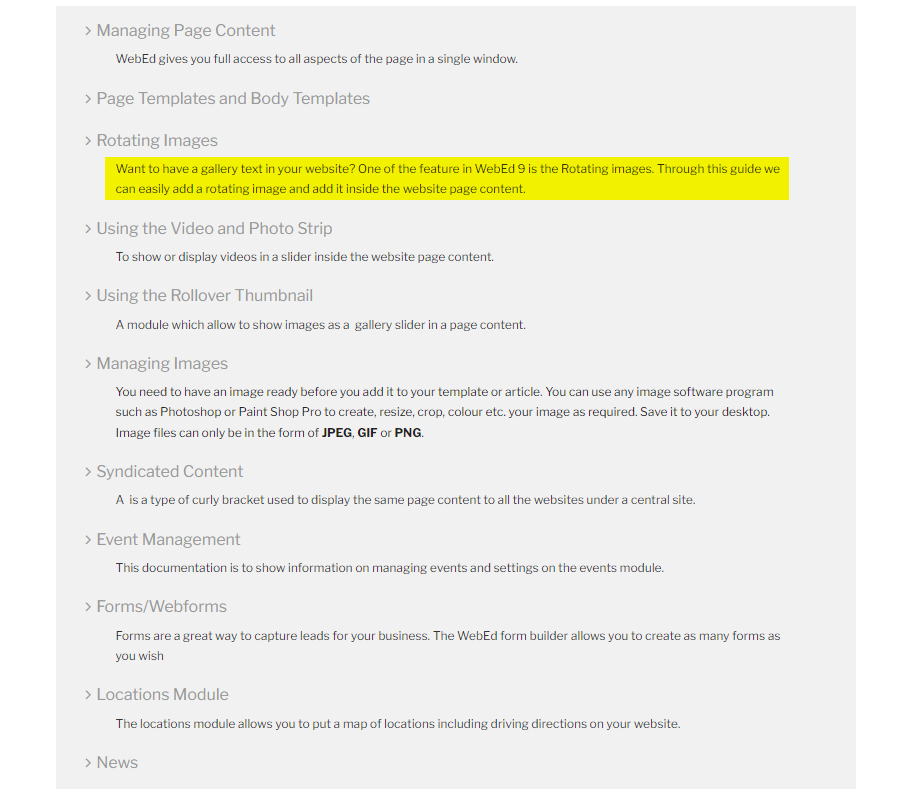
- Body Template - This enables the user to replace the content of the page with a template from the installed or online body templates. This is usually used when creating a new page but can be used at any time. To see how to add or create a body template, click here.
- Check Image Size - This allows the user to check the sizes and dimensions of the images on the site. This helps the user track which image needs to be compressed for site optimisation.
- See this example of how page title, URL and page description appear in Google's search results:

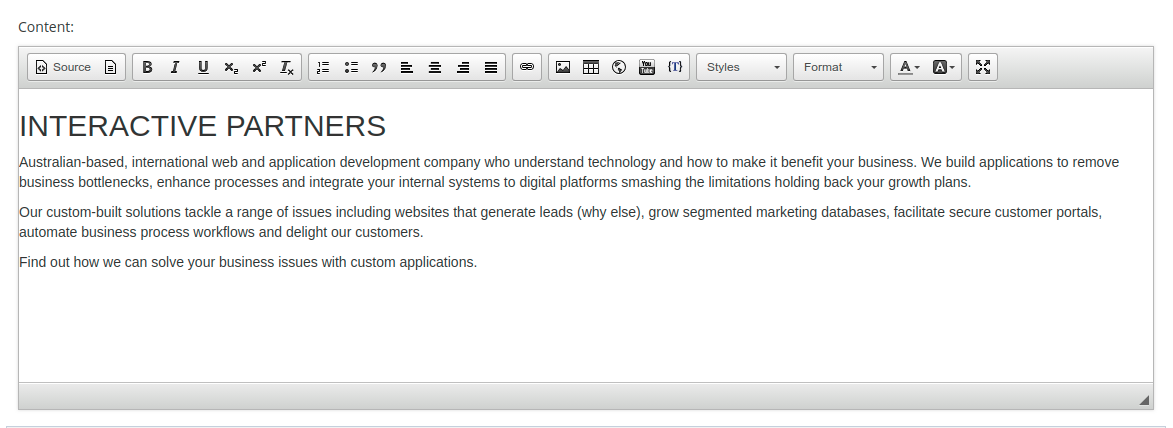
Content Editor
Content Editor Overview
The WebEd Content Editor is a WYSIWYG-rich text editor which enables writing content directly inside of web pages or online applications.
Toolbar Icons
| Icon | Description |
|---|---|
 |
View/Edit Source (allows you to view and edit the source code -normally used by advanced users familiar with HTML) |
| Save content | |
| Clear content | |
| Preview page content | |
| Print the page content | |
| Insert page template into content | |
| Cut (to cut text or images) | |
| Copy (to copy text or images) | |
| Paste (to paste copied text or images) | |
| Paste from Word (removes Word formatting and allows you to paste directly from a word document). | |
| Paste plain text | |
| Undo (un-does the last command) | |
| Redo (re-does the previous command) | |
| Find text in the content | |
| Replace text in the content | |
| Select All (text and image) in content | |
| Spell checker in content | |
| Bold (bolds selected text) | |
| Italic (italics selected text) | |
| Underline (underlines selected text) | |
| Strikethrough (strike through selected text) | |
| Subscript (subscript selected text) | |
| Super Script (superscript selected text) | |
| Remove Format (remove format selected text) |
Paragraph Formatting
| Icon | Description |
|---|---|
| Numbering (creates numbered sentences & paragraphs) | |
| Bullets (creates bulleted sentences & paragraphs) | |
| Outdent (creates an indent on the right) | |
| Indent (creates an indent on the left) | |
| Block quote (Block quote selected paragraph) | |
| Insert new DIV into content | |
| Justify Left (lines text up on the left) | |
| Justify Centre (centres selected text) | |
| Justify Right (lines text up on the right) | |
| Justify Full (spreads text evenly over the line or paragraph of selected text) | |
| Jump the white space tab to the right | |
| Jump the white space tab to the left | |
| Set language for selected text |
Insert media into content
| Icon | Description |
|---|---|
| Insert font awesome (reference site: Font-Awesome) | |
| Insert an image into the content | |
| Insert flash into content | |
| Insert table into content | |
| Insert horizontal line into content | |
| Insert icon smiley into content | |
| Insert a special character into content | |
| Insert page break to printing | |
| Insert iframe into content | |
| Embed Youtube videos into content | |
| Insert curly bracket into content (1) |
Other Features of the Toolbar
| Icon | Description |
|---|---|
| Add style for image/text...etc... selected | |
| Heading format for selected text | |
| Fonts format for selected text | |
| Set fonts size for selected text | |
| Foreground Colour (allows you to choose or create a foreground colour or text colour) | |
| Background Colour (allows you to choose or create a background colour) | |
| Toggle full-screen editor | |
| Absolute Positioning. (allow you to absolutely position page elements) | |
| Get editor version information |
The Default Toolbar
The Content Editor's Default toolbar contains icons for the most commonly used actions available to the user.

- Source - used to switch to Source code view
- Bold - used to make highlighted text bolded
- Italic - used to make highlighted text italicized
- Underline - used to make the highlighted text underlined
- Subscript - used to make the highlighted text a subscript
- Superscript - used to make the highlighted text a superscript
- Remove text format - used to remove all formatting of the highlighted text
- Ordered list (numbered list) - used to make the highlighted text an ordered/numbered list
- Unordered list (bulleted list) - used to make the highlighted text an unordered/bulleted list
- Block quote - used to make the highlighted text a block quote
- Left align - used to make the highlighted text aligned left
- Centre align - used to make highlighted text aligned centre
- Right align - used to make the highlighted text aligned right
- Justify - used to make the highlighted text aligned left and justified
- Link - used to make the highlighted text a link, the Link window appears when clicked
- Image - used to insert an image, the File Manager appears when clicked
- YouTube video - used to insert a YouTube video, the Embed YouTube Video window appears when clicked
- Table - used to insert a table, the Table Properties appear when clicked
- iFrame - used to insert an iFrame, the Table Properties appear when clicked
- Curly bracket - used to insert a curly bracket, the Select Curly Bracket window appears when clicked
- Styles - if styles are present, the styles should appear in the dropdown which the user can apply to highlighted text
- Format - used to apply the format to highlighted text
- Text colour - used to apply colour to highlighted text
- Text background - used to apply background colour to highlighted text
- Maximize - brings the editor into full screen
Configuring the Default Toolbar
-
1Log in as an administrator and go to the Admin Dashboard.
Learn how to log in here → -
2
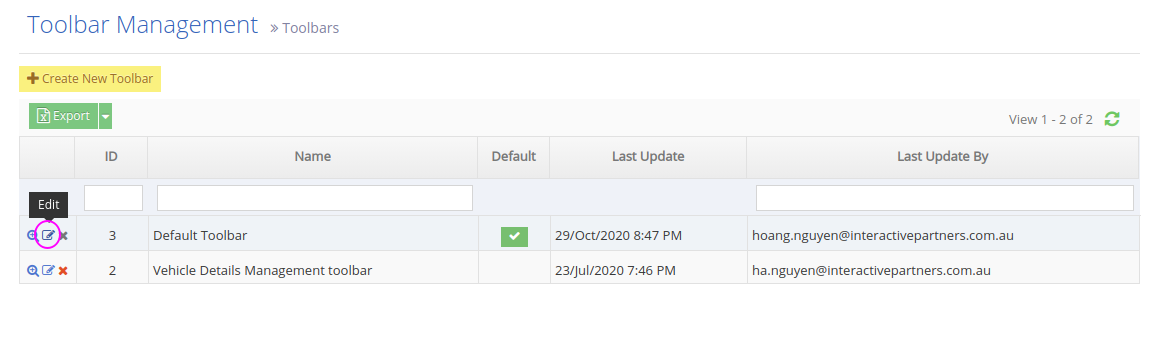
In the site admin, go to Settings > Toolbars
-
3
From the Toolbar Management, click the Edit icon to the left of the "Default Toolbar"
-
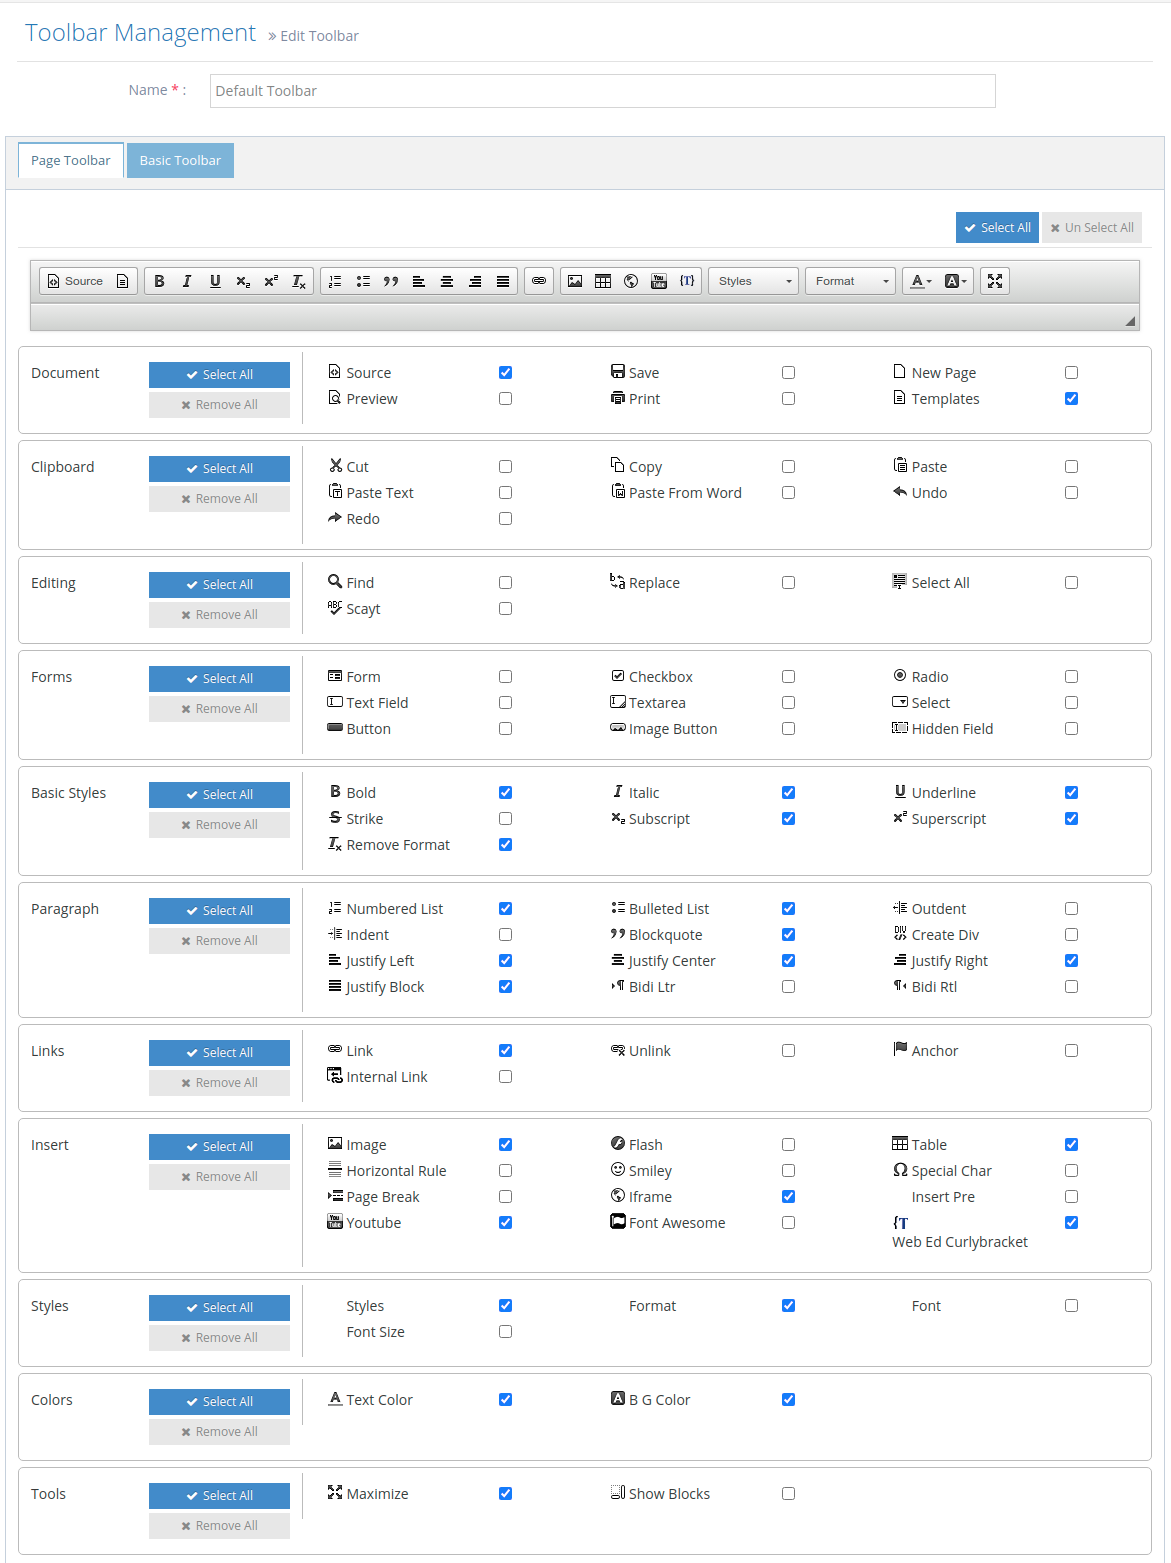
4
On the Toolbar Management page, simply tick the checkbox next to the icon you want to show on your default toolbar. The changes you make shall appear on the preview instantly.
-
4
Once you're done, click "Save" or "Save and Continue" at the bottom to stay on the page
Other Admin Functions
At the bottom of the editor, there are extensive functionalities available to content editors.
To view the detailed information of these features go to this page.
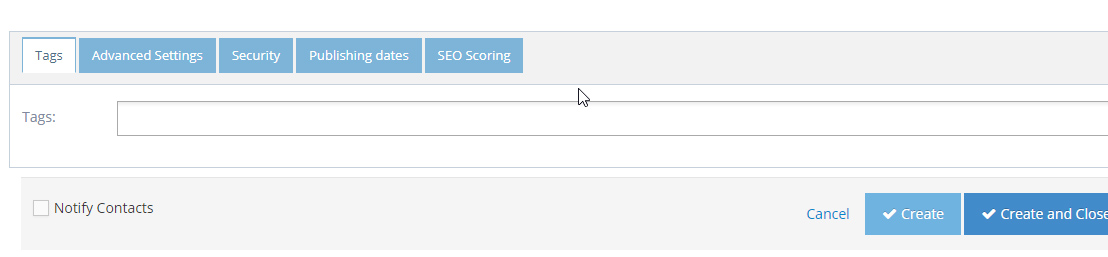
Page Editor's Admin Tabs Functions
Using and Managing Tags
- Allows different pages to be tagged by content type
- Tags can be used to build new pages which show all the content of a similar type
- e.g. you may want all services grouped on one page even though there are many different pages for services
- Start typing and the already created tags will be displayed
- If you enter a tag not yet created, you can set a new tag
- Creating tags is controlled by the admin and not all users may have the right to create tags

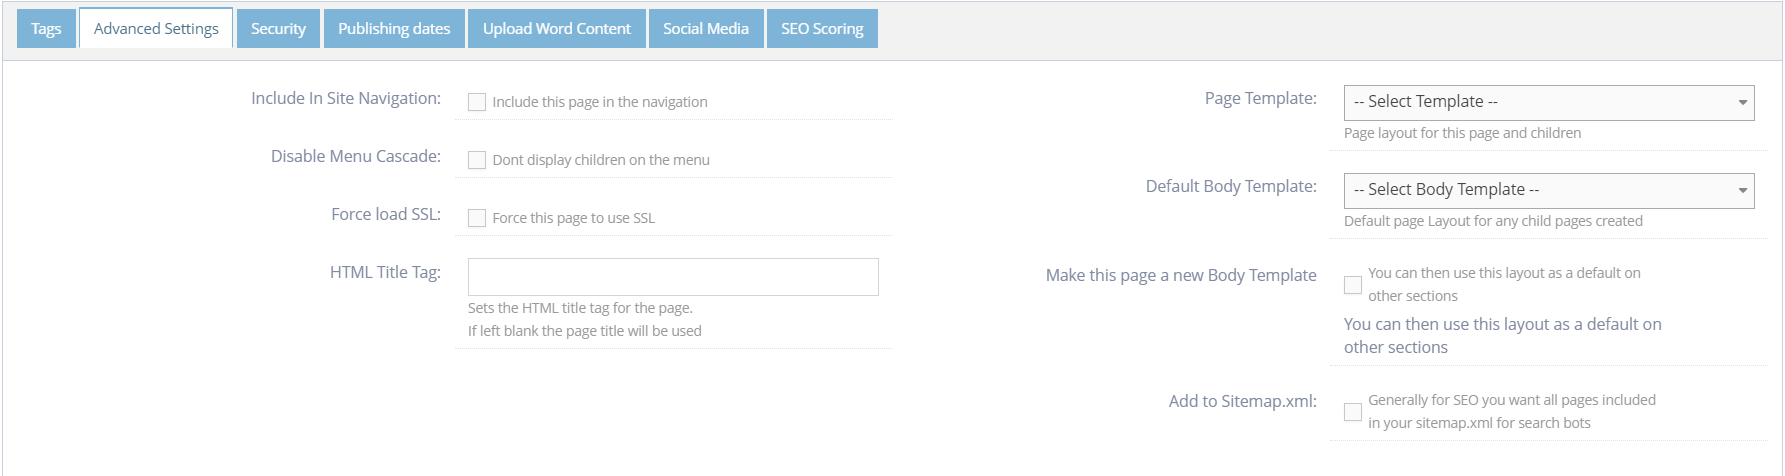
Advanced Settings
- Include In Site Navigation - Add this page to the site's main menu. Uncheck to remove from the main menu
- Disable Menu Cascade - Hide all child pages from the cascade menu. This will allow the current page to appear on the menu but not display the child pages on the menu
- Force load SSL - Force the page to use SSL. (Note you must first have an SSL certificate configured on your site)
- HTML Title Tag - Sets the HTML title tag for the page. If left blank the page title will be used
- Page Template - Set the master template for this page. Your site can have different master templates for different sections as defined by your designer
- Default Body Template - When new pages are made under this page, the default body template will populate the new page to give editors the default layout and content to work with. This helps keep sections consistent
- Make this page a new body template - You can set this page as a new body template so other pages can use this content as a starting point. Helps keep sections consistent
- Add to Sitemap.xml - Controls if this page is shown on the Google XML sitemap (sitemap.xml) for the site.
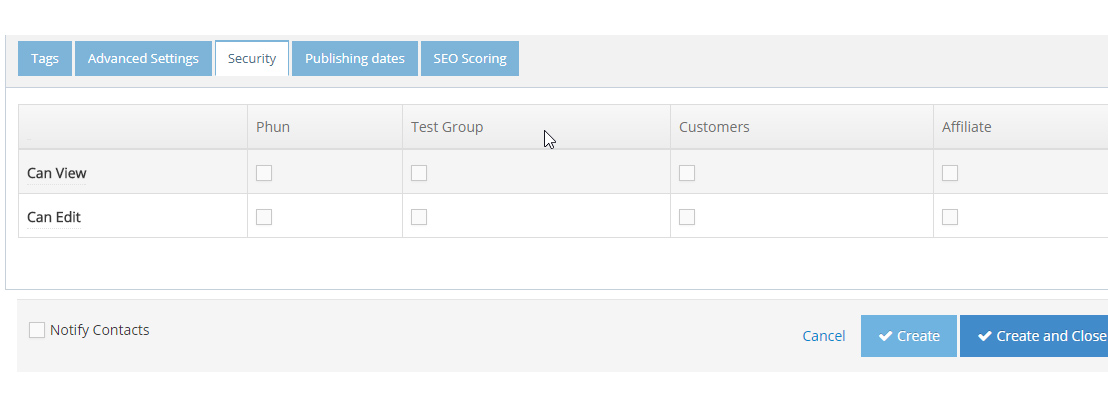
Security
Use this to limit access or editing rights for this page to specific user groups. Normally left blank unless you have secured sections for specific groups of logins. You must have the user groups configured before you can set the security
- Set View Rights for specific user groups
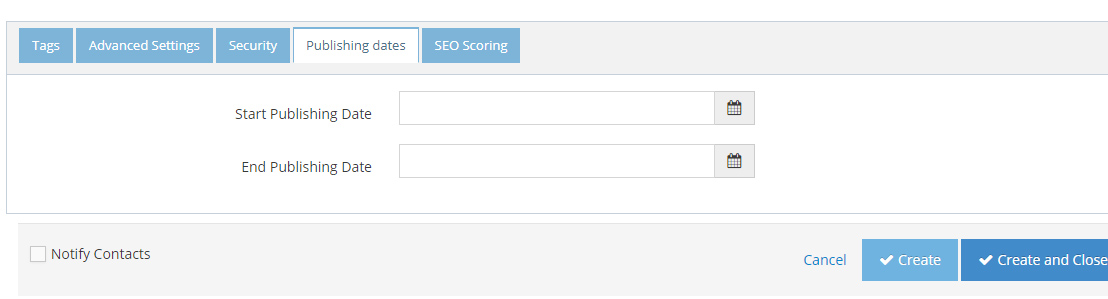
Publishing dates
- Set the date range for the display of this page
- Pages can have either a start date, end date or both as required.
- If configured the page will only appear in the Menu and be available to visitors for the date range selected
SEO Scoring Tab
WebEd is optimised for SEO. Take any site which is not ranking, deploy using WebEd and your SEO Result will improve dramatically.
- Set the keywords for your site
- You can override the selected keywords for this page
- Based on the keywords set, the traffic light icon displays the status of important SEO metrics.
- Mouse over each SEO metric to get the status for each
- Follow the recommendations and aim for all green icons to ensure your page content is optimised for SEO
- Click the button Create when done editing
 Learn more about SEO Scoring here →
Page Status: Draft vs. Online
Draft and Online Status Overview
Draft and Online status where the user can set on each page created which can be viewed online by the visitors or not.
Why you would use Draft and Online page status
The page status is an extremely important part of the page content, which either the user will set the page as Draft if it's in a test or development mode so that only the administrator can see the page.
Online status helps the user to make the page available and can be viewed by the public.
Draft vs. Online: Web Page Status Difference
- Online means the page is online and available for visitors.
- Draft means the version of the page you are editing is not visible to anonymous visitors but will be seen by Content Administrators
- If the page was previously online and you make it into draft mode, you will now have an online and draft version of the page.
- The Online version will be seen by visitors.
- Only the content administrators can view Draft pages.
- This does not mean the page is not visible to site visitors.
When you start with a new page, the default status is online. If you save the page in this mode, your website will have a page available to visitors. If you are working on a new page and you don't want this page to be available to visitors you must set it to draft before you save it for the first time.
Draft Page Status

-
1Go to Admin → Page Content → Pages → Create New Page or Edit existing page.
-
2
Pages assigned with a "Draft" status will not display the draft version of the page but will display the previous "online" version of the page to visitors.
- Example: you may be changing a page but the changes will take a few days to complete.
-
3
As you edit the new version it is not yet "live", "published" or "uploaded" to your live website - UNTIL you change that page's status to ONLINE.
- The online version of the page is shown to site visitors
- The draft version of the page (the one you have not yet finished editing) is only available to administrators. Once you finish editing, you make your draft page online and now there is only one version of the page.
-
4Therefore, "Draft" page content can ONLY be seen by logging in as Administrator to your website.
Online Page Status

-
1Go to Admin → Page Content → Pages → Create New Page or Edit existing page.
-
2
Use the "Online" page status when you want to publish your changes to the live website.
- Example: your changes have been finished/approved - and are now ready to go live.
- "Online" page content can be viewed by everyone - site visitors and administrators.
-
3When a page is UPDATED the added content is immediately published and can be viewed by everyone.