Step 1: Setting up the Ticket Engine
STEP-BY-STEP
-
1Log in as an administrator and go to the Admin Dashboard.
Learn how to log in here → -
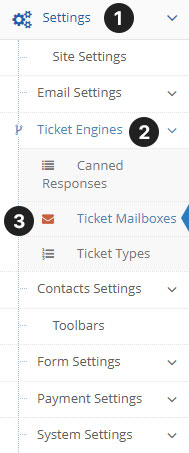
21 Settings > 2 Ticket Engines > 3 Ticket Mailboxes
-
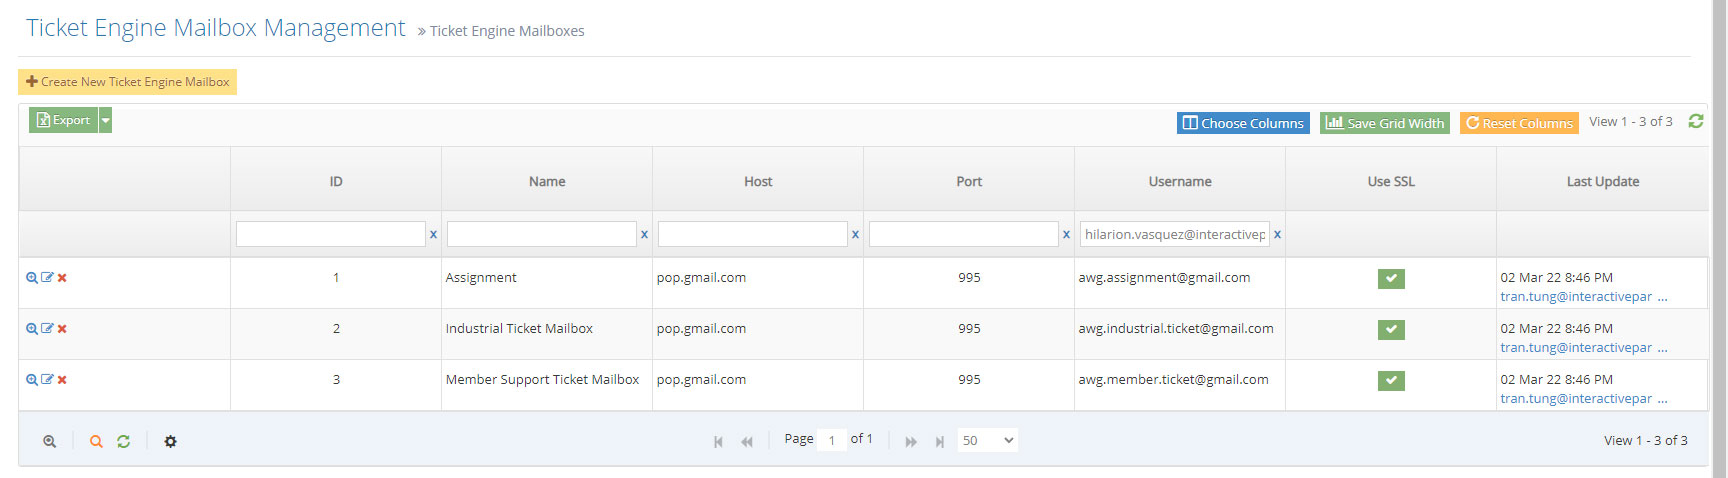
3To edit the ticket mailbox, click on the edit button but if you want to remove it click the delete button. To add a new ticket type click the "Create New Ticket Engine Mailbox" Button.
-
4Then proceed in creating a new ticket-type mailbox management take note of these field descriptions:
- Name - Name of the ticket engine type
- Type - The version of the connection type of the email forwarding to our system
- Host - The host of the SMTP server to connect to our system
- Port - This is depending on the email you are using that wants to connect to the server. The default is 993 for Gmail and Outlook
- Use SSL - If you want this to connect to a secured network we need to check this
- Username - Username to access the mailbox
- Password - Password needed to access the mailbox.
-
5Once finished setting up and filling in everything above click the "Create" button