Creating a New User
STEP-BY-STEP
-
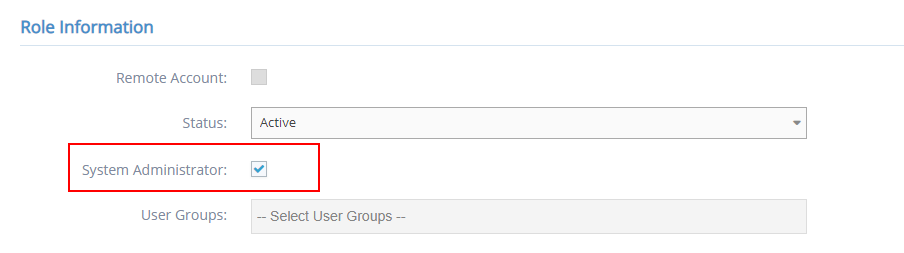
1When filling in the user details, you will see a section 'Role Information'
-
2Under it, tick the box next to 'System Administrator'
-
3There will be no need to select user groups below it because the administrator would be able to access all groups
-
4Click the 'Create' button at the bottom to save the update

Updating an Existing User
STEP-BY-STEP
-
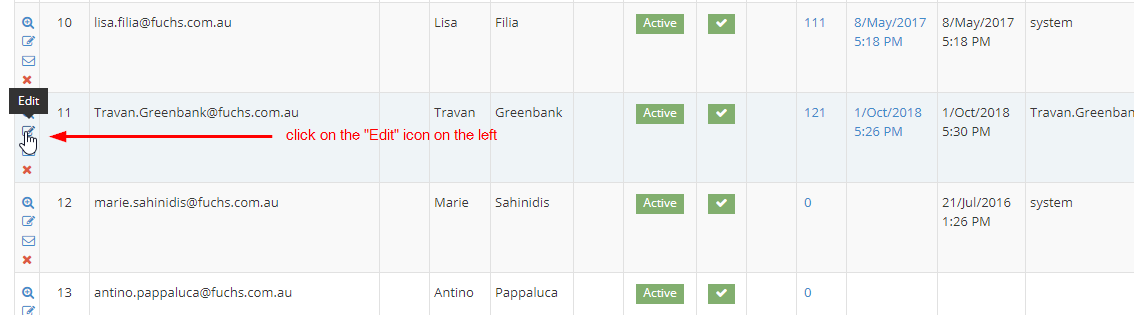
1Look for the user account you want to edit'
-
2Click on the 'Edit' icon on the left
-
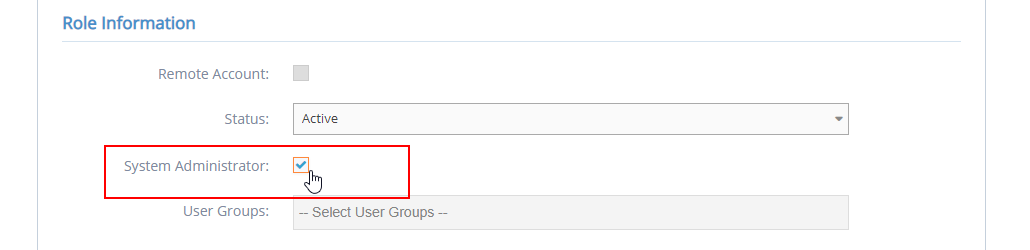
3Under 'Role Information', tick the box next to 'System Administrator'
-
4Click the 'Save' button at the bottom to save the update

How to Remove a User
STEP-BY-STEP
-
1Look for the user account you want to remove'
-
2Click on the 'Delete' icon on the left

-
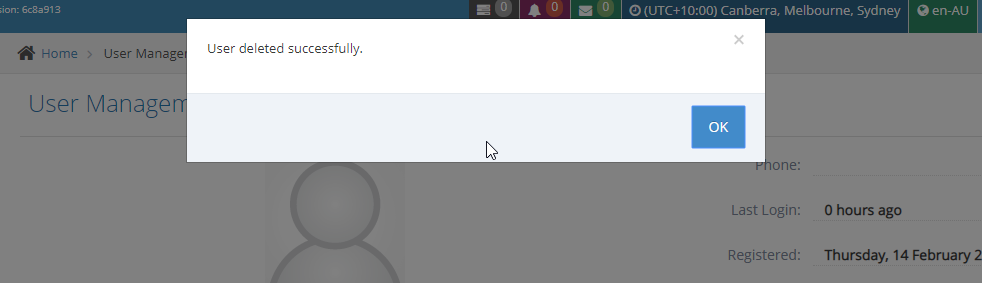
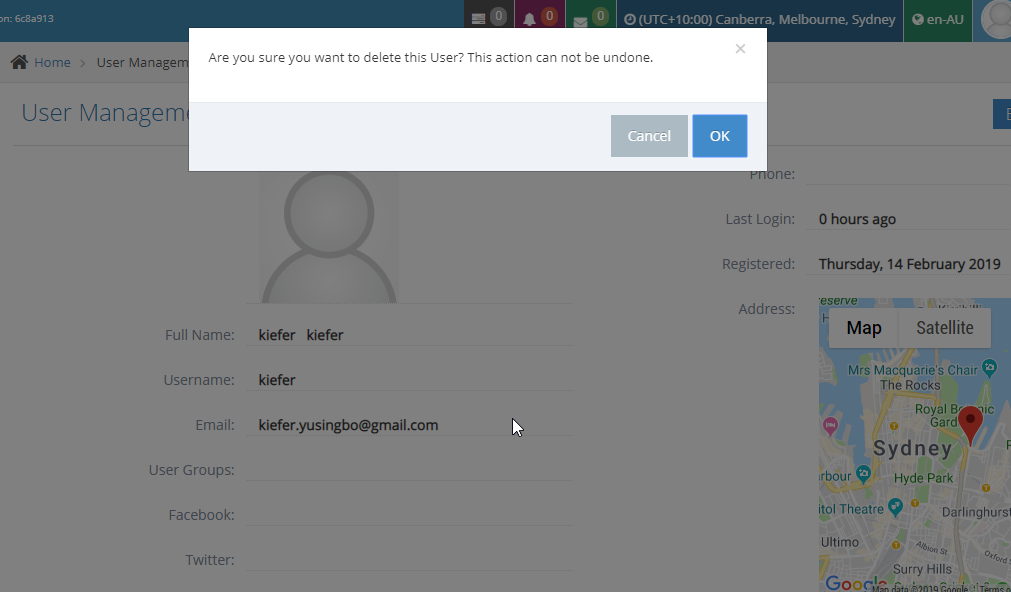
3A popup message for confirmation will appear on top
-
4Click 'OK' if you wish to continue the removal, or 'Cancel' to cancel the action
-
5A popup message will appear that you have successfully removed the user