STEP-BY-STEP
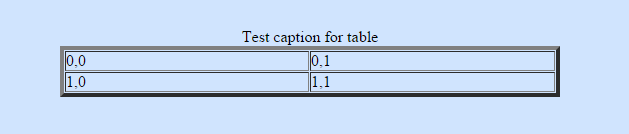
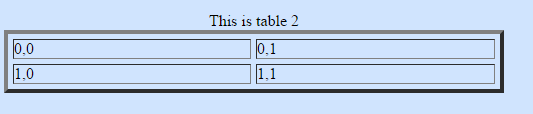
| Table1: Spacing defined as 1 pixel | Table2: Spacing defined as 5 pixels. Note the increase in "white space" between the cells. |
|---|---|
|
  |
-
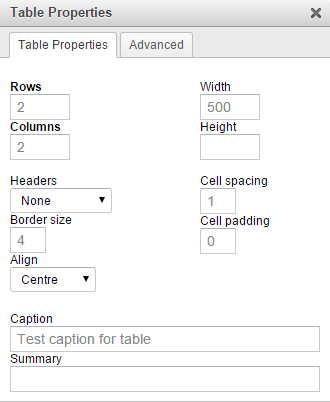
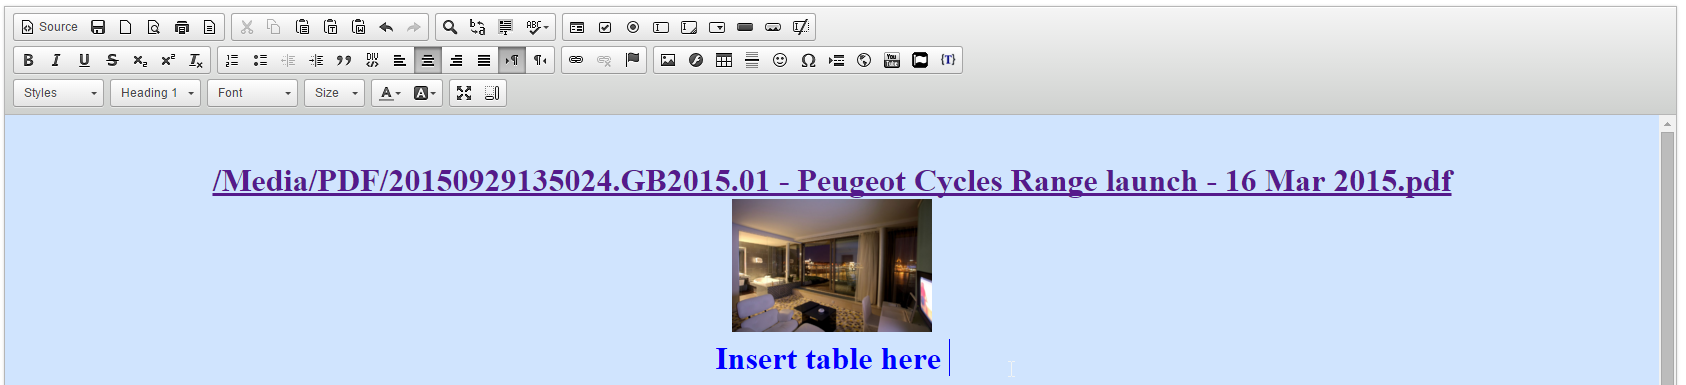
1Position the cursor where you want the new table in the Content area.
-
2Click the Icon on the tool bar to insert a new table. A sample table displays the features you have selected. Note: Each cell in the sample table has a unique cell reference number expressed as (x,y), where x = row number and y = column number. Example: (1,1) is the cell in row 1, column 1.

-
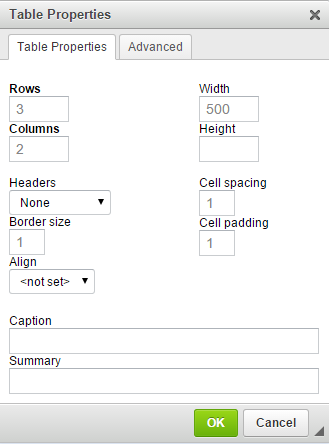
3Enter information for the following fields:
- In the Table Properties tab:
- Rows - enter the number of rows you want
- Columns - enter the number of columns you want
- Borders - Choose from the drop-down list; or a border up to 5 pixels wide. The sample table will display border selections. To change the colour and attributes of the border: After you have "inserted" the table - highlight the table, and click on the BORDERS & SHADING icon on the toolbar.
- Cell Spacing - Spacing defines the space between adjacent cells and between a cell and the edge of the table. The default is 1 pixel. Increasing the space will increase the distance between cells and create more "empty" space. The effect will be obvious on testing. Watch the sample table grid lines to see the effect. The 2 tables below show borders of 5 pixels wide, the first has a spacing of 1 pixel, and the second has a spacing of 5 pixels. Note the increase in white space around the cells.
- Cell Padding - Padding defines the space between the cell contents and its border/ edge. Increasing the padding creates more white space between the cell content and its border.