- Associates Overview
- Why you would use an Associate Module?
- How to create a new associate
- How to Edit or View an Associate details
- How to edit an Associate
- How to delete an Associate
- How to create a new Associate Type
- How to edit/view or delete an associate type
- Deleting an Associate type
- Add an Associate Listing to a page
- How to manage the Associate Listing display using Templates
Add an Associate Listing to a page
STEP-BY-STEP
-
1Log in as an administrator and go to the Admin Dashboard.
Learn how to log in here → -
2Go to the page that you want to show the associated listing and click Edit
-
3On the Edit Screen, go to the place you want to display the associate listing and click Configure Curly Bracket button.

-
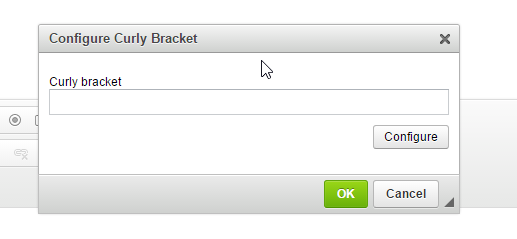
4The Configure curly bracket pop-up appears
-
5Click Configure to add a curly bracket
-
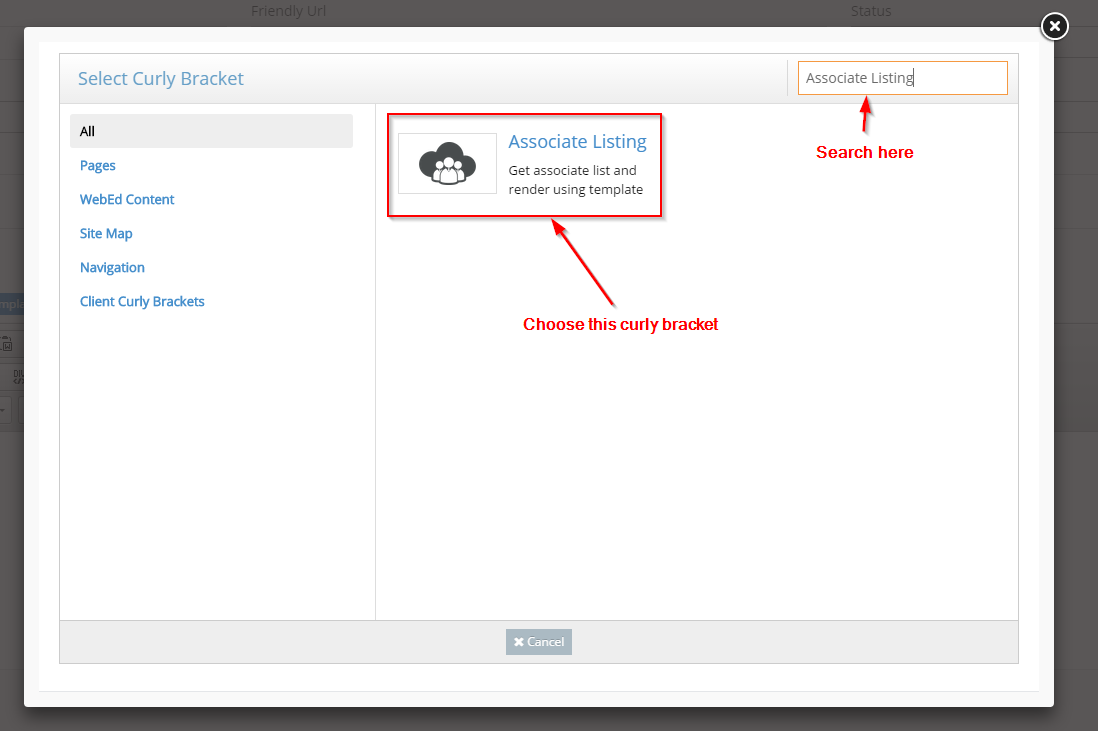
6Popup to select curly bracket display
-
7Search Associate Listing
-
8Choose Associate Listing curly bracket
-
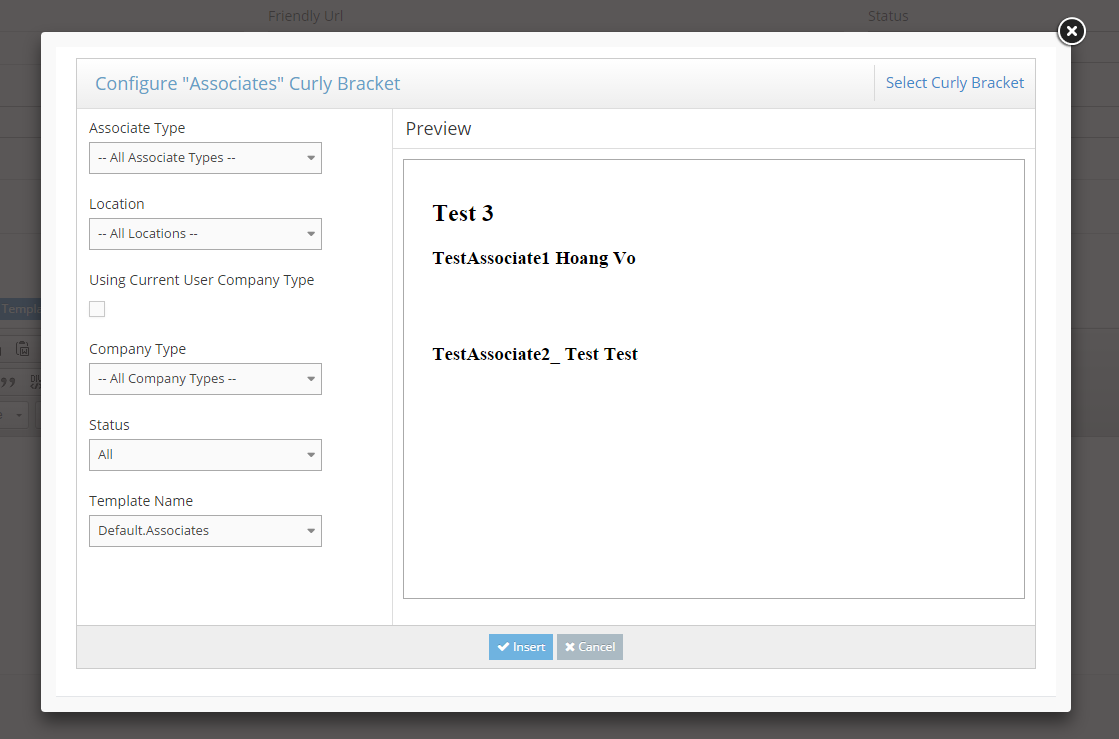
9Popup to configure Associate Listing curly bracket displays
-
10
-
Input your settings for this curly bracket:
- Associate Type: the associate type for filtering
- Location: the location for filtering
- Using Current User Company Type: using the current user company type for filtering, will dynamically filter the associate by current user company type
- Company Type: the company type for filtering if you want to hard code the company types, this value will be overwritten by the current user company type (if checked)
- Status: the status of associate
- All: all associate status
- New: the new associates only
- Not New: the not new associate only
- Template Name: the template used to render curly bracket

-
-
11Click Insert
-
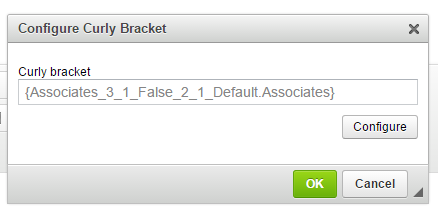
12The curly bracket configuration will insert into the curly bracket configuration screen. Click OK
-
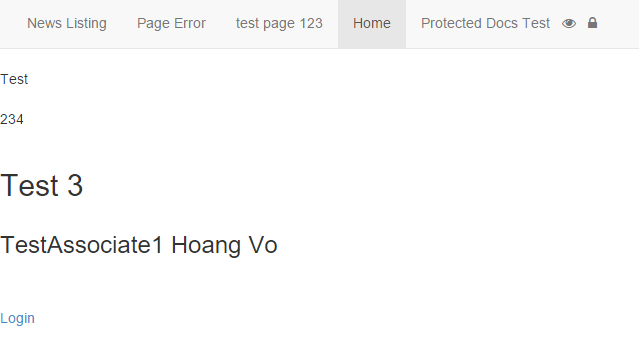
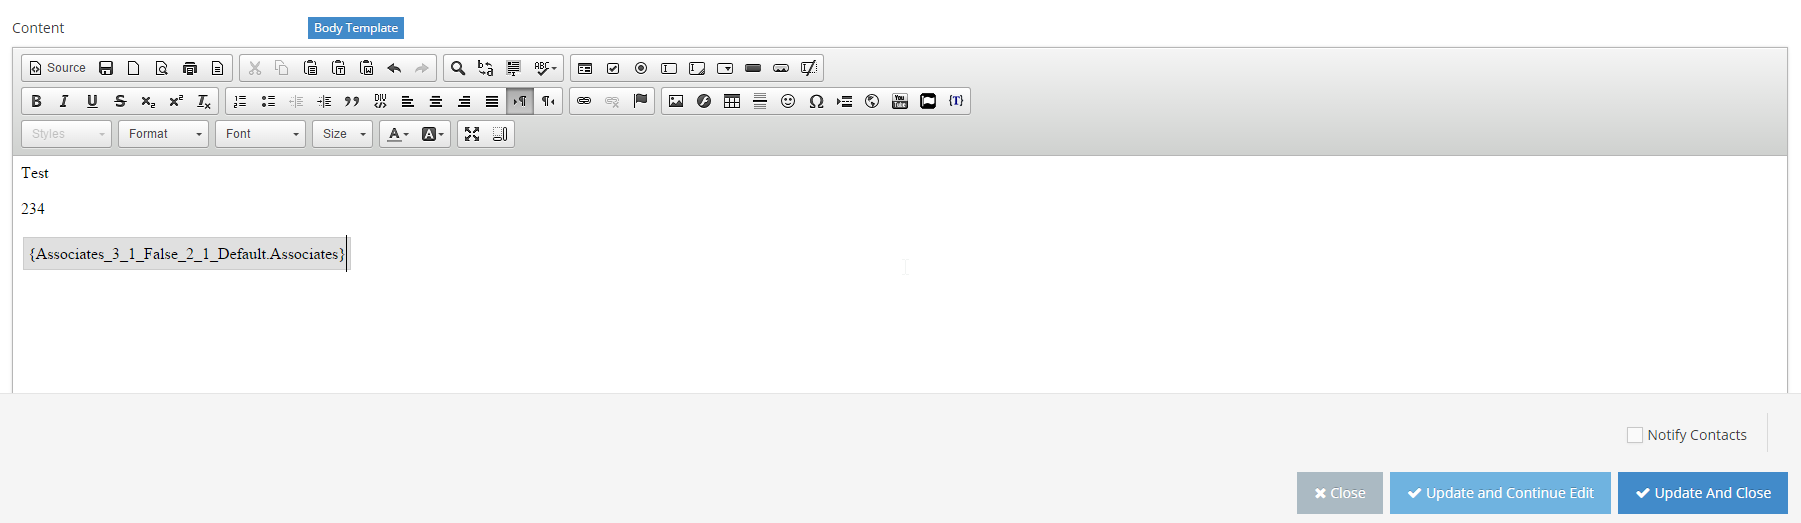
13The configured Associate listing curly bracket now appears on the page.
-
14Click Update and Close
-
15The page is now updated, and the associate listing appears in page content