STEP-BY-STEP
-
1Log in as an administrator and go to the Admin Dashboard.
Learn how to log in here → -
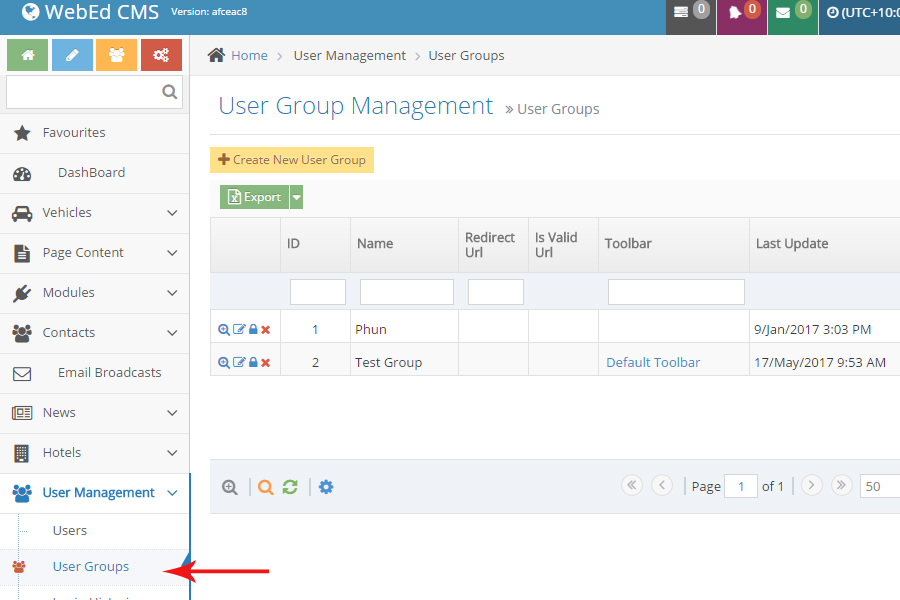
2Navigate to the User Groups under User Management main menu >> User Group and create New User Groups
-
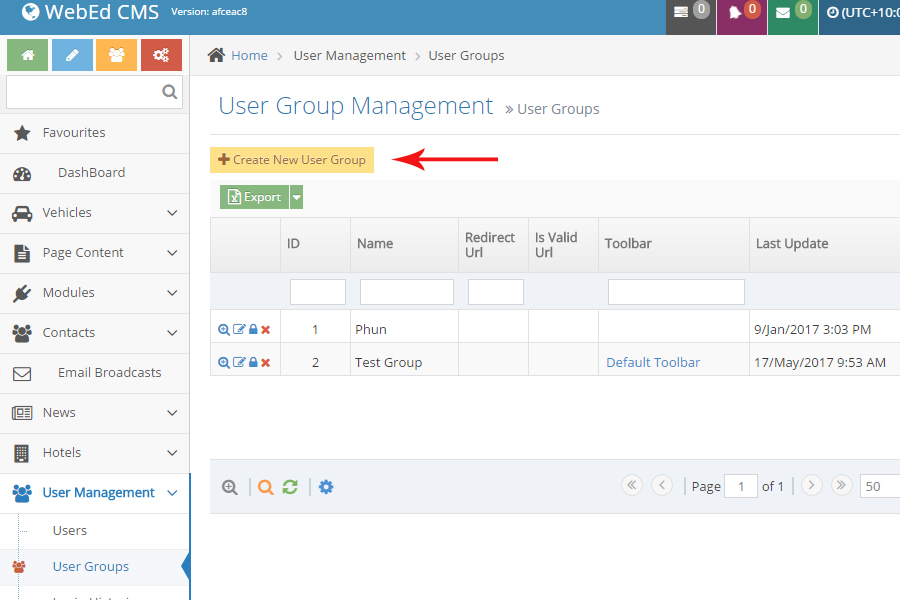
3Click on Create New User Group to add a new user group or click on the Edit icon to change the group name

-
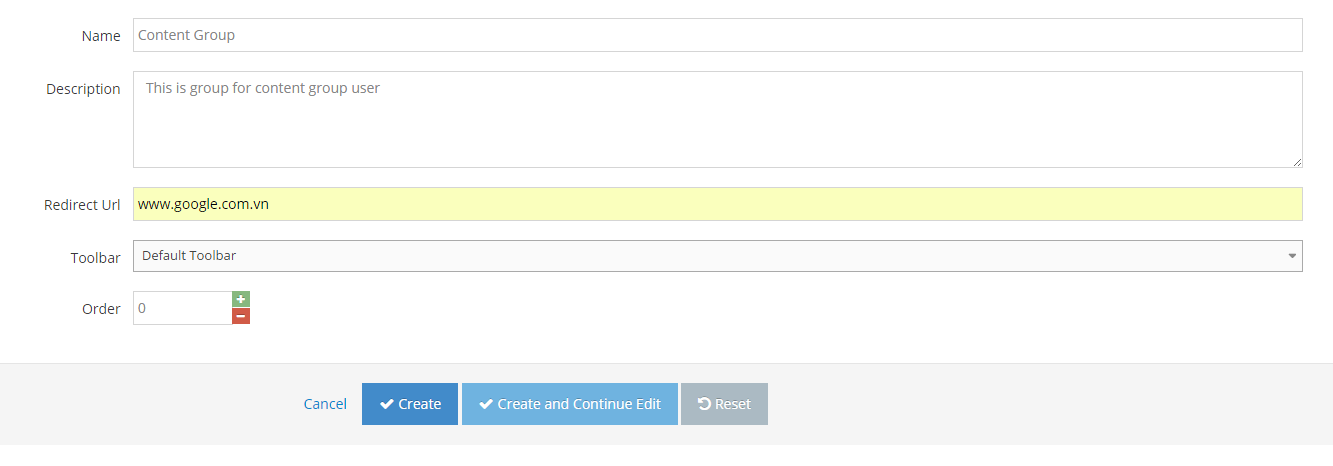
4Enter the user group name and other fields:
- Name - the name of the user group
- Description - a short description of the purpose of this group
- Redirect URL- the URL any members of this group will be redirected to when they log in.
- Toolbar - You can configure different toolbars to different groups.
- Order - the order in this group will be listed on pages where the group can be selected
-
5Click Create (for new user group) or Save (for editing existing user group) button.
-
6A new user group has now been created. You may start to add individual users to the new group.
