- Why you would use an Event Schedule Module
- Create a new Event Schedule
- Update the existing Event Schedules
- Delete An Event Schedule
- Update An Event Schedule
Update the existing Event Schedules
STEP-BY-STEP
-
1Log in as an administrator and go to the Admin Dashboard.
Learn how to log in here → -
2Under Modules on the left menu, choose Events > Event Settings
-
3Click Event Schedules
-
4From the Event Schedule listing, search for the event schedule you want to edit
-
5Click the
 "Edit" icon to edit the event schedule
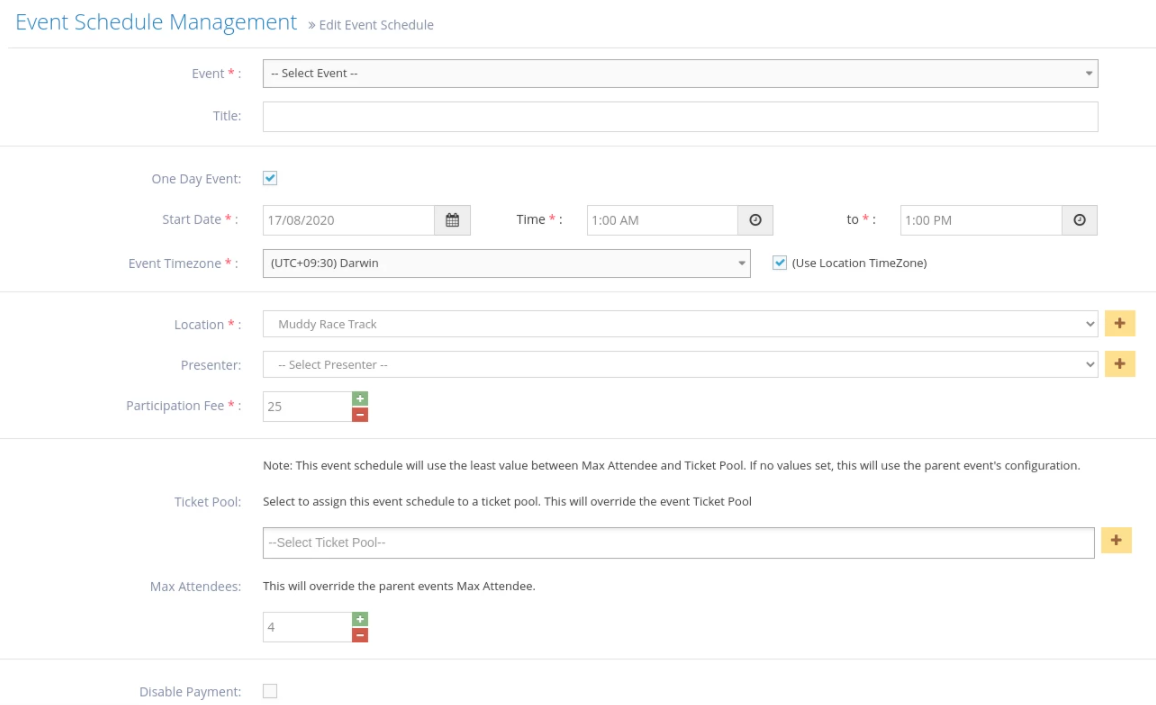

-
7Edit any or all items below:
- Event- select the event you are creating the schedule for - the event created above/recently - from the options.
- Title- enter the title of the event schedule.
- One-Day Event- put a check if the event is for one day only.
- Start Date- enter the first day of the event, including the start time and end time.
- End Date- enter the last day of the event, including the start time and end time.
- Event Timezone- select the correct time zone from the dropdown options, or you can tick the "Use Location Timezone" checkbox to have your event use the preferred location's timezone
- (Use Location TimeZone) - tick this (optional) if you wish to use the location
- Presenter - select the presenter of the event from the options or click the

- Participation Fee enter the price value for the event.
- Ticket Pool - select the ticket pool of the event from the options or click the to create a new one.
Learn how to create a new ticket pool here → - Max Attendees enter the maximum number of attendees for this event. If Max Attendees is set to 0, the max attendee is unlimited.
- Disable Payment put a check to disable payment for the event.
- Hide Schedule select to hide the event schedule if needed
-
8Once done, Save to update changes.