STEP-BY-STEP
-
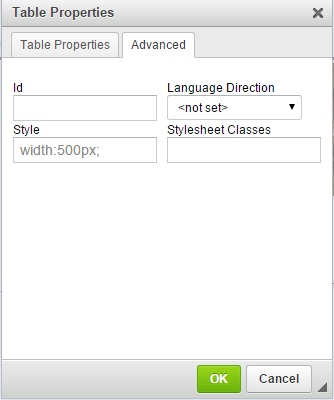
1In the Advanced tab, you can enter the element ID, css style codes, and style sheet class for this table
-
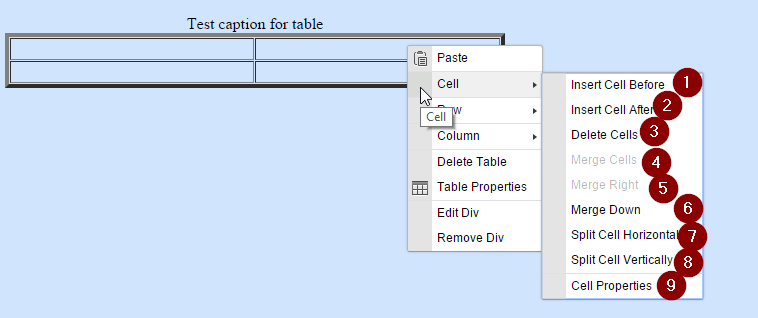
2More features: you can right-click on the table after created in the page content You can get more features for this table In the Cell right-menu
- (1): Inserts a cell before the current cell
- (2): Inserts a cell after the current cell
- (3): Deletes the highlighted cells
- (6): Merges a cell below with the current cell
- (7): Splits current cell become two-cell horizontal
- (8): Splits current cell become two-cell vertical
- (9): Opens the Cell Properties popup
-
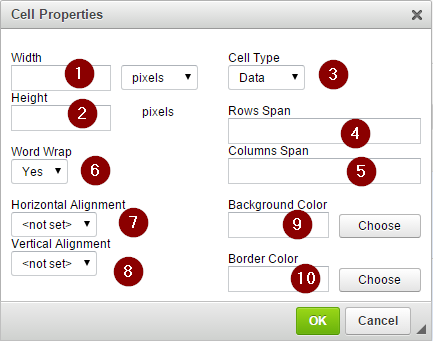
3In the Cell Properties:
- (1): Sets the width for the current cell
- (2): Sets the height for the current cell
- (3): Sets cell type as header or data
- (7): Sets horizontal alignment
- (8): Sets vertical alignment
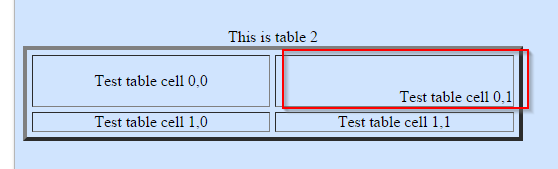
- Example: right-bottom
-
4
- (9): Sets the background color for the current cell
- (10): Sets border colour for current cell
-
5
- (1): Inserts a row above the current row
- (2): Inserts a row below the current row
- (3): Deletes the highlighted rows

-
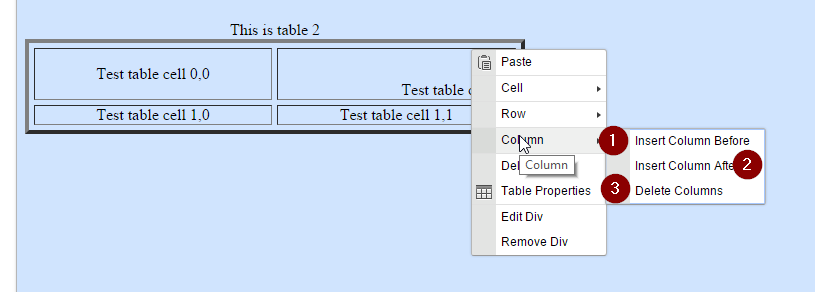
6
- (1): Inserts a column before the current column
- (2): Inserts a column after the current column
- (3):Deletes the highlighted columns