This module is to limit the access of specific page for the public users and allowed only selected users and groups.
Learn how to create User Groups here →
Securing Sections (Page Security) Overview
What are Secure Pages
Secure Pages are a WebEd tool that restricts access to pages or sections of your website to select users. Secure pages and authorised viewers are managed in the Admin Module through Users & User Groups.
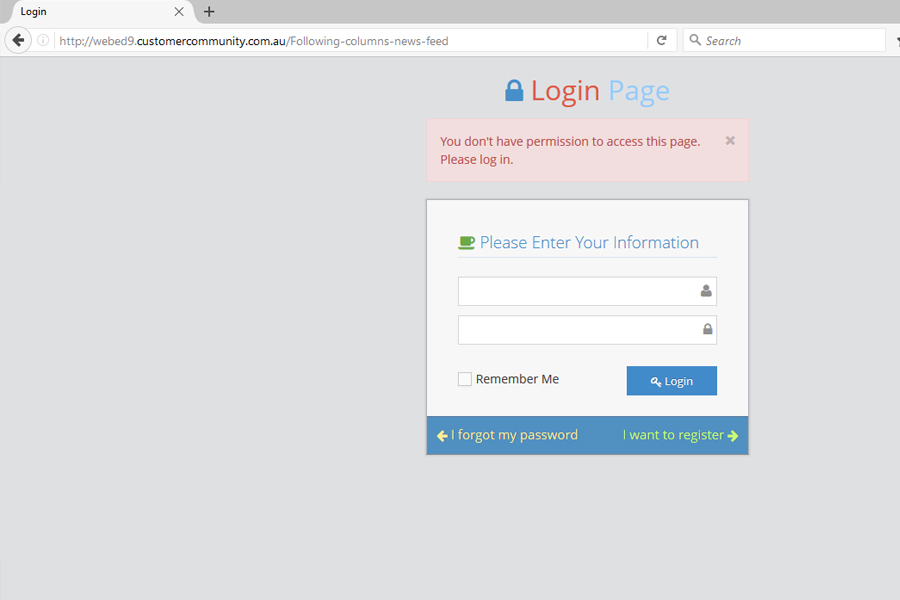
The user must be logged in to a user group that is configured to view this page or part of the website, otherwise the page content will not be displayed to the user. The following message is displayed to unauthorised visitors to a page.
Page Security allows you to set permission to a group of users that are currently using your site. This is how you can display specified content to specified users, for example securing a section of pages for dealers' information on pricing not to be seen by the general public. Securing a particular page by giving authorisation to a certain group will only allow a logged-in member of that group permission to view the secured page, this security applies to all pages that are a child of this page, making it easy to secure whole sections of your website.
Why you would use Secure Sections/Page Security
Lack of awareness of the risks and consequences may lead to the threat of stealing customer information and other transaction data/files. Website owners must protect their website even if it's small or big business and this Secure Sections/Page Security module will help you provide security and assurance from any internet or online threats.
How to Secure a Page
-
1Log in as an administrator and go to the Admin Dashboard.
Learn how to log in here → -
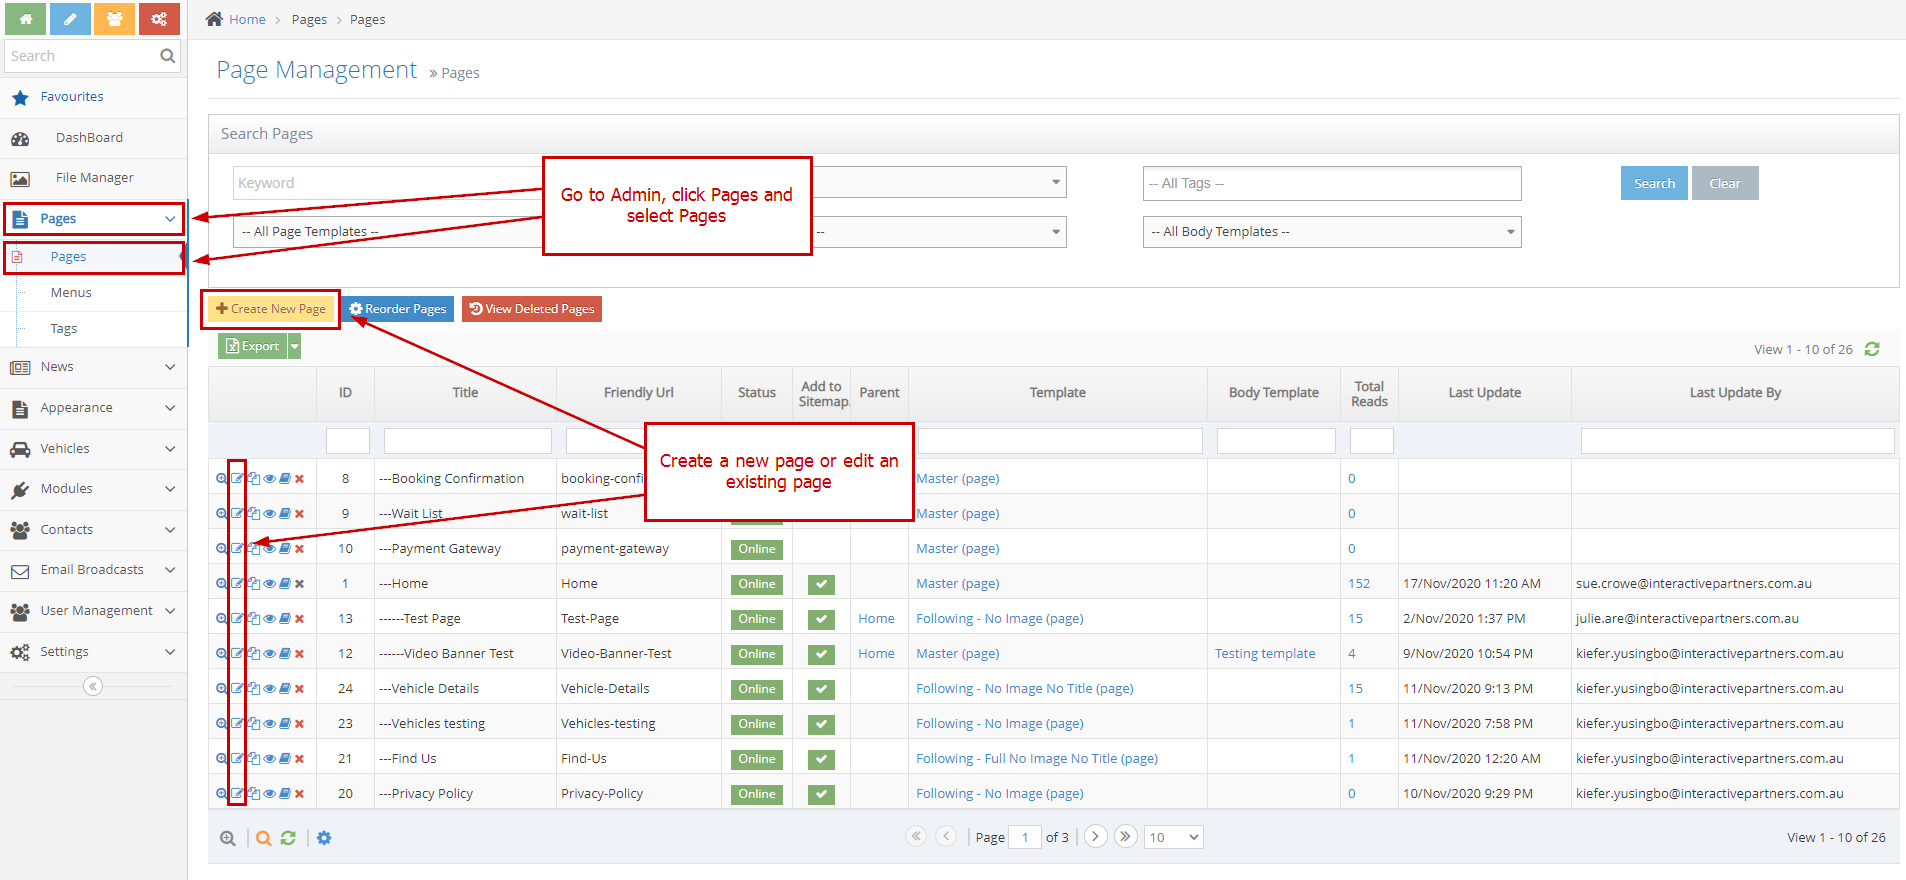
2Go to Admin > Pages > Pages
-
3Select Edit or Create a New Page
-
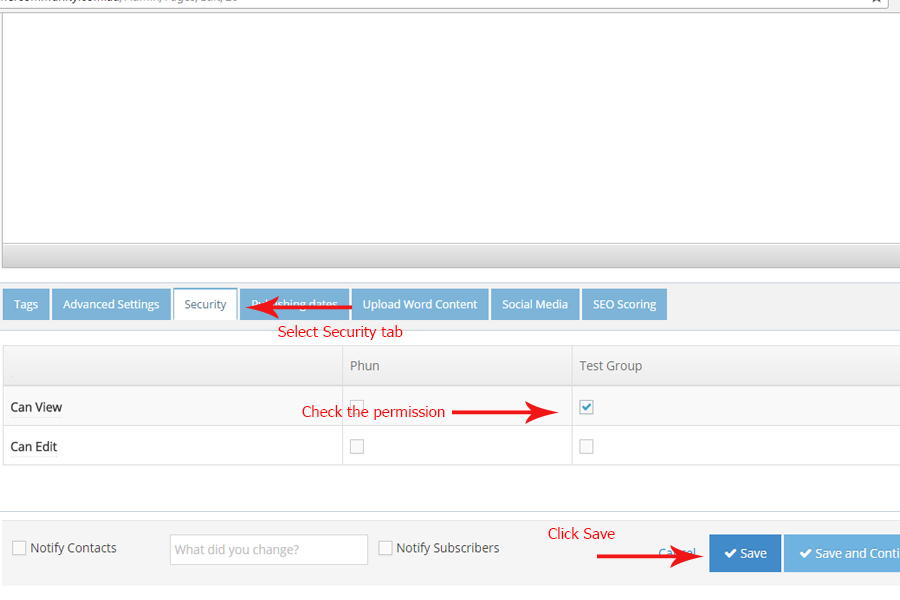
4At the bottom or below the text editor click the "Security" tab
-
5Assign each group to the "Can View" or "Can Edit" the page
-
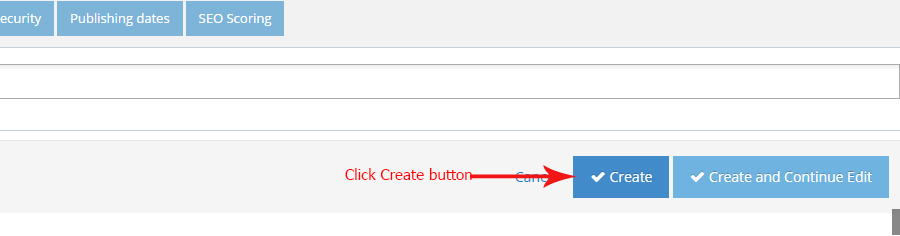
6Click Save or Create button
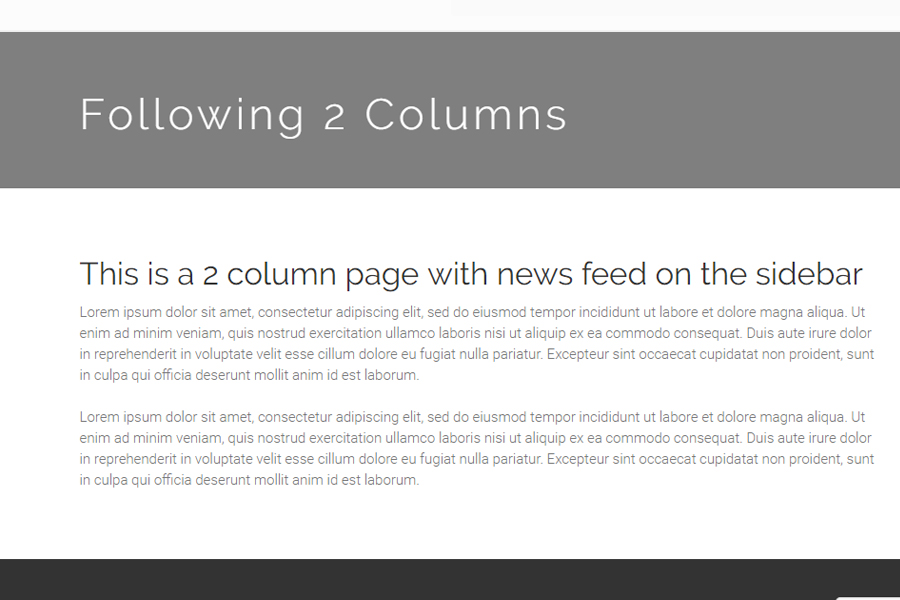
The Front Page Result
-
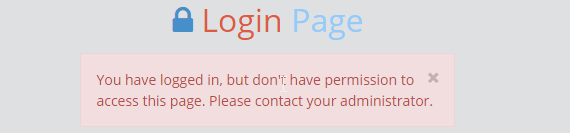
1Go to the front page and see the changes. If you are part of the group of users that was checked on the above instruction or an administrator you can see the default page like the below screenshots
-
2If you are not part of the group then you will be redirected to the log in page