Why you would use the Upload Media Browser
Learn the benefits of using WebEd's Upload Media Browser to streamline file management, ensuring smooth and efficient media handling across your site.
Managing Files via File Manager
STEP-BY-STEP
-
1Log in as an administrator and go to the Admin Dashboard.
Learn how to log in here → -
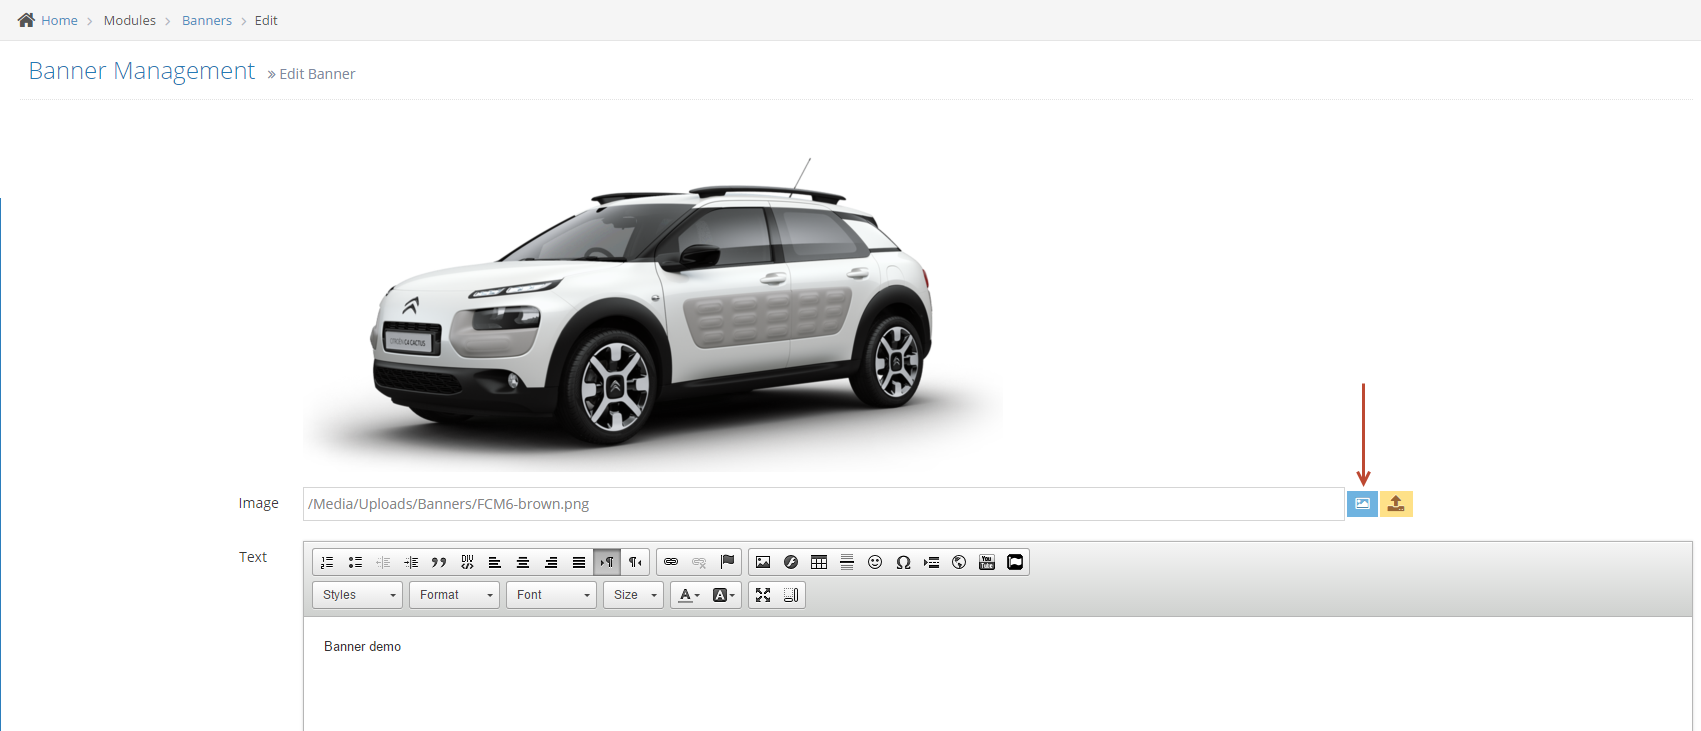
2Go to modules to use the media browser (Ex: Modules > Banners).
-
3Then click Create new one or edit an existing record.
-
4Click on the Select Image icon to go to the media browser
-
5Right-click on a folder to create a sub-folder, delete or rename the folder selecting.

Uploading Multiple Files via File Manager
STEP-BY-STEP
-
1Log in as an administrator and go to the Admin Dashboard.
Learn how to log in here → -
2Go to modules then search for the "File Manager".
-
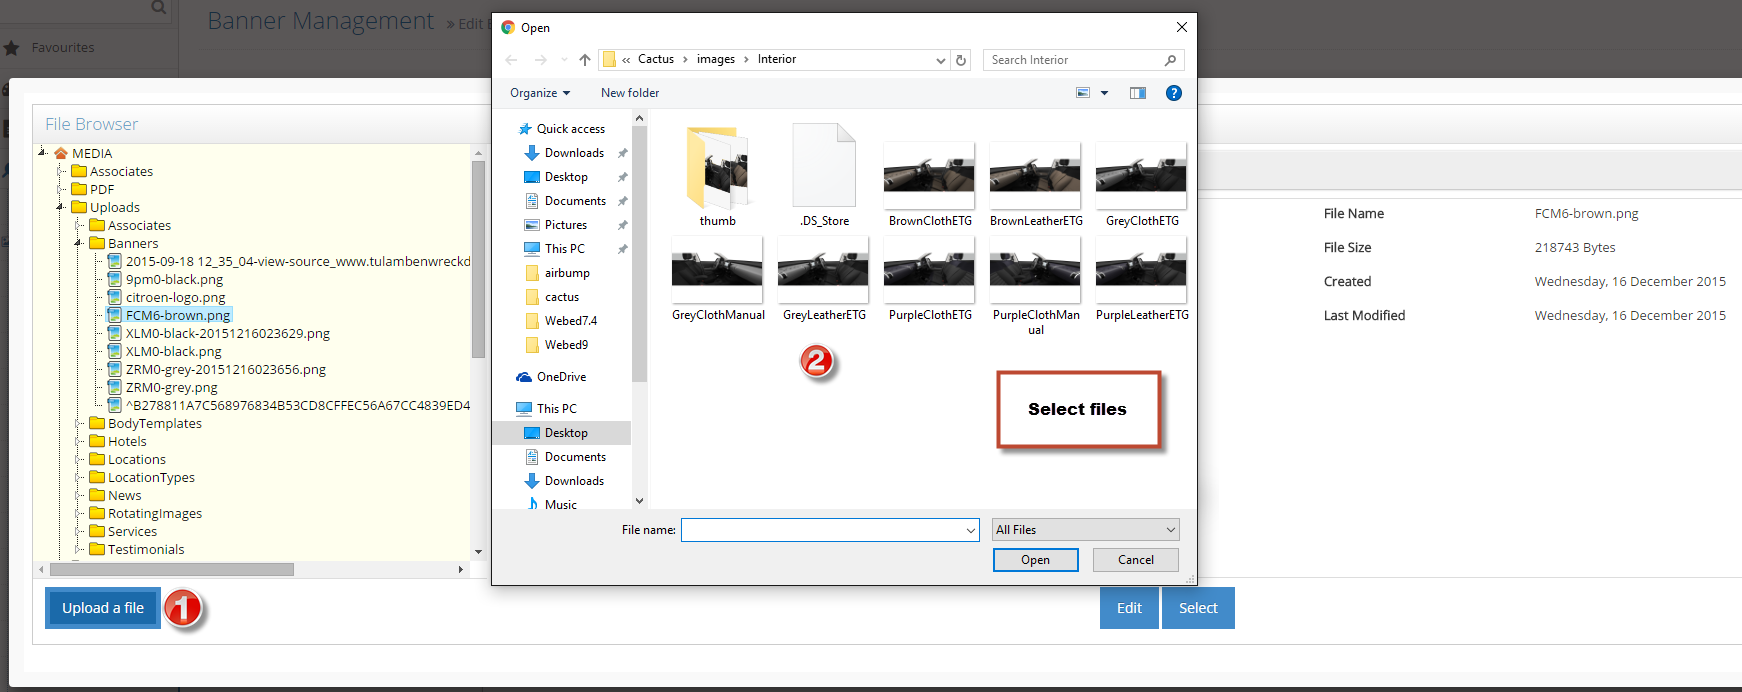
3Then select the folder where you want to upload the files
-
4To upload a file, simply click on the 'Upload a file' button and then select the desired files by browsing through your computer's folders.
-
5After selecting the files, click "Open or OK" to proceed with uploading them.
-
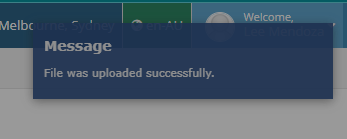
6Wait for the progress indicator to finish then a successful notification on the upper right corner will appear once done.
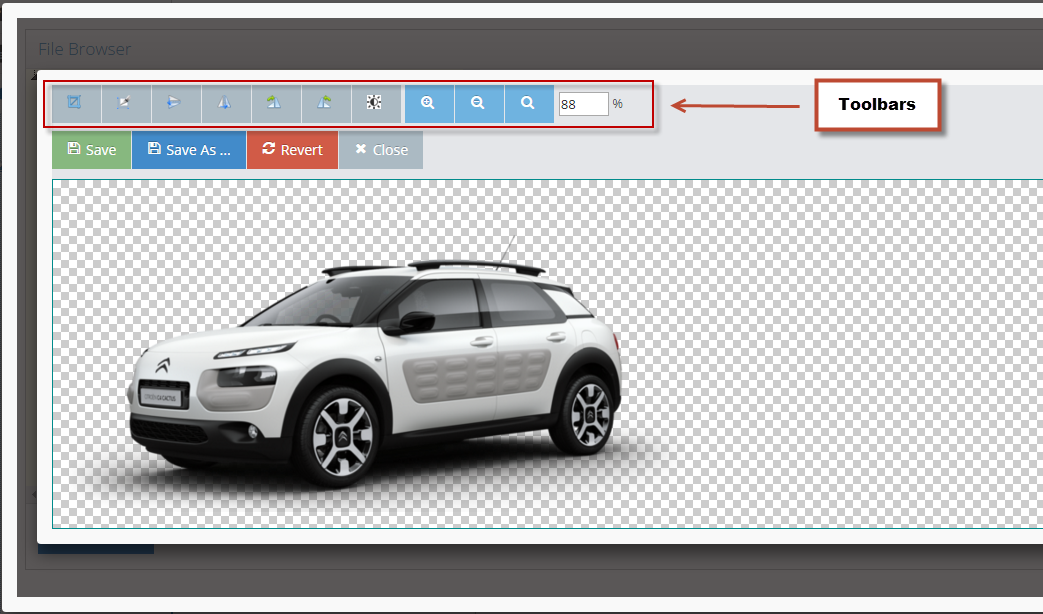
Editing Images via File Manager
STEP-BY-STEP
-
1Log in as an administrator and go to the Admin Dashboard.
Learn how to log in here → -
2Go to modules then search for the "File Manager".
-
3Select the image you want to edit on the left panel
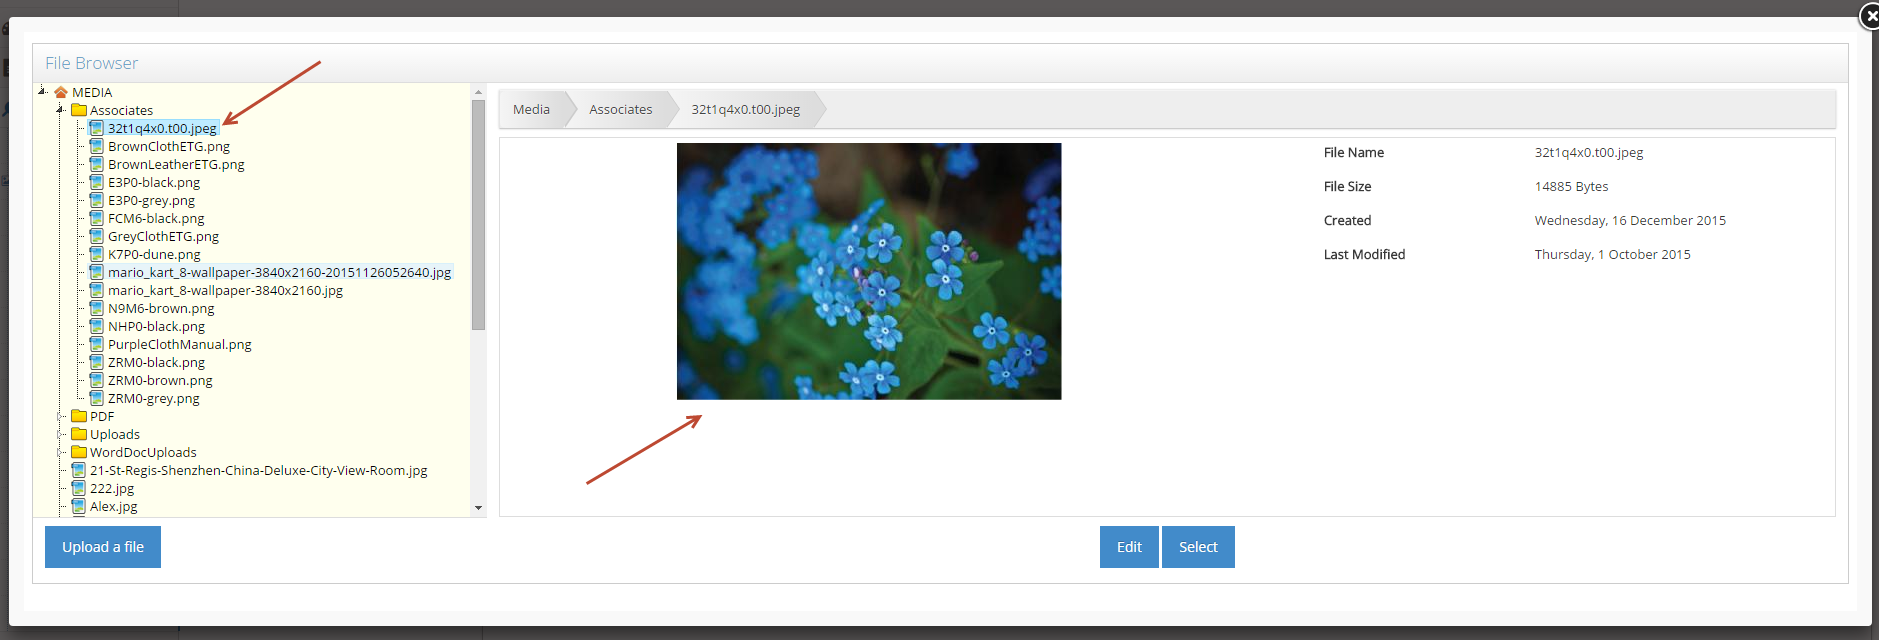
-
4Click Edit button then proceed on updating the image then Save to apply changes.