- Associates Overview
- Why you would use an Associate Module?
- How to create a new associate
- How to Edit or View an Associate details
- How to edit an Associate
- How to delete an Associate
- How to create a new Associate Type
- How to edit/view or delete an associate type
- Deleting an Associate type
- Add an Associate Listing to a page
- How to manage the Associate Listing display using Templates
Associates
Associates Overview
Associates are any persons related to your business. Could be used for a team list. Certified partners and any type of listing about people.
Why you would use an Associate Module?
- Is a great way to list associates (people) associated with your business.
- Associates can be listed all together or broken up into Associate Types
- You can easily control the look and feel of associate listings using WebEd Templates
How to create a new associate
This can help in selling advertising space or promoting user products
STEP-BY-STEP
-
1Log in as an administrator and go to the Admin Dashboard.
Learn how to log in here → -
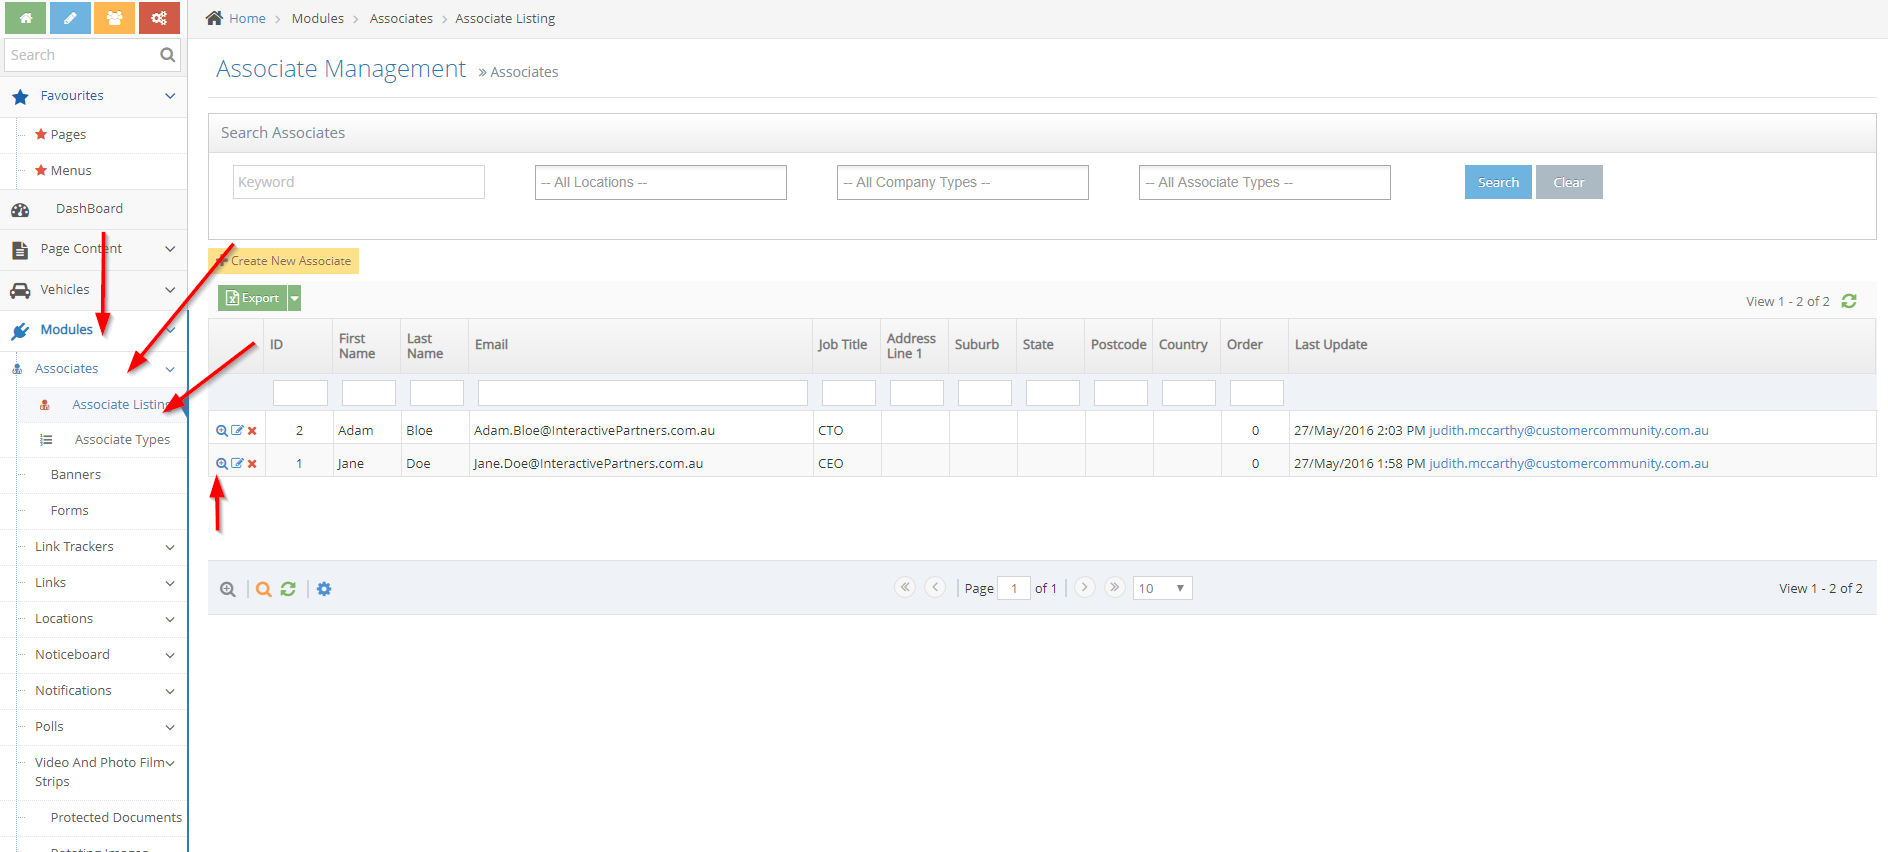
2Go to Admin Dashboard > Associates And Locations
-
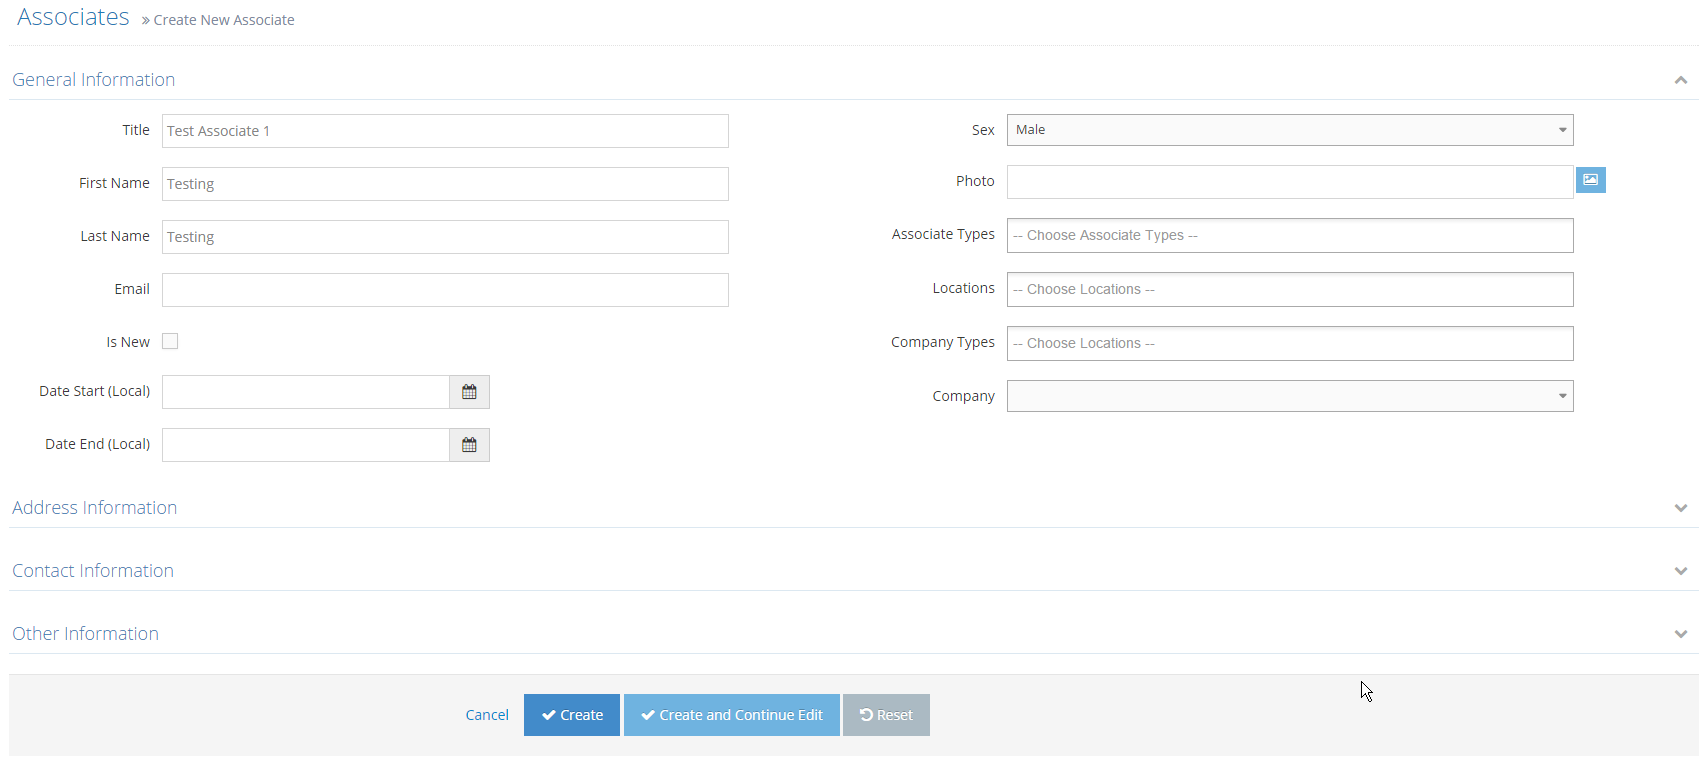
3Select Associates and Associate Listing and click Create New Associate button

-
4Input information for the new associate
-
5Click Create
How to Edit or View an Associate details
STEP-BY-STEP
-
1Log in as an administrator and go to the Admin Dashboard.
Learn how to log in here → -
2Go to Admin Dashboard > Associates And Locations
-
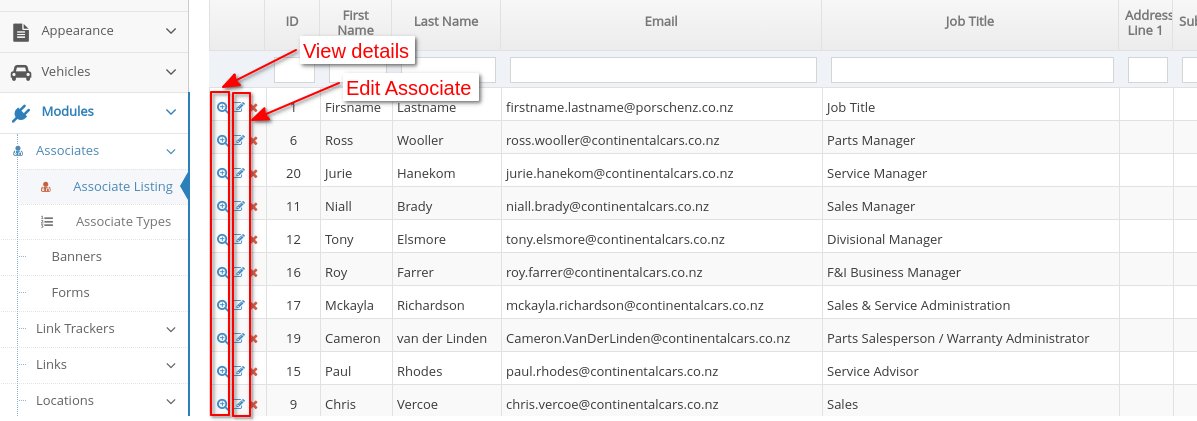
3Select Associates and Associate Listing
-
4Click Edit or View Details
How to edit an Associate
STEP-BY-STEP
-
1Log in as an administrator and go to the Admin Dashboard.
Learn how to log in here → -
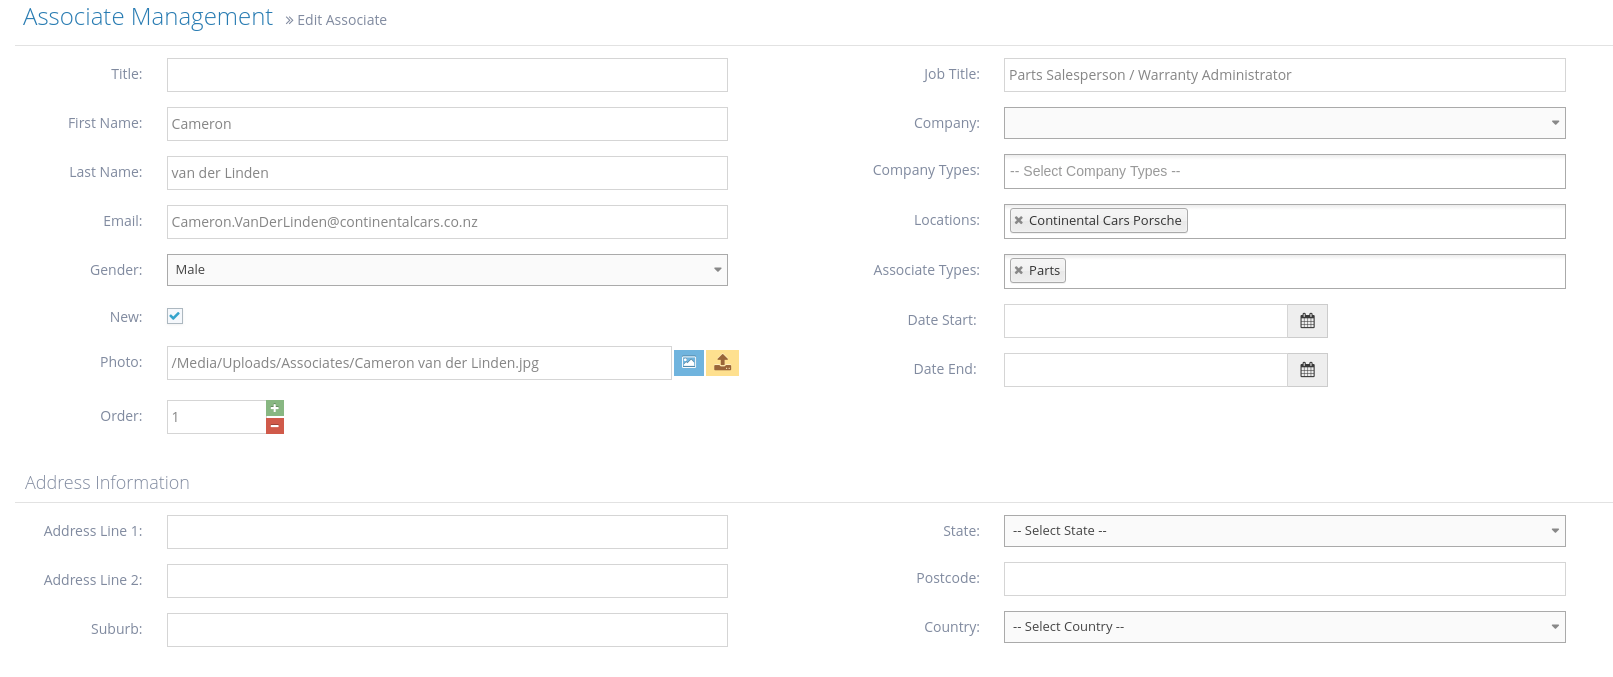
2Click the Edit icon
-
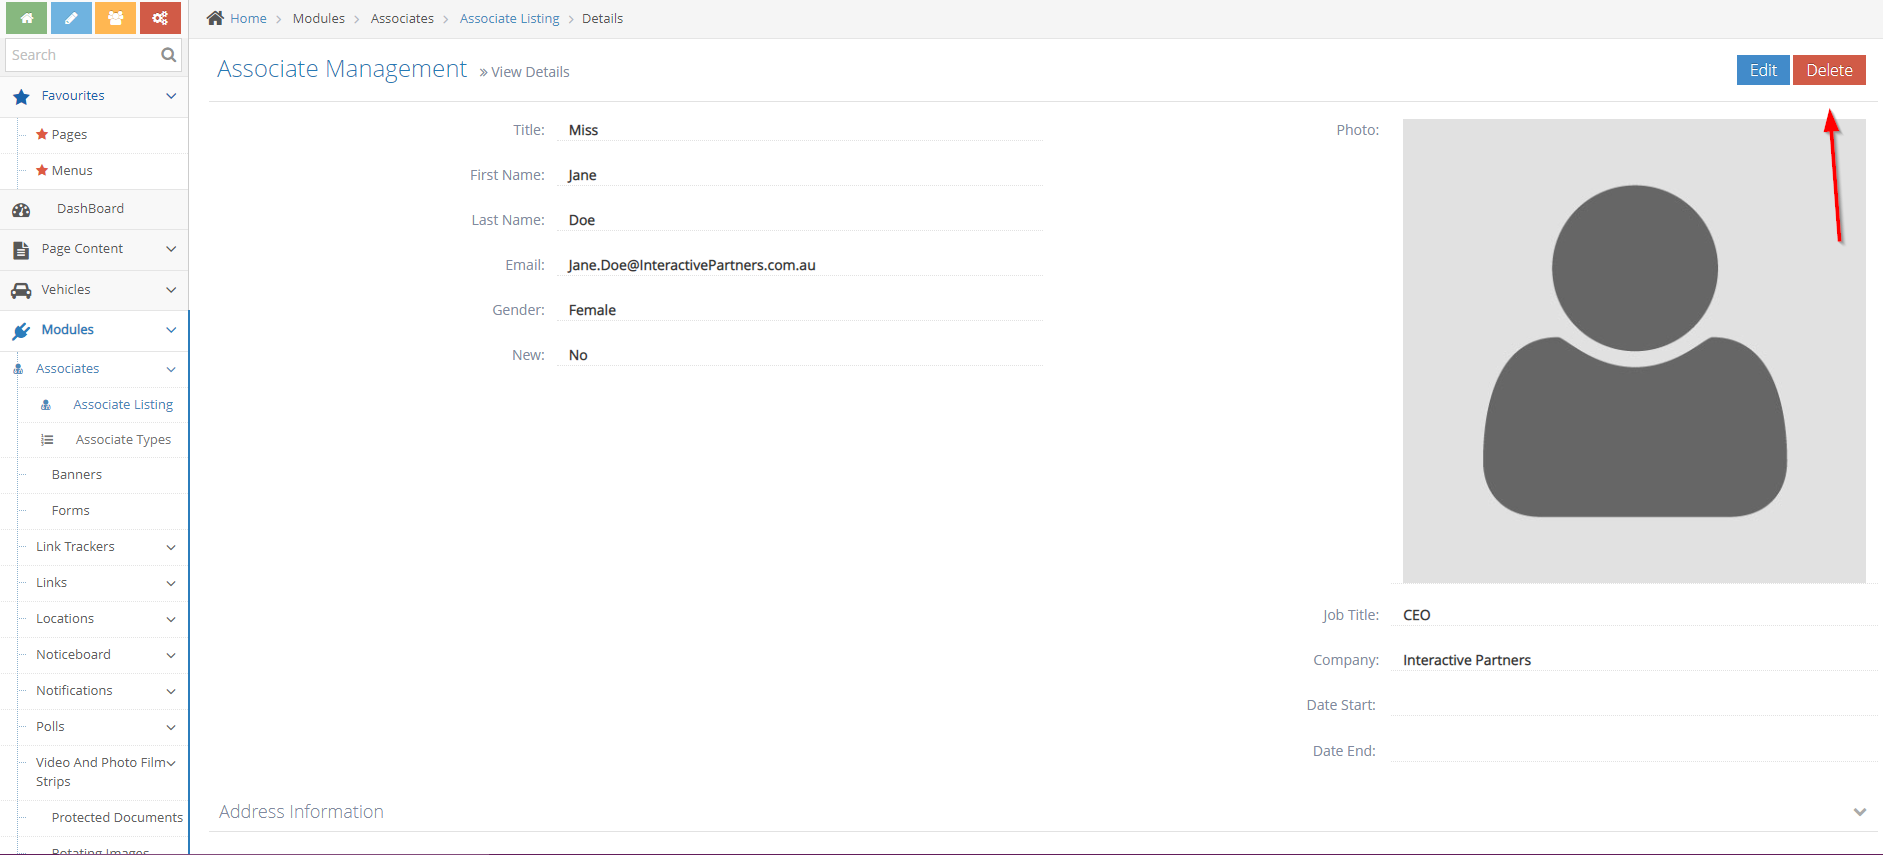
3You can edit the details once you're on the Associate Management
-
4Click the Save button at the bottom
How to delete an Associate
STEP-BY-STEP
-
1Log in as an administrator and go to the Admin Dashboard.
Learn how to log in here → -
2Go to Admin Dashboard > Modules
-
3Select Associates and Associate Listing
-
4Click view details on the Associate to be removed
-
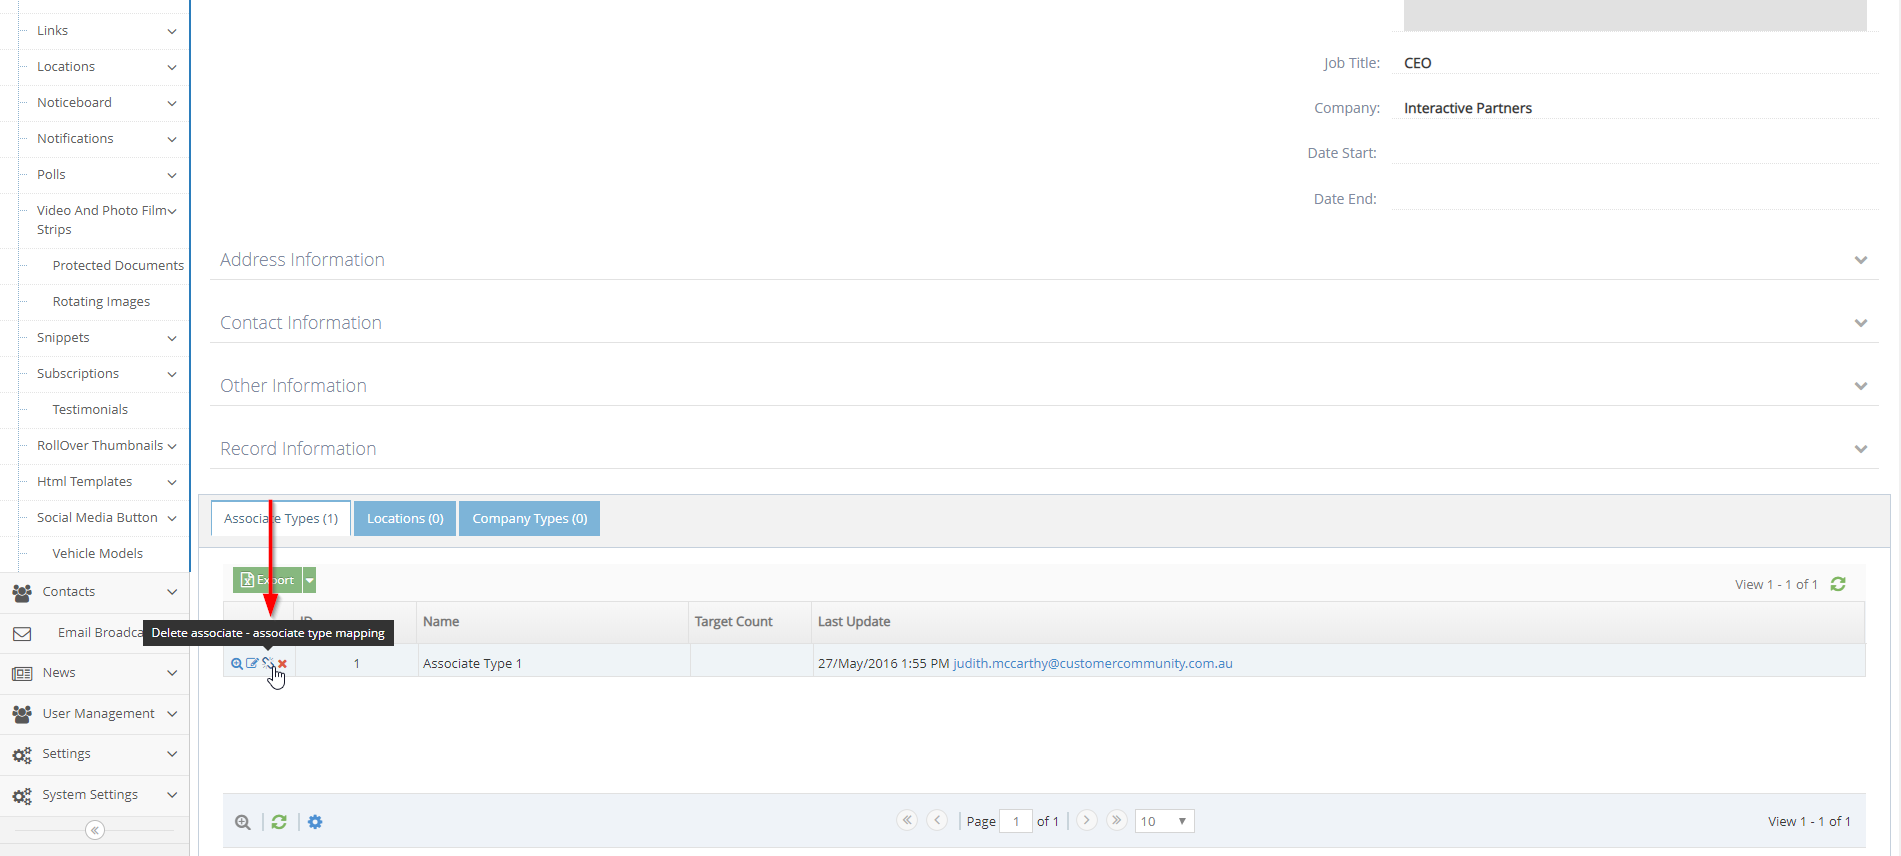
5At the bottom part, under the associate type tab > delete the associate in the associate type mapping
-
6After being removed on the associate type, you can now delete the Associate using the Delete button at the top right corner of the associate listing details
How to create a new Associate Type
STEP-BY-STEP
-
1Log in as an administrator and go to the Admin Dashboard.
Learn how to log in here → -
2Go to Admin Dashboard > Modules
-
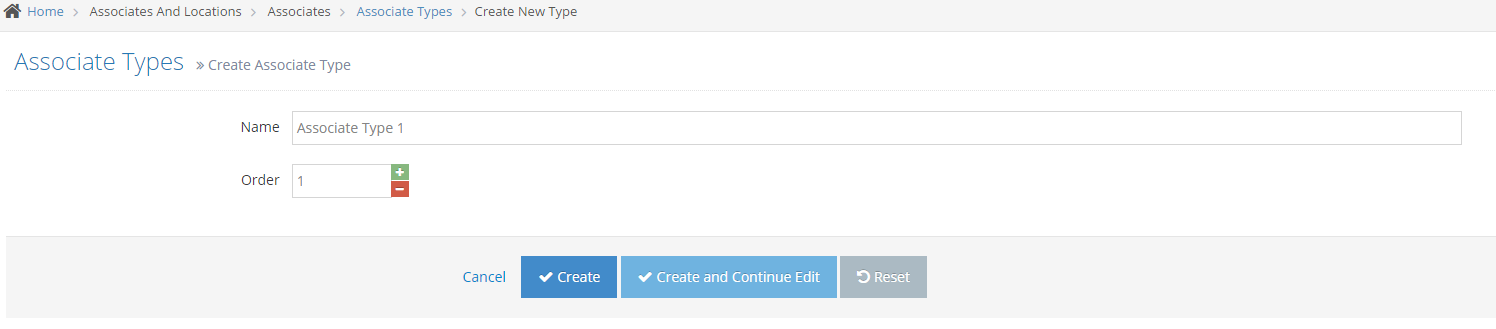
3Select Associates and Associate Types and then click Create New Associate Type button

-
4Input information for new associate type
-
5Click Create
How to edit/view or delete an associate type
STEP-BY-STEP
-
1Log in as an administrator and go to the Admin Dashboard.
Learn how to log in here → -
2Go to Admin Dashboard > Associates
-
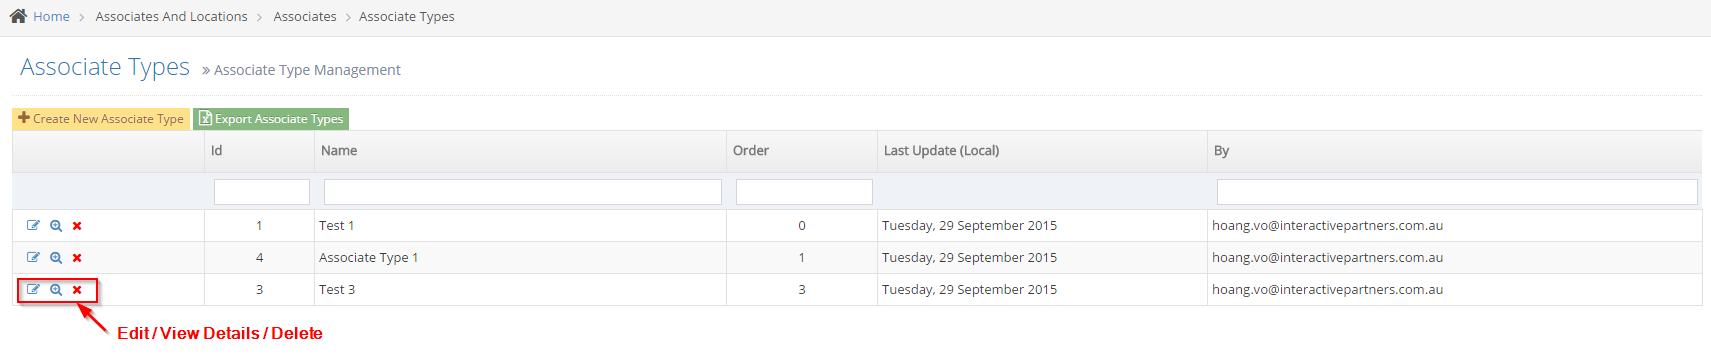
3Select Associate Types
-
4Click the Edit/View Details/Delete icon on an associate type
Deleting an Associate type
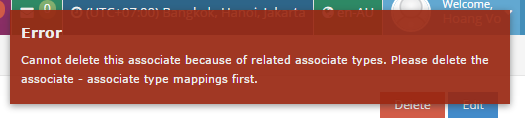
Important Notes:
- You cannot delete an associate type that has related data (associates).
- If you are trying to delete an associate or associate type with related data, you will get the following warning.
- Removing the mapping between the associate and associate type will allow you to delete the Associate Type.
STEP-BY-STEP
-
1Log in as an administrator and go to the Admin Dashboard.
Learn how to log in here → -
2Find the Associate Type you wish to delete
-
3Click the Remove mapping icon to delete the mapping
-
4This removes the associates from the Associate type and allows you to delete the Associate Type

Add an Associate Listing to a page
STEP-BY-STEP
-
1Log in as an administrator and go to the Admin Dashboard.
Learn how to log in here → -
2Go to the page that you want to show the associated listing and click Edit
-
3On the Edit Screen, go to the place you want to display the associate listing and click Configure Curly Bracket button.
-
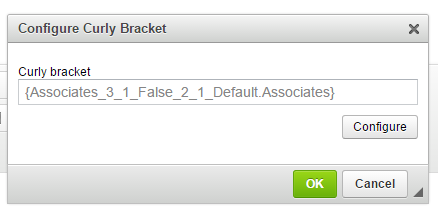
4The Configure curly bracket pop-up appears
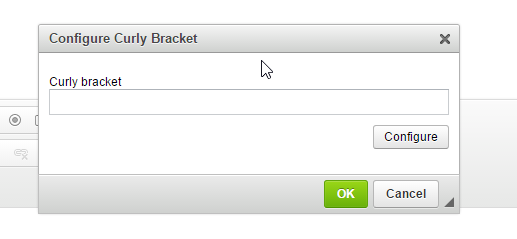
-
5Click Configure to add a curly bracket
-
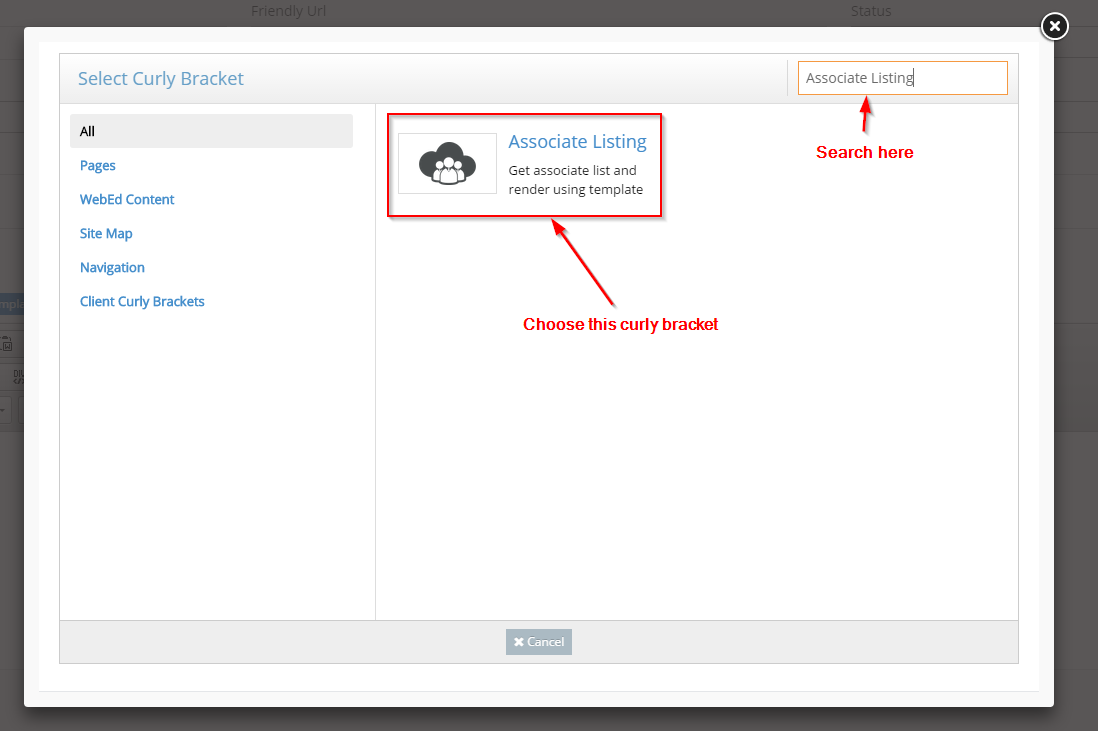
6Popup to select curly bracket display
-
7Search Associate Listing
-
8Choose Associate Listing curly bracket
-
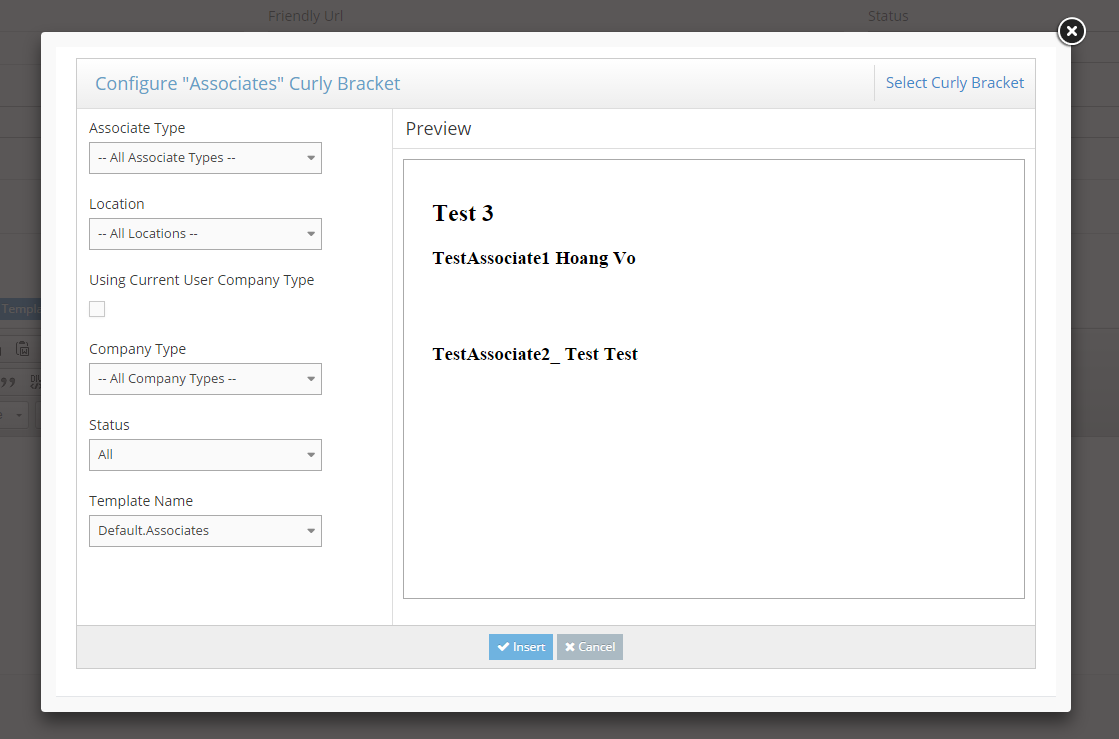
9Popup to configure Associate Listing curly bracket displays
-
10
-
Input your settings for this curly bracket:
- Associate Type: the associate type for filtering
- Location: the location for filtering
- Using Current User Company Type: using the current user company type for filtering, will dynamically filter the associate by current user company type
- Company Type: the company type for filtering if you want to hard code the company types, this value will be overwritten by the current user company type (if checked)
- Status: the status of associate
- All: all associate status
- New: the new associates only
- Not New: the not new associate only
- Template Name: the template used to render curly bracket

-
-
11Click Insert
-
12The curly bracket configuration will insert into the curly bracket configuration screen. Click OK
-
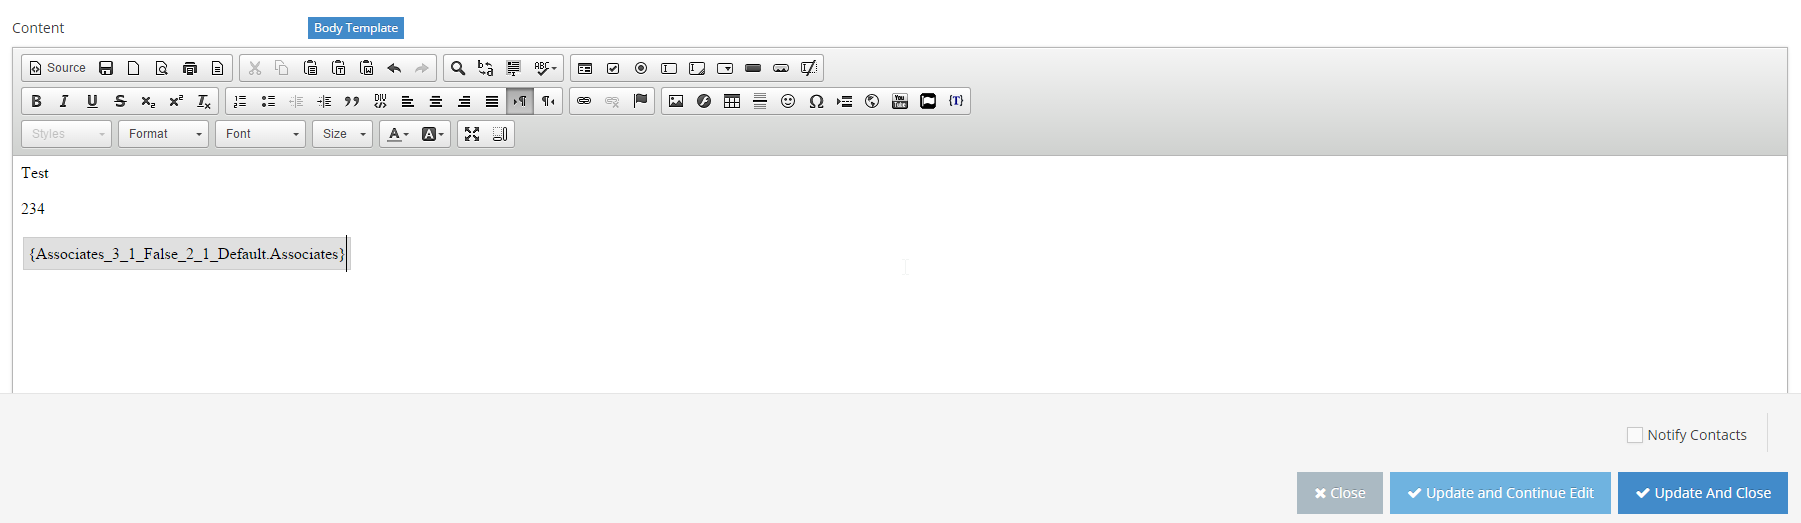
13The configured Associate listing curly bracket now appears on the page.
-
14Click Update and Close
-
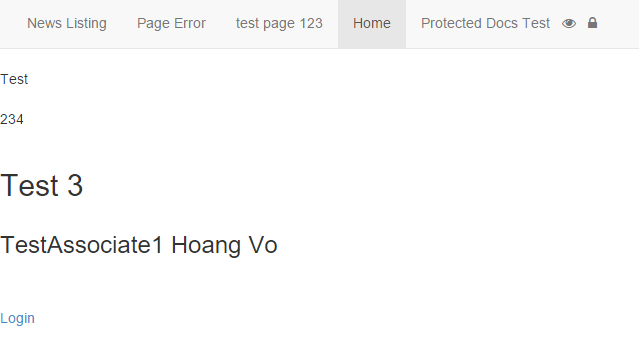
15The page is now updated, and the associate listing appears in page content
How to manage the Associate Listing display using Templates
Templates control the layouts for different Associate Type Listings. This gives you the ability to list similar data in a variety of ways.
STEP-BY-STEP
-
1Log in as an administrator and go to the Admin Dashboard.
Learn how to log in here → -
2Go to Admin Dashboard > System Settings
-
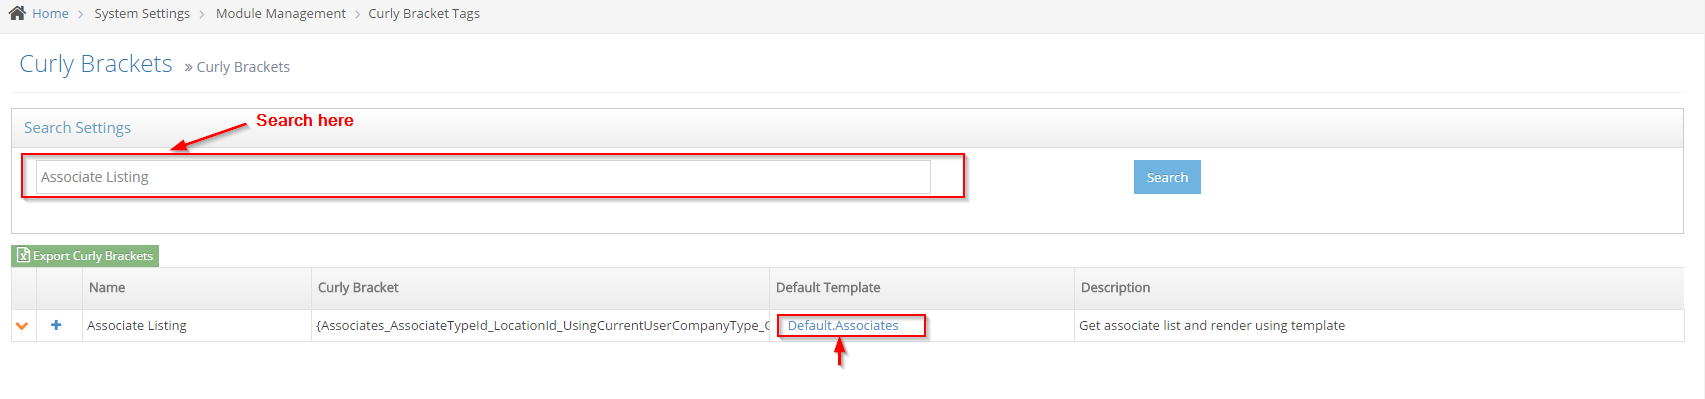
3Select Module Management and Curly Brackets Tags then search for the keyword Associate Listing
-
4You can click on the Default Template name to edit the Default Template or click on the + symbol in the 2nd column to create a new template for that curly bracket
-
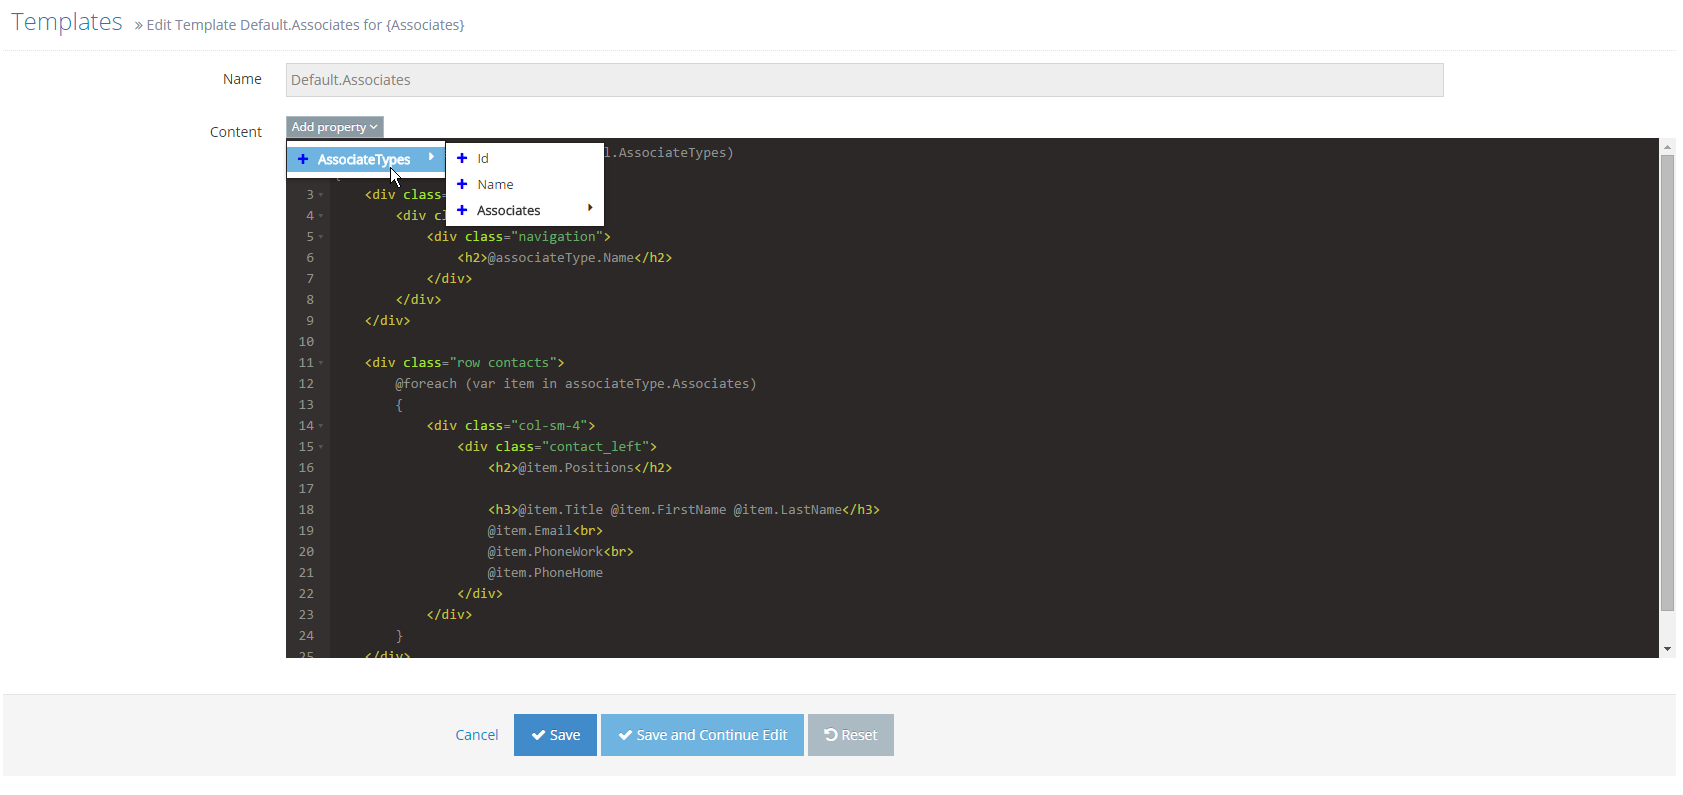
5Enter the HTML for the layout of the listing
-
6Click Add Property to list all available properties for this curly bracket for dynamic data
-
7Click Save
-
8Refresh your web page and the new layout will be displayed