STEP-BY-STEP
-
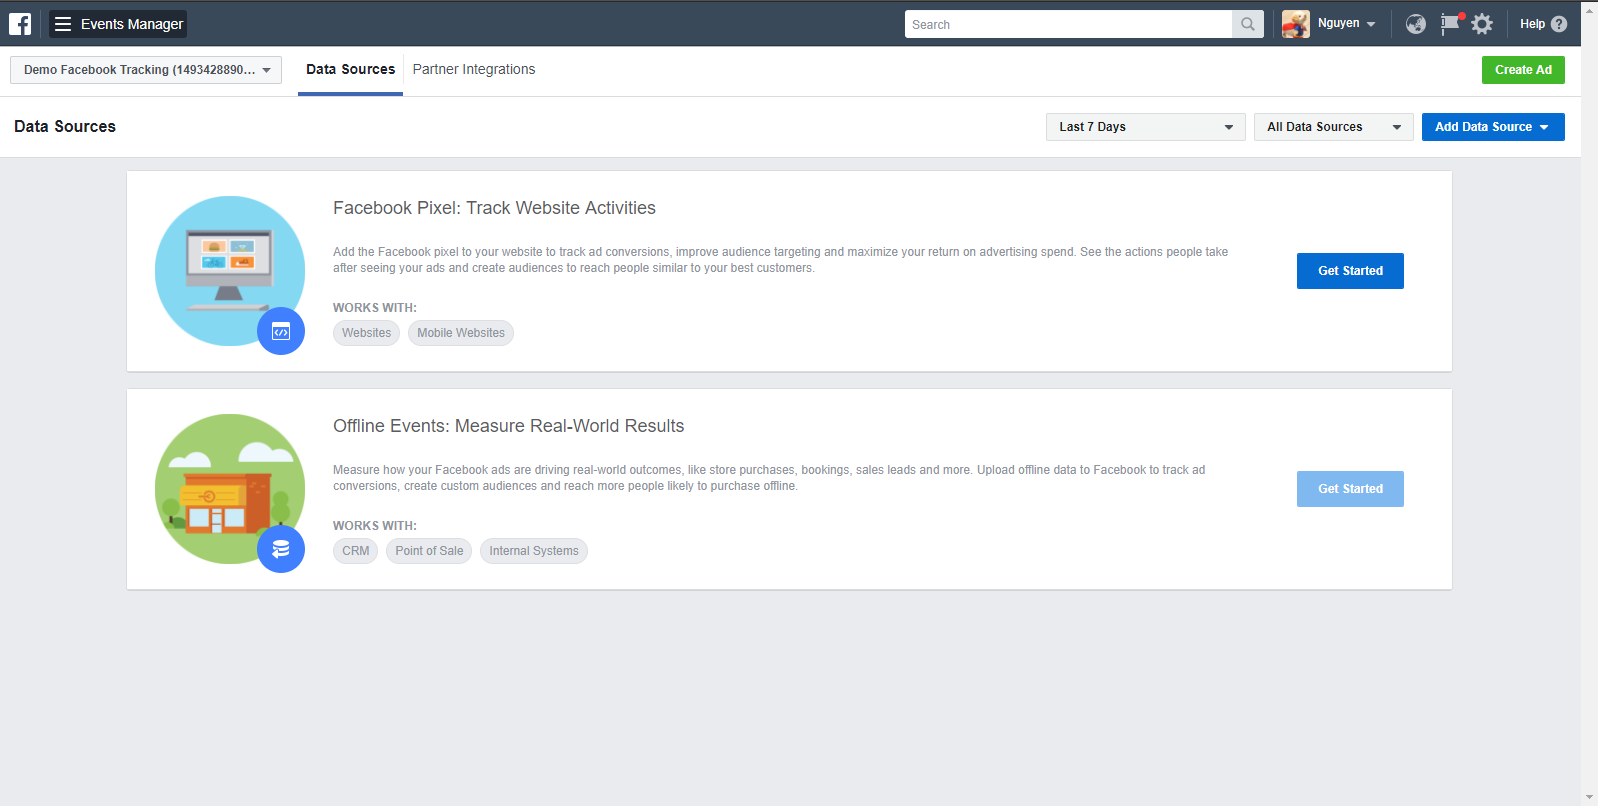
1You need to log in to Facebook user account management and then go to https://www.facebook.com/events_manager/
-
2Click Get Started to create a Facebook pixel
-
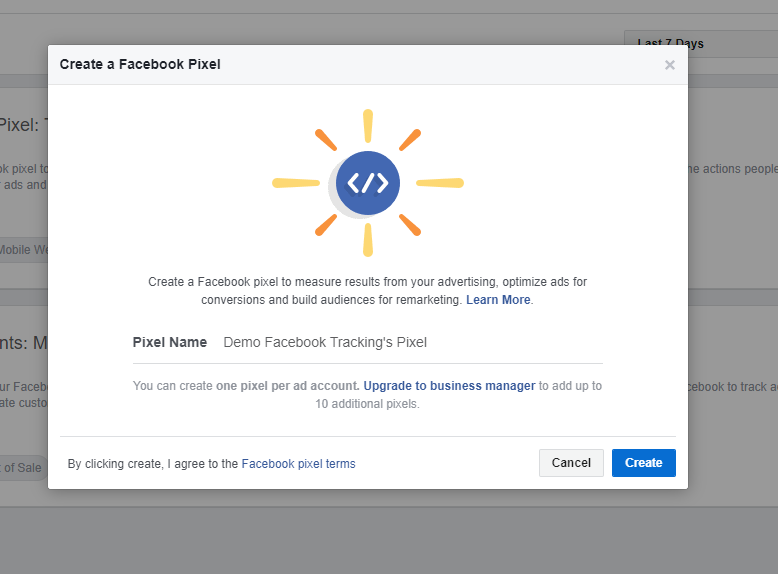
3After that, you can change the name of Facebook Pixel if you want. And then you click Create
-
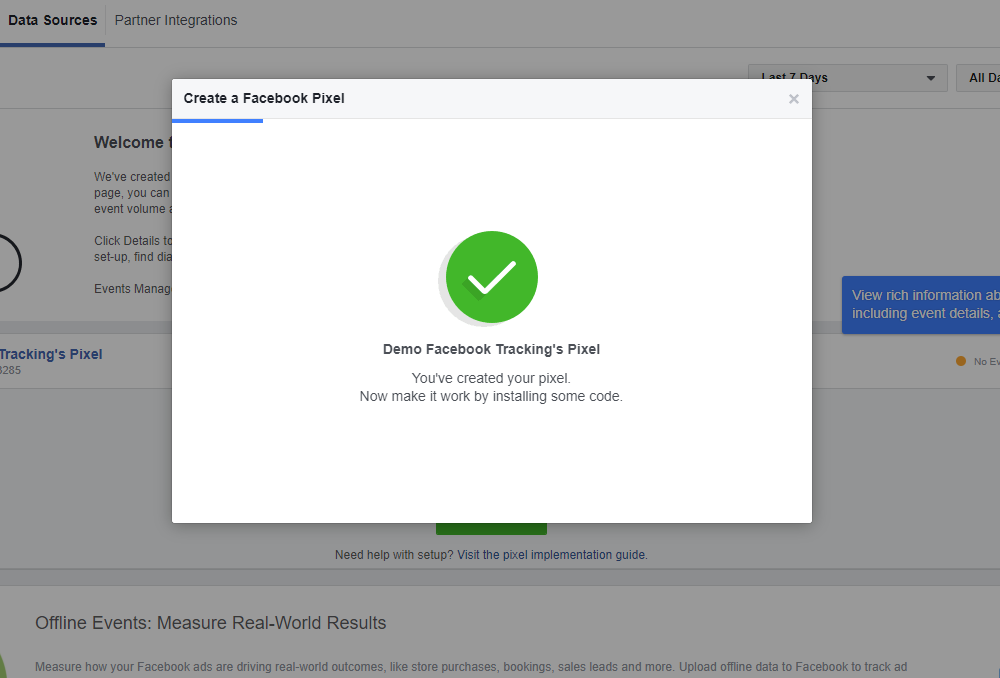
4Wait for few a minutes until the Facebook Pixel is created
-
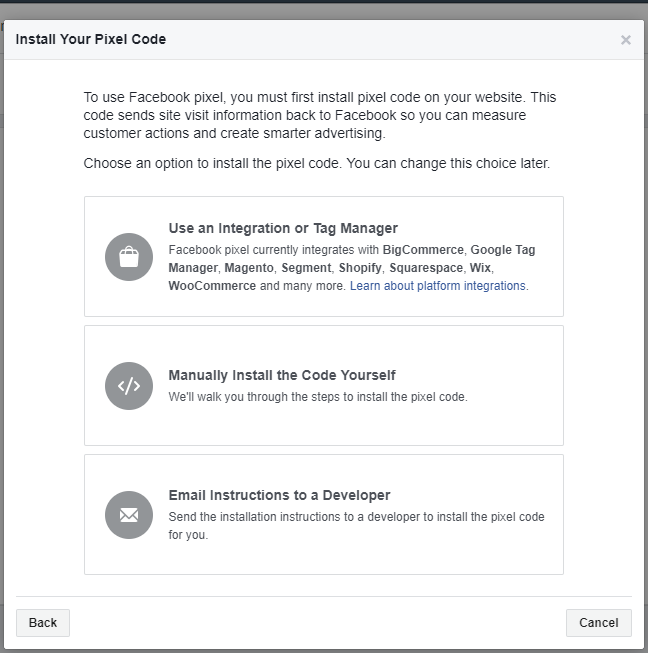
5After that, you need to set up the Facebook Pixel
-
6You have 3 choices to set up a pixel.
-
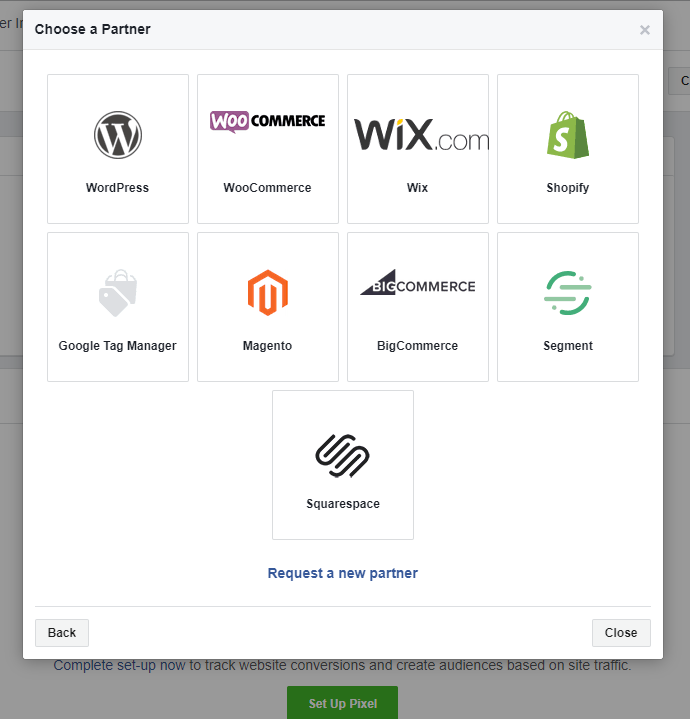
7You can choose to use an Integration or Tag Manager if you have any partner in there
-
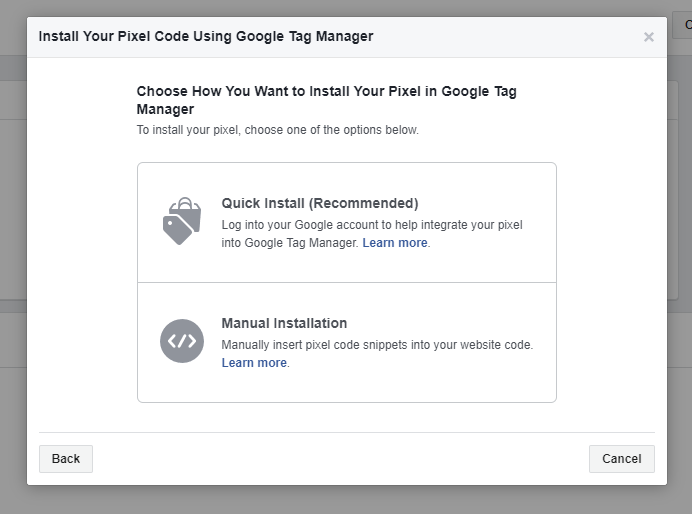
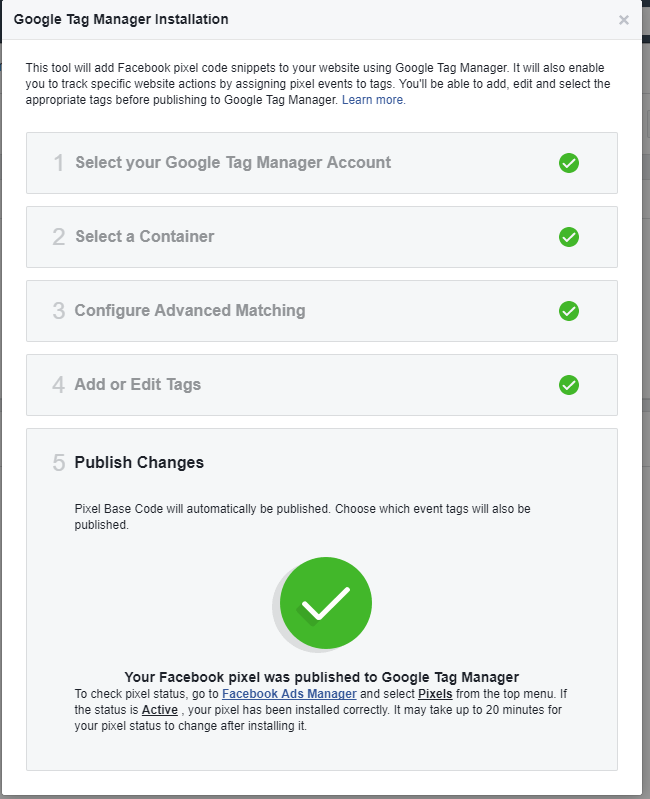
8In this demo, we'll choose the Google Tag Manager.
-
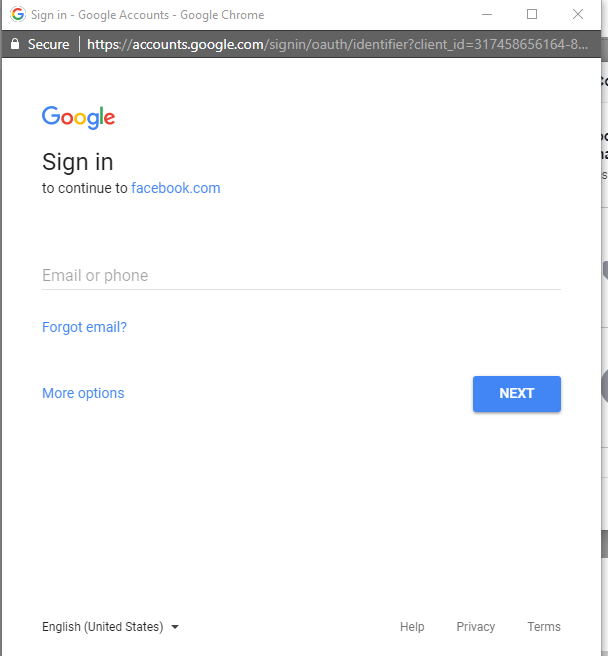
9Choose Quick Install and log in your account google
-
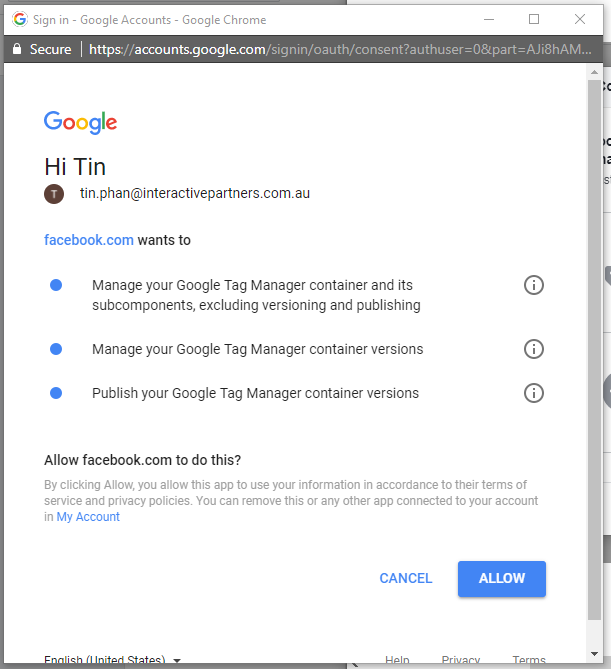
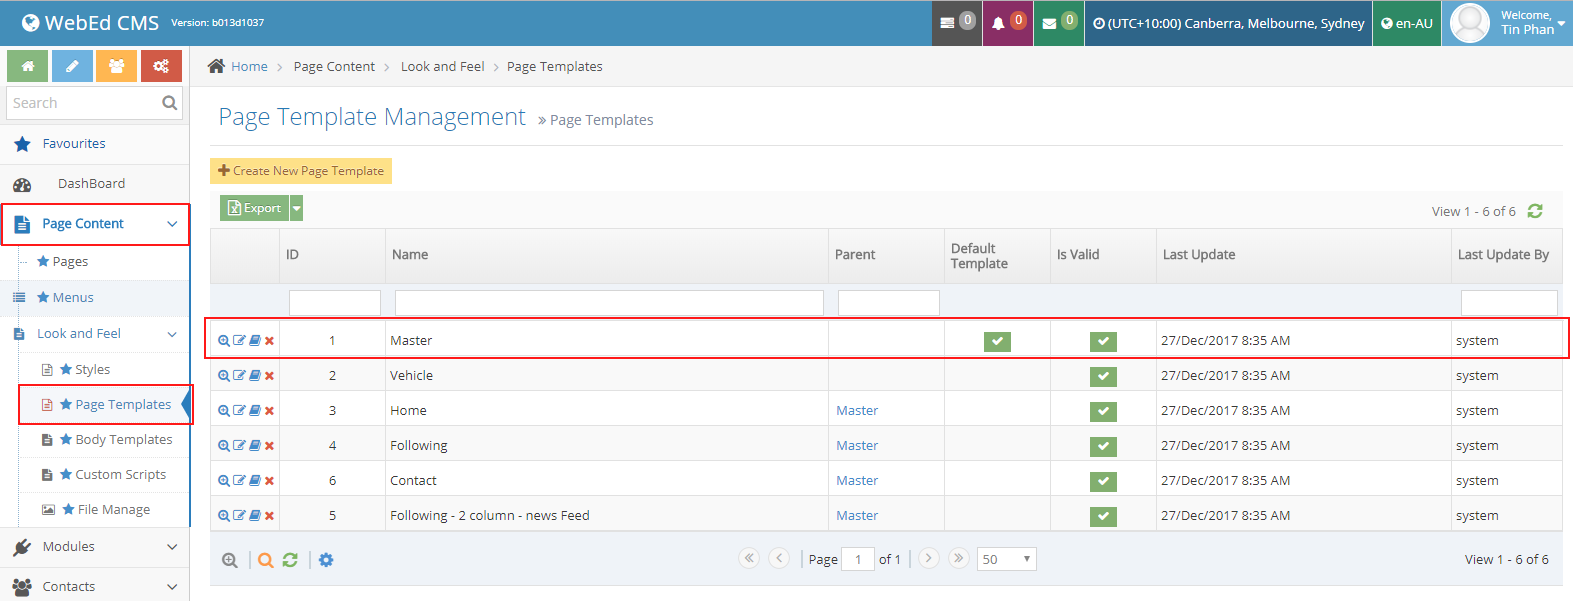
10You can see the list of information. Click Allow
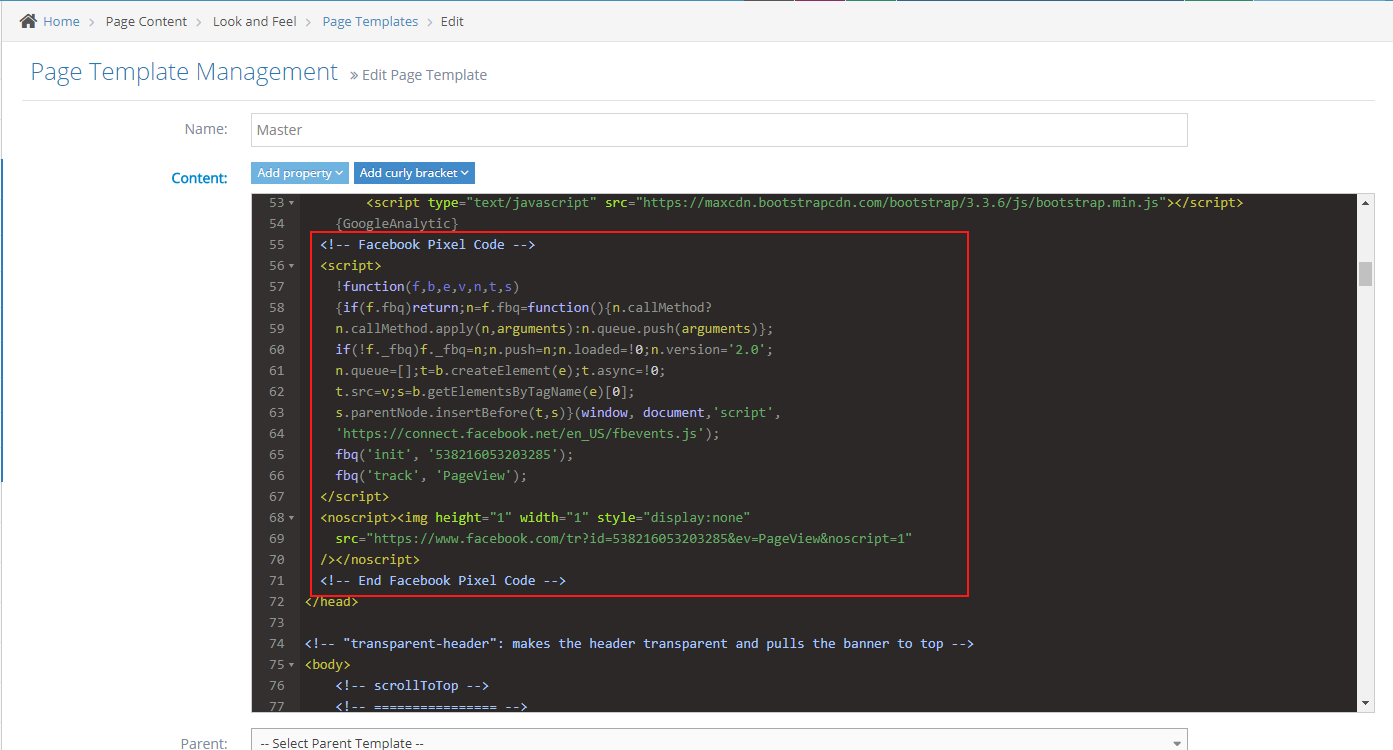
-
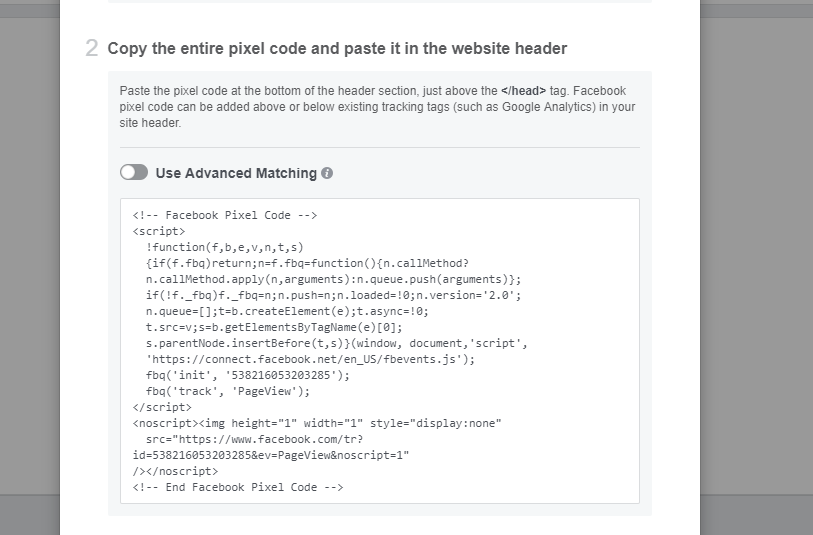
11Then your account google will have access to Google Tag Manager.
-
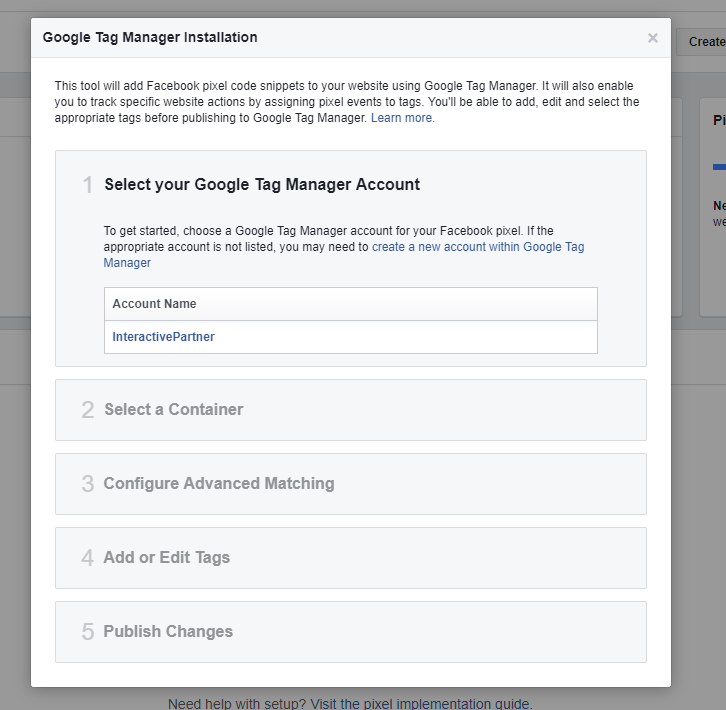
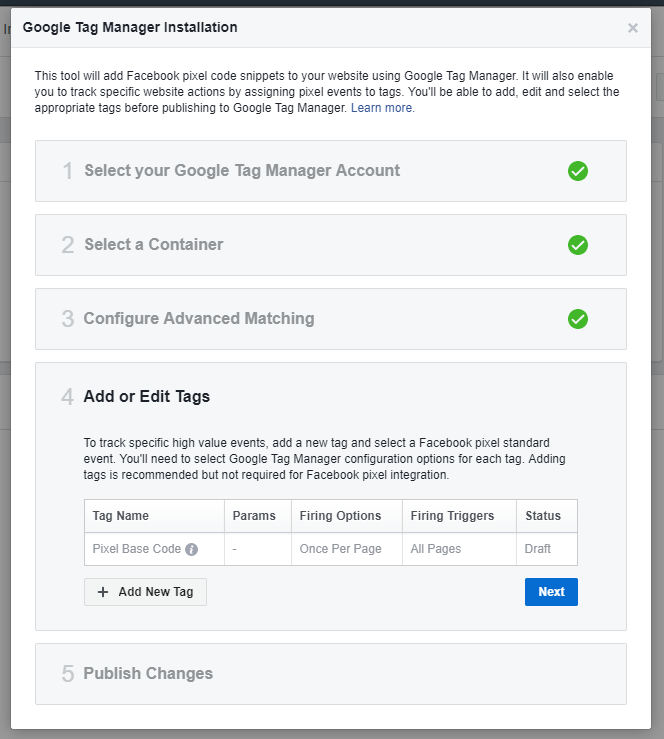
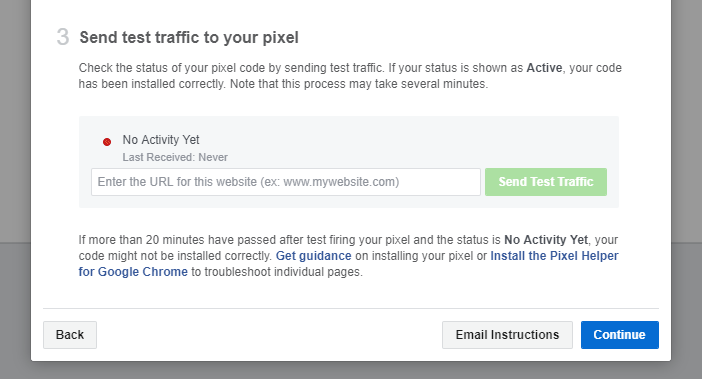
12Select your Google Tag Manager account
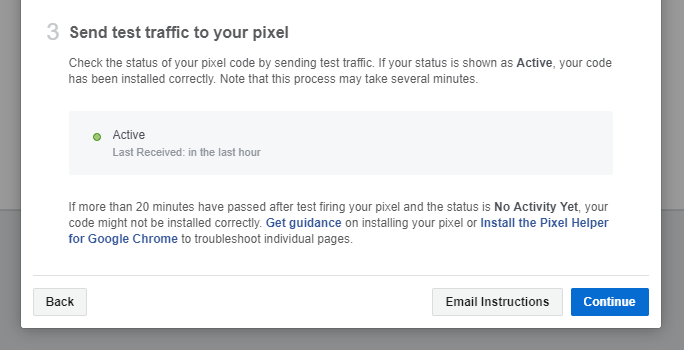
-
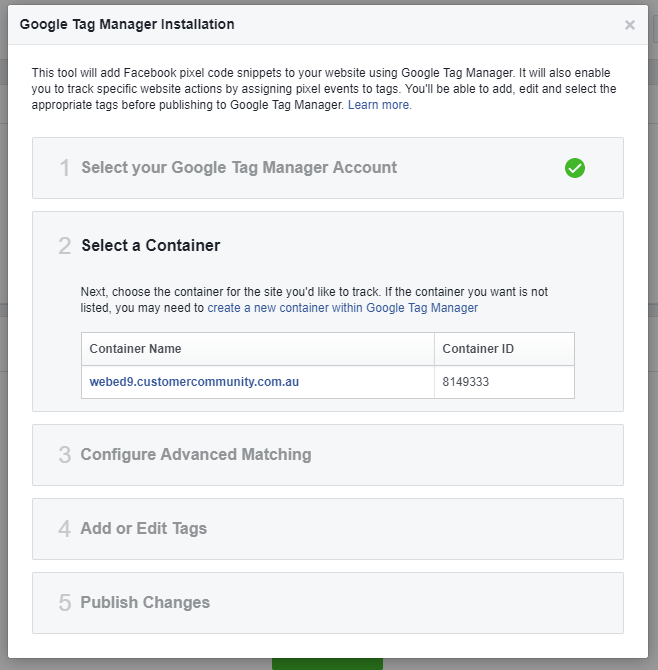
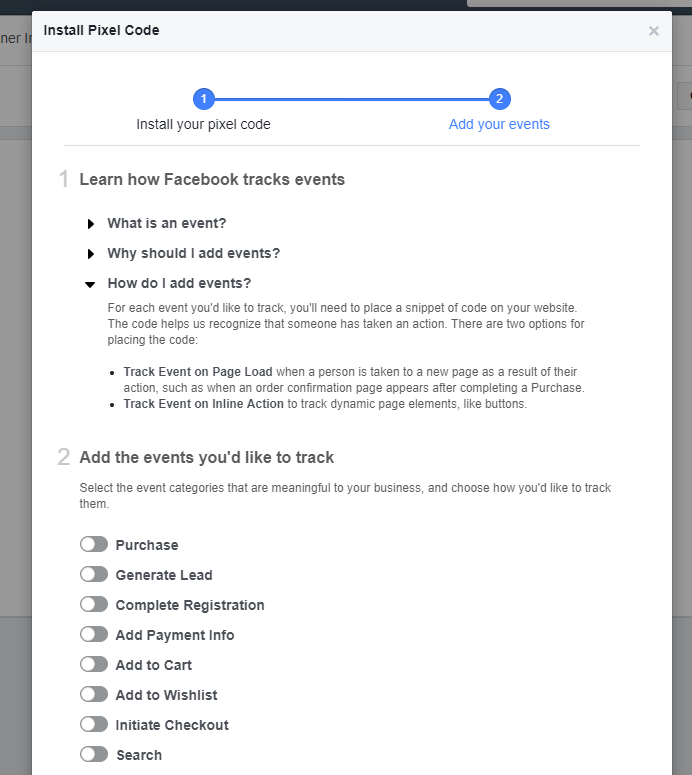
13Select a container
-
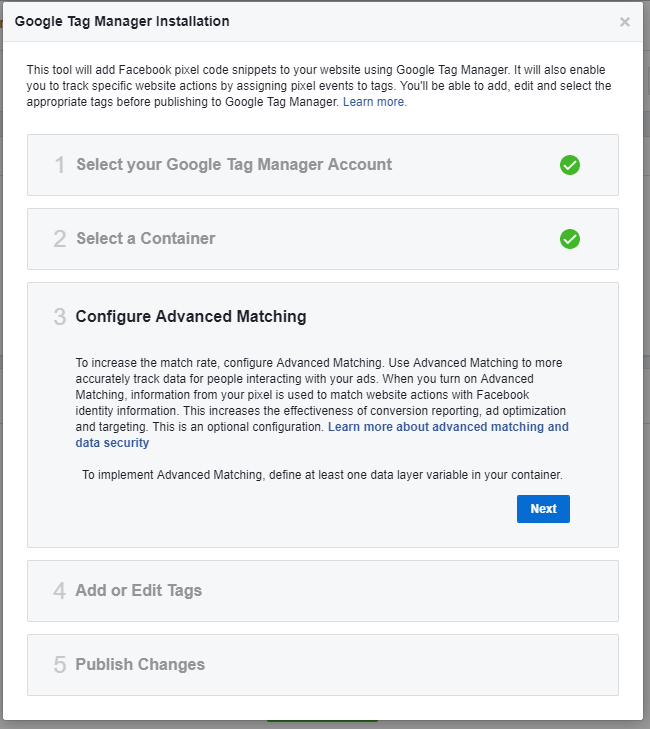
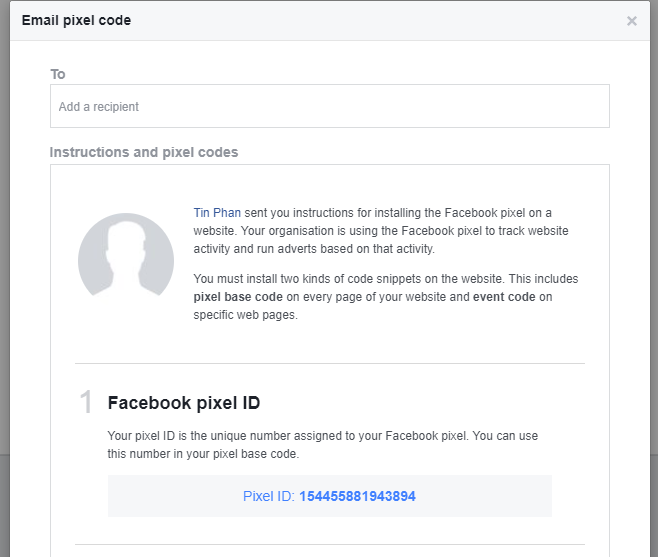
14Click Next
-
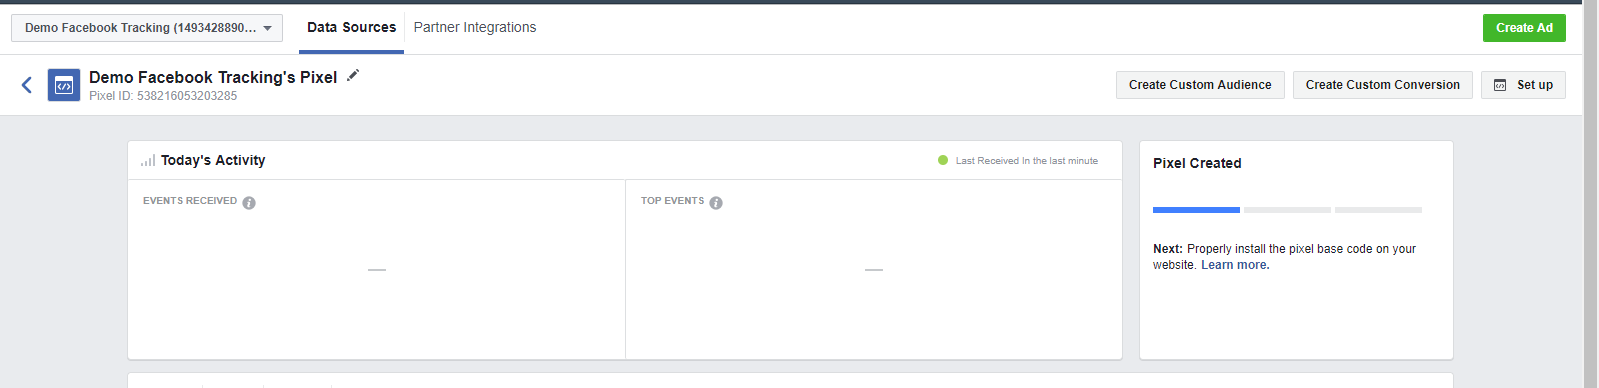
15Add or edit tags
-
16Publish Changes
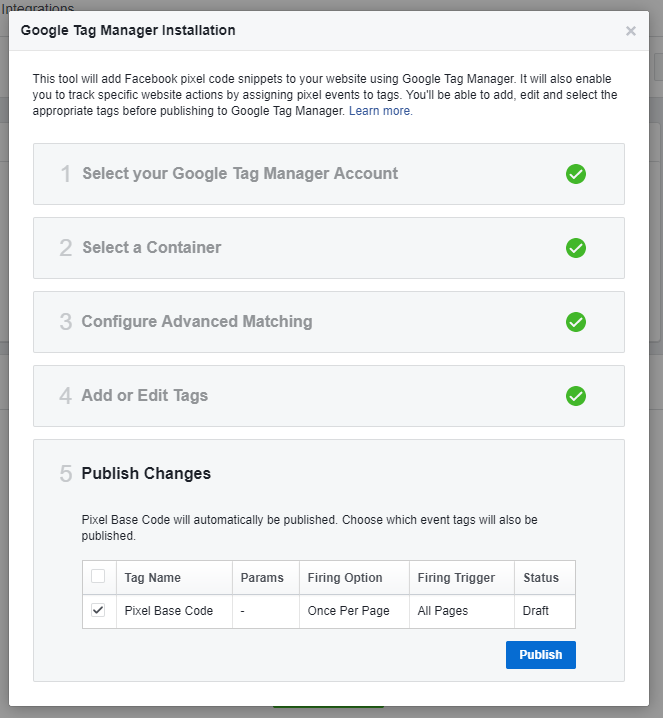
-
17After that click Publish
-
18On option Manually Install the Code Yourself
-
19Follow Find header of your website
-
20Log in as an administrator and go to the Admin Dashboard.
Learn how to log in here → -
21Go to admin dashboard >> Page Content >> Page Template >> choose master page
-
22Copy the entire pixel code
-
23Put this in header of website on content of master page like this
-
24After that you can send test traffic to your pixel. Enter your website in there and click Send Test Traffic
-
25If you install correctly, your status will be shown as "active" like this
-
26After that you can choice any events you want to track on continue tag
-
27Set up is now done
-
28On option Email Instructions to a Developer, enter recipient and install pixel base code on header page and click Send
-
29Check your email. You will receive an email like this
-
30After that you can see chart of activities in here