- What is a Rollover Thumbnail
- Why you would use a Rollover Thumbnail?
- Managing Rollover Thumbnail
- How to add a Rollover Thumbnail
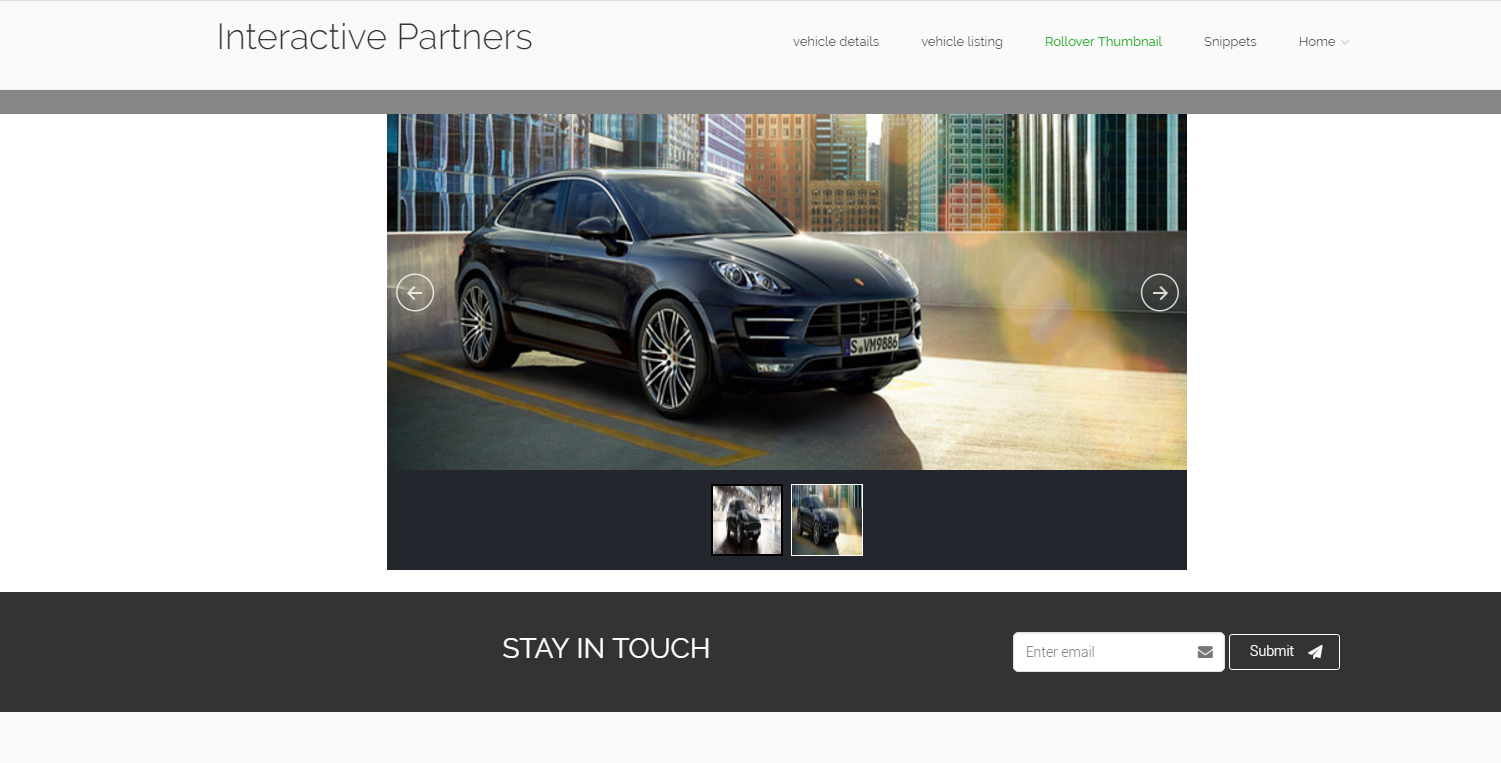
Using the Rollover Thumbnail
What is a Rollover Thumbnail
A module that allows showing images as a gallery slider in the page content.
Why you would use a Rollover Thumbnail?
An effective solution to display images as a gallery slider on a page. This is very useful if a user wants to showcase their products, company galleries or services.
Managing Rollover Thumbnail
STEP-BY-STEP
-
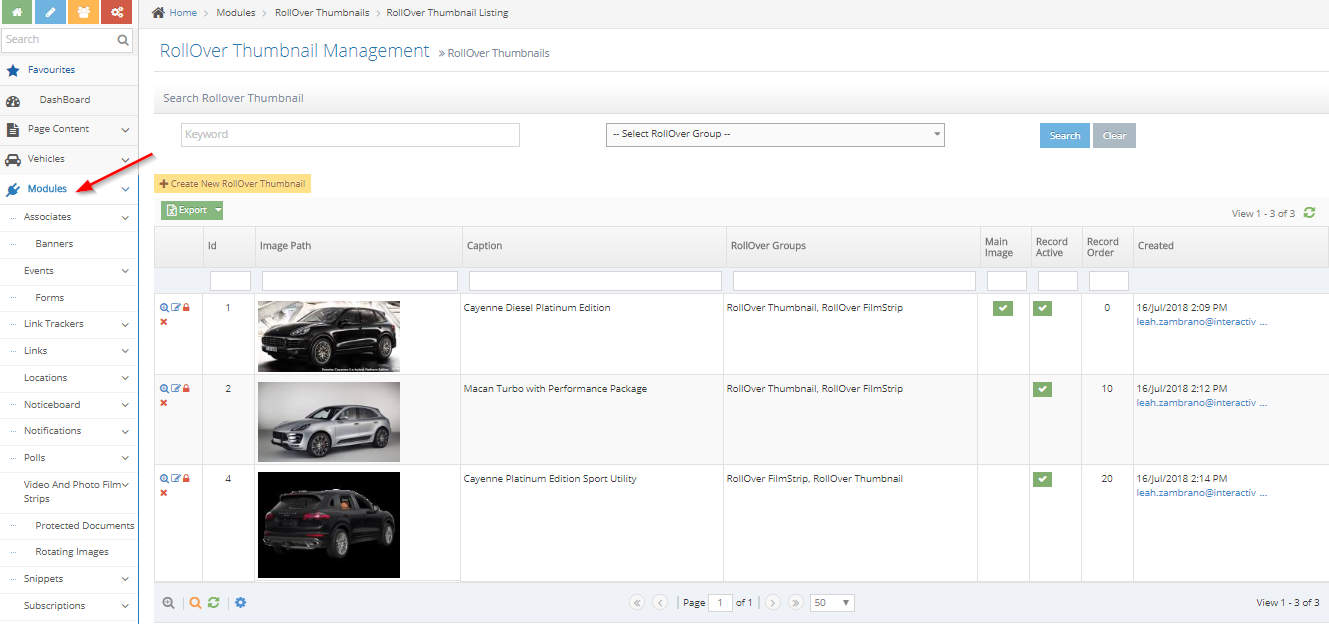
1Log in as an administrator and go to the Admin Dashboard.
Learn how to log in here → -
2On the left menu, select Modules -> Rollover Thumbnails -> Rollover Thumbnail Listing
-
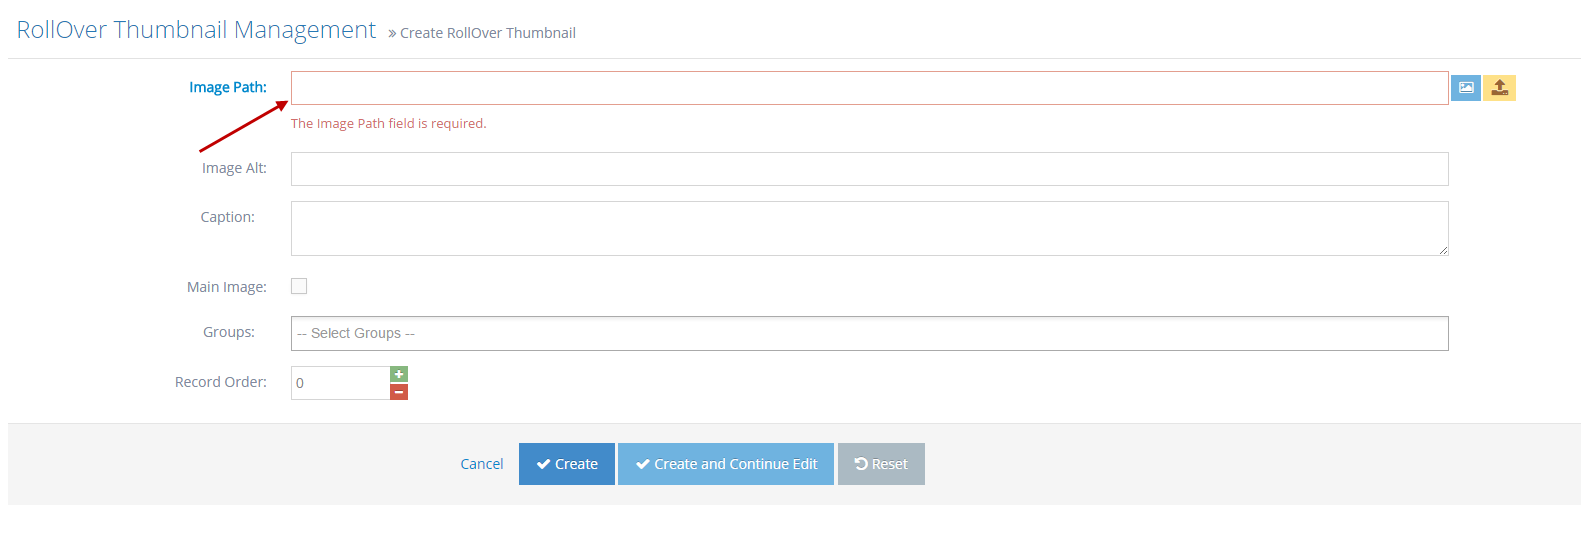
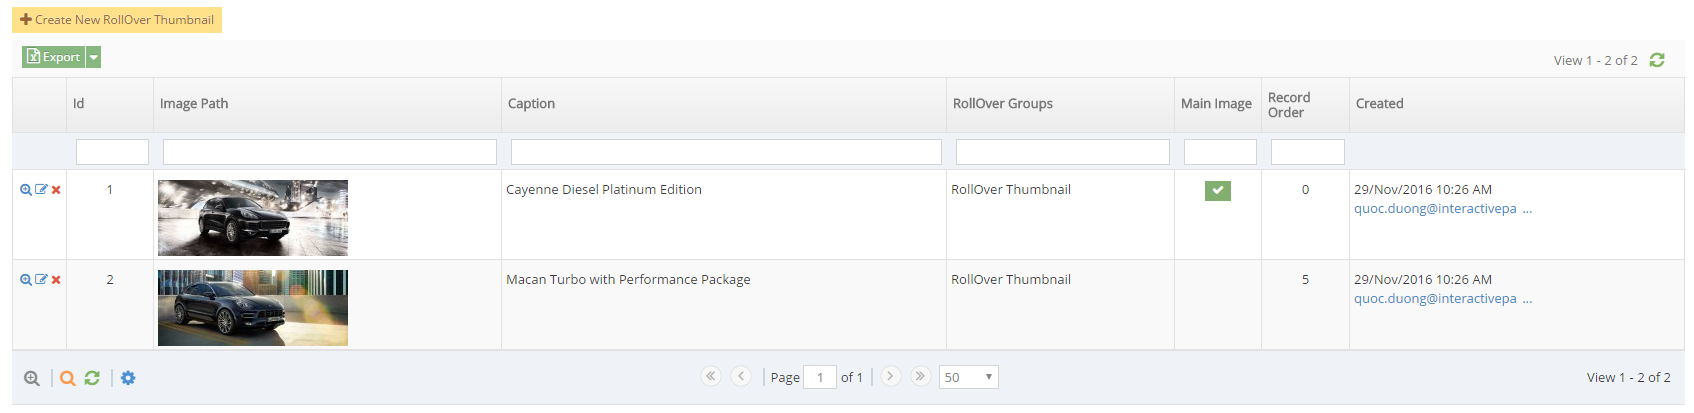
3Create a new Rollover Thumbnail
- On the listing page, press the
 button, the website will redirect to creating the page.
- Image Path: Select the image from the gallery or upload from locally (Image path field is required)
- Image Alt: The content of the Alt tag will display on the slider
- Caption: Content will display at the bottom section of the slideshow.
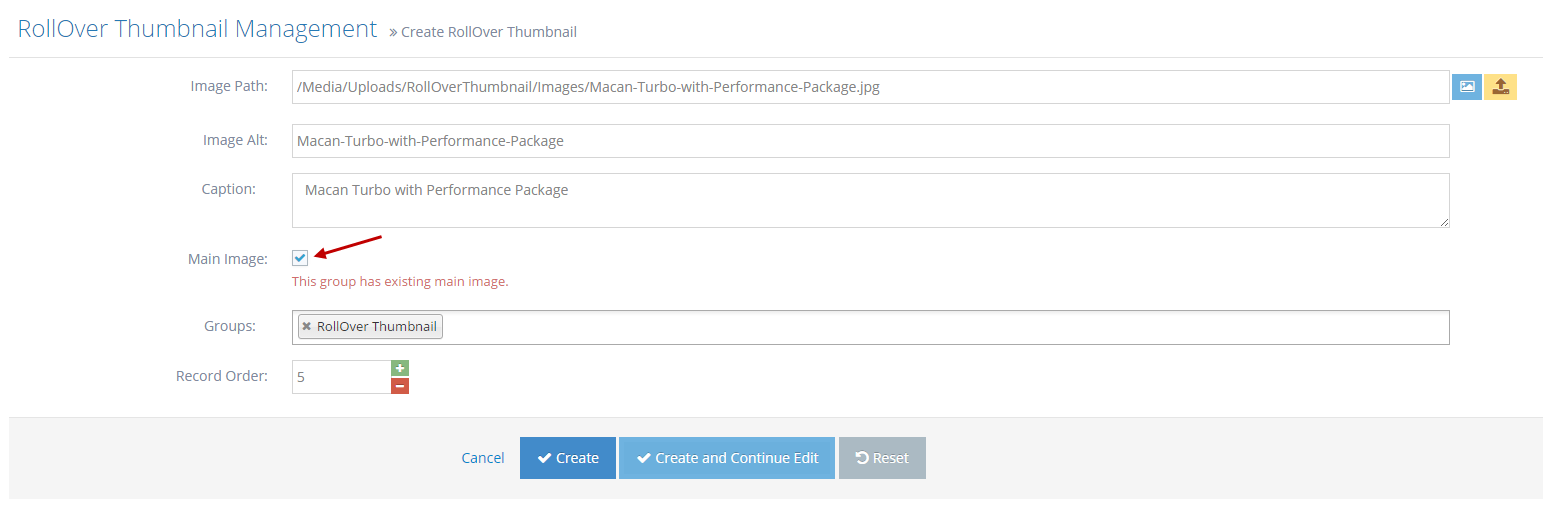
- Main Image: If the field is checked, the image will display first on the slider.
- Groups: Rollover Thumbnails that belong to these groups.
- Record Order: Order images for the slider
- On the listing page, press the
-
4If a group has an existing Main Image, it will display an error:
-
5Without error, a new Rollover Thumbnail is created. The grid will be updated too.
-
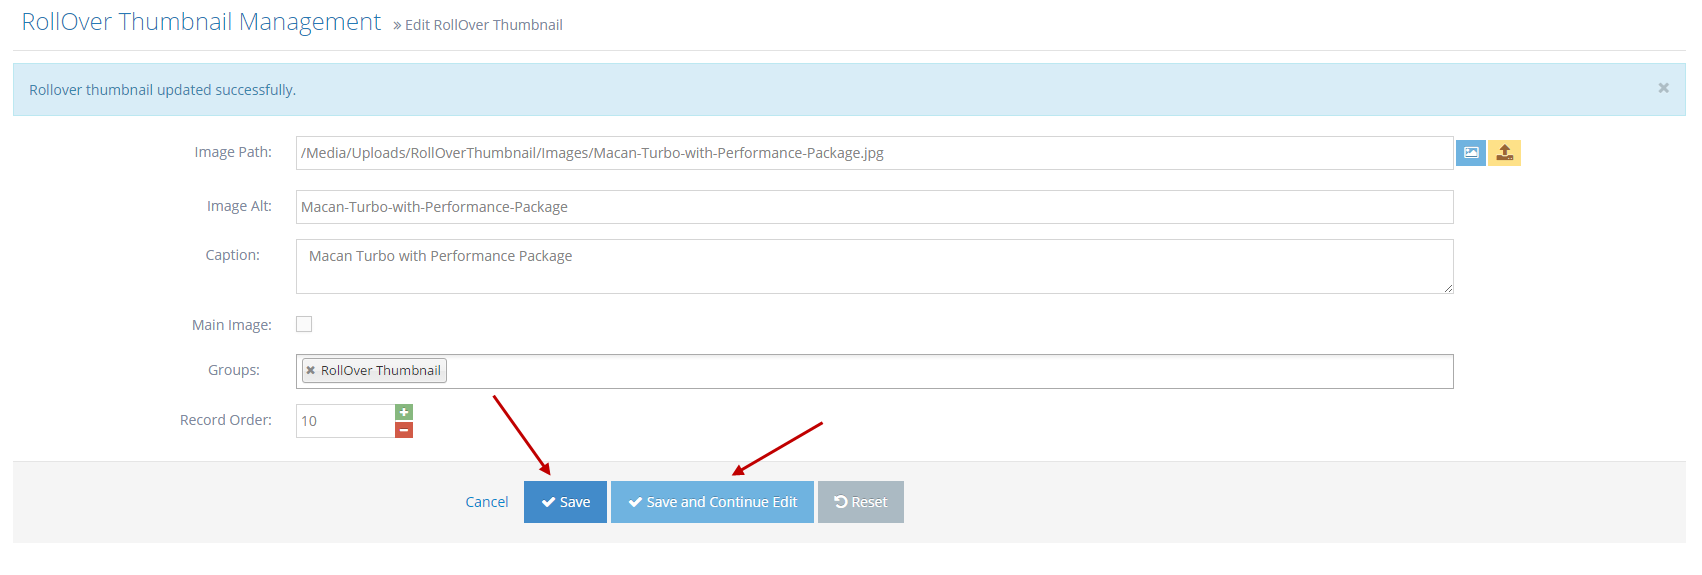
6Edit the Rollover Thumbnail by clicking the edit icon

-
7On the edit page, update the Image path and other fields, then press Save or Save and Continue Edit
-
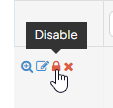
8Disabling the Rollover Thumbnail; If you need to temporarily disable an image:
- Go to the Rollover listing, and click on the Disable button,
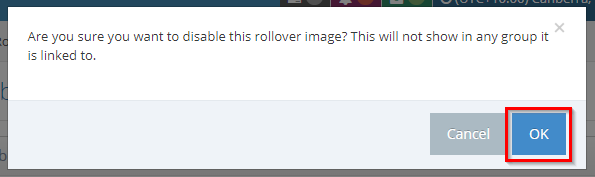
- A confirmation message will appear then click the OK button to disable the image. This image will not show in its related group.
- Go to the Rollover listing, and click on the Disable button,
-
9Enabling the Rollover Thumbnail; If you need to activate/display an image:
- In the Rollover listing, click this,

- A confirmation message that will appear then click the OK button to enable the image. This image will be shown in its related group.
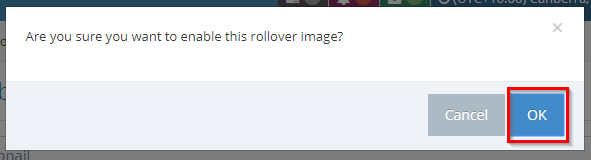
- In the Rollover listing, click this,
-
10Deleting the Rollover Thumbnail
- In the Rollover listing, click on this,

- The website redirects to the details page with a small popup. This will delete the image from all groups.
- Then click the OK button to delete or remove.
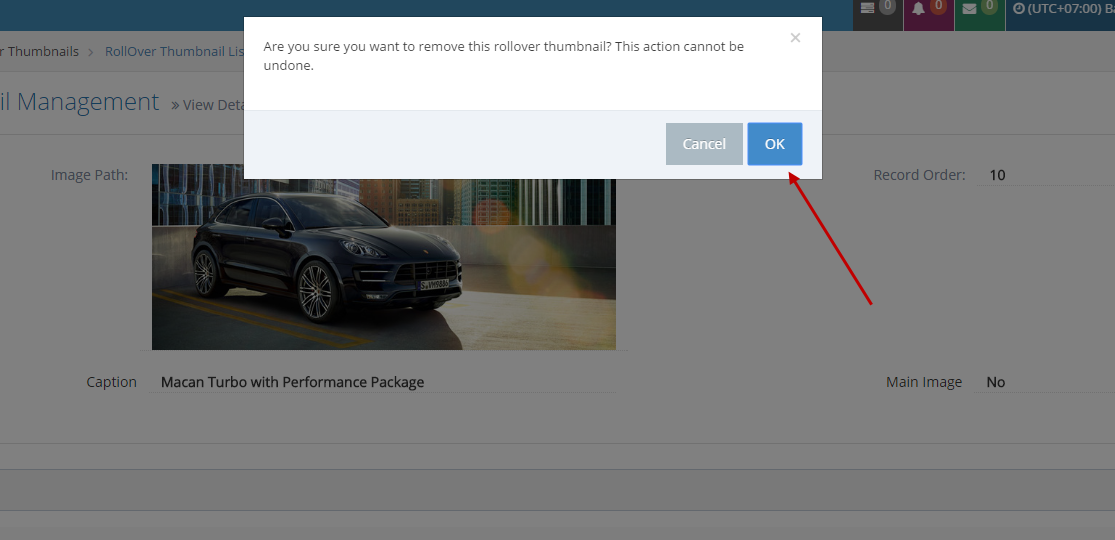
- In the Rollover listing, click on this,
-
11Click OK on the next popup to complete.
How to add a Rollover Thumbnail
STEP-BY-STEP
-
1Log in as an administrator and go to the Admin Dashboard.
Learn how to log in here → -
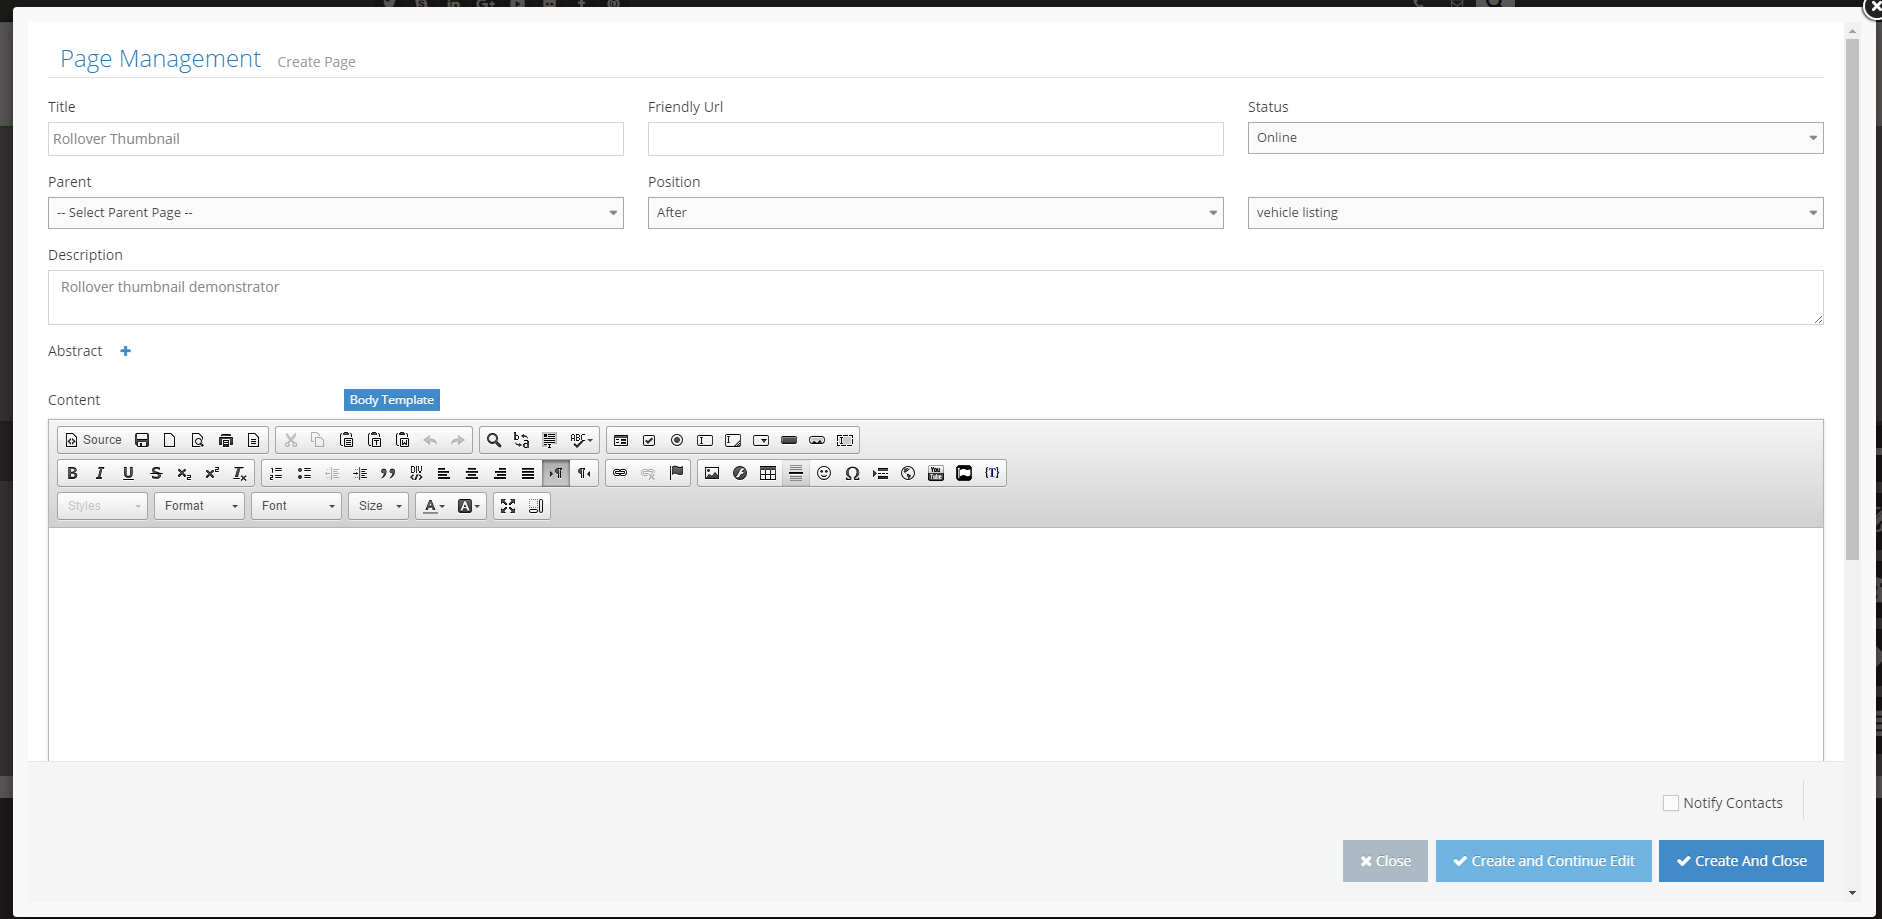
2Create or edit a page
-
2Next is to search Rollover on the top input field and select Rollover Thumbnail.
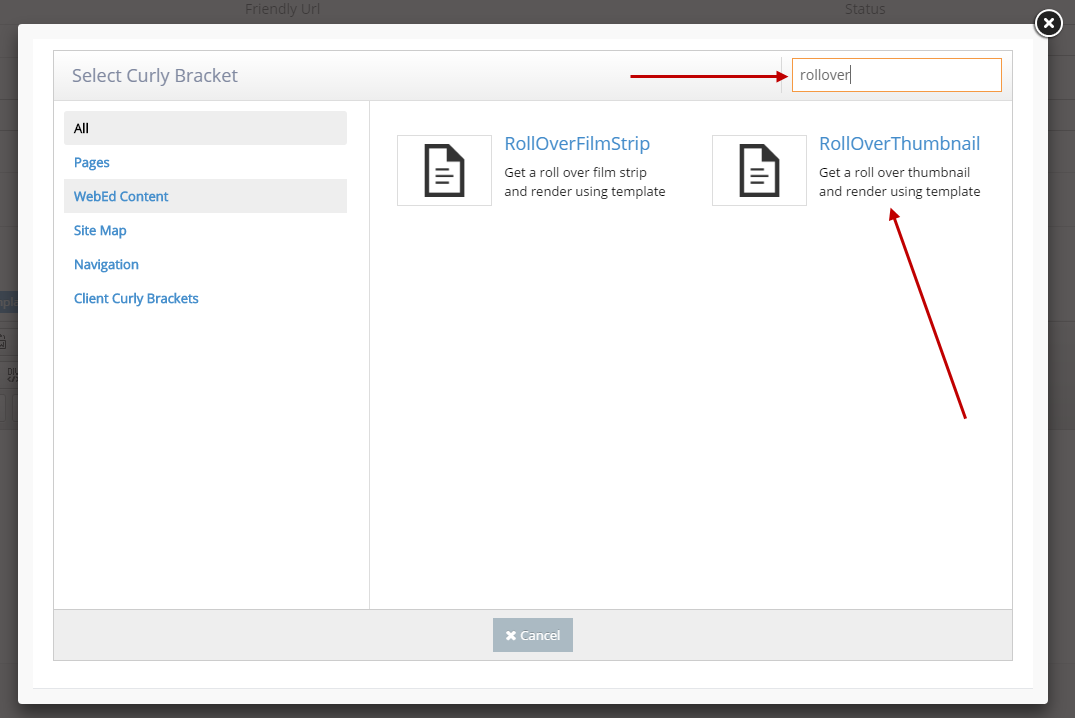
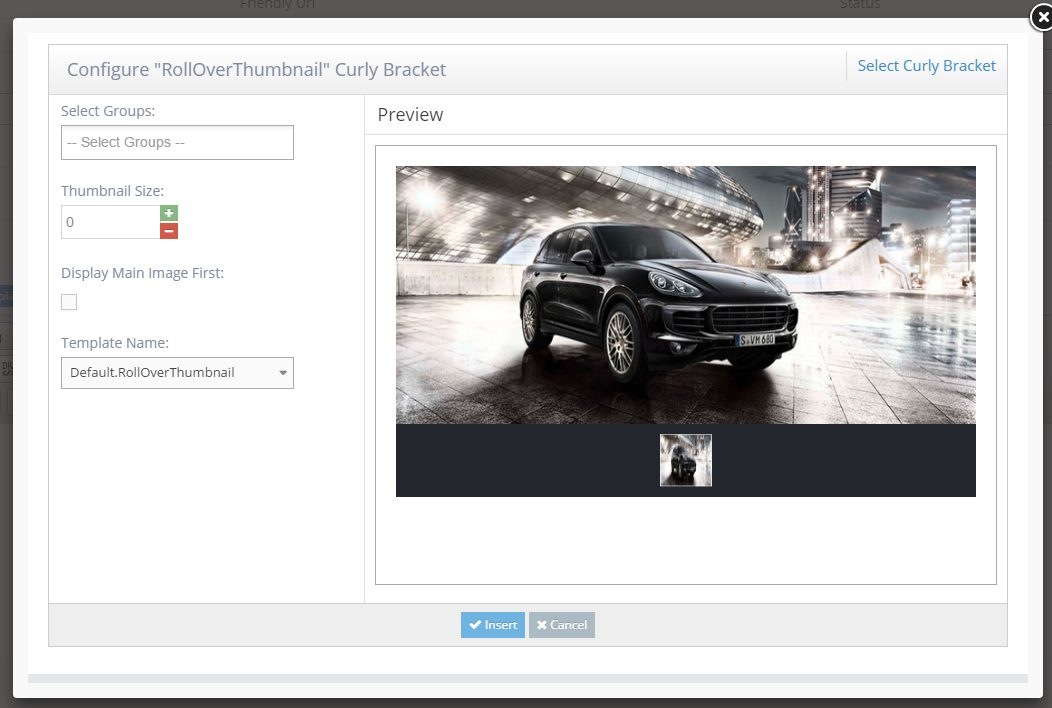
- Configure the Rollover Thumbnail curly bracket
- Select Groups: Choose the groups to display in the slider
- Thumbnail Size: Width of thumbnail images
- Display Main Image First: Select the first image to display in the slider.
- Template Name: Select the template to generate the Rollover Thumbnail curly bracket.
-
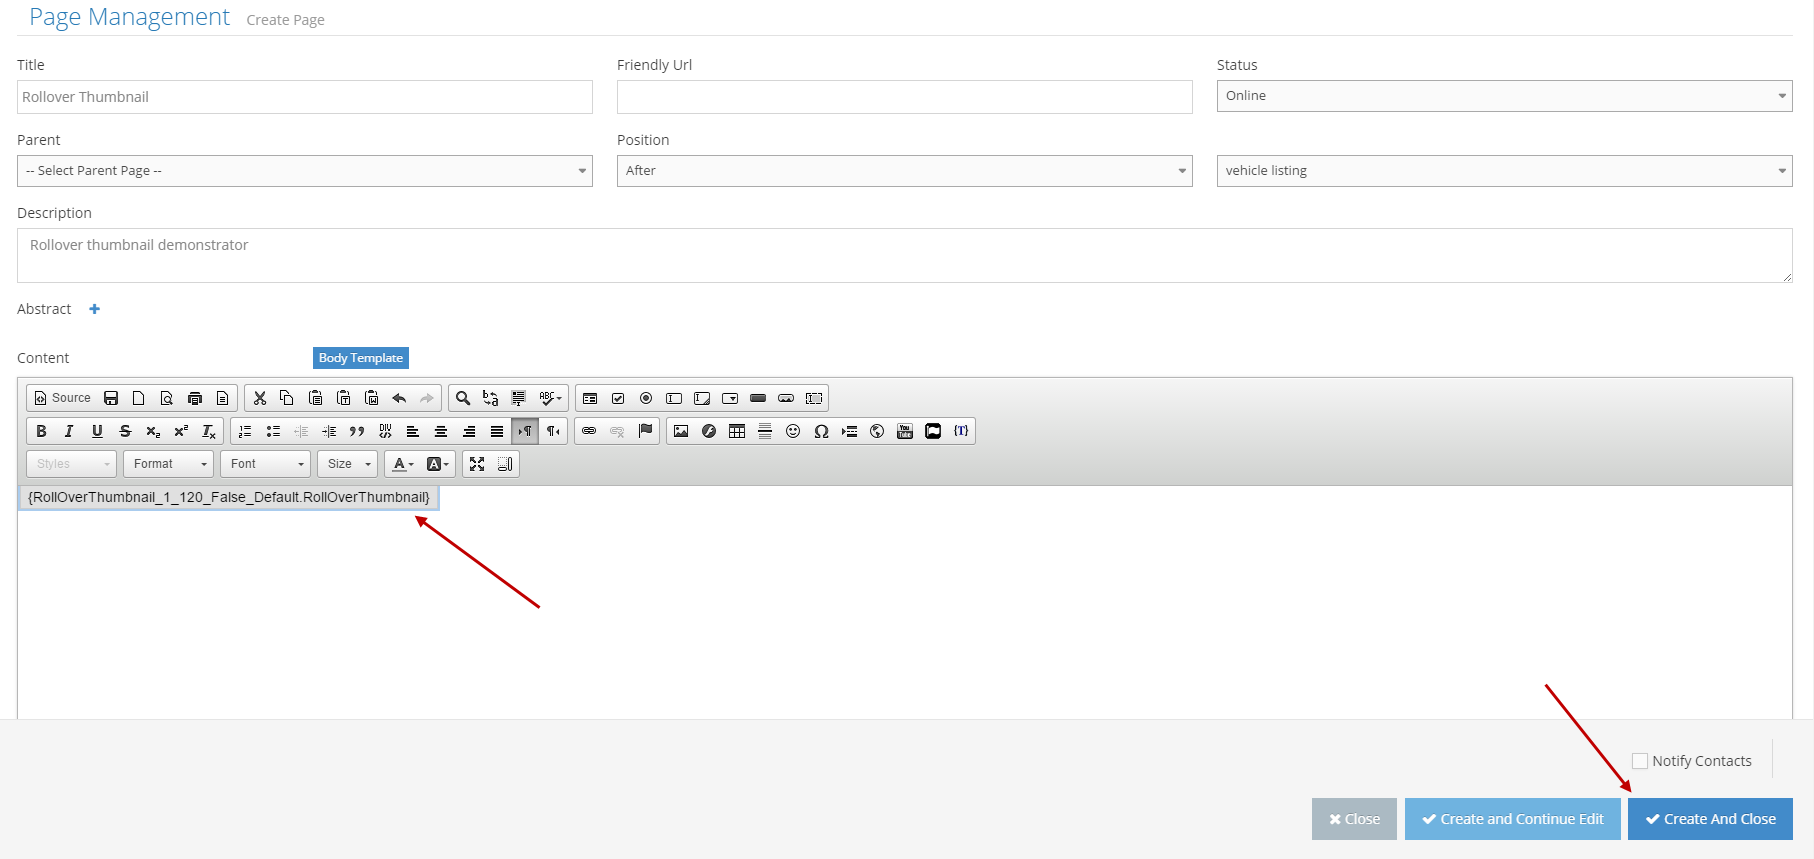
2Click the Insert button to add the Rollover Thumbnail curly bracket in the content.
-
2Click Create And Close button to save the page content.