Social Media Overview
The Social Media module can allow users to publish content to their chosen media platforms. But before they can post it to any social media platform, it has to be linked to their account first. To do that you need to get the API and Secret Key for your social media accounts and authorize them on your website. They can publish it to the following social media sites:
Click on each social media platform below to get instructions on how to link them to your website and there's an instruction as well on how to publish your post to each social media site.
Social Media Buttons
What is the Social Media Share Button Module
Consist of different kinds of social media buttons that can be easily added on the WebEd9 pages or page template using the curly bracket.
This was the social media pushed in WebEd7.
Why would you use Social Media Share Button?
To encourage the users or visitors to share the page/content on their social media accounts.
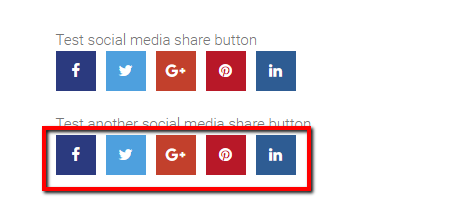
Example of Social Media Share Button, see it in action
Social media share buttons are added to the page
How to implement add social media icons in page content
-
1Log in as an administrator and go to the Admin Dashboard.
Learn how to log in here → -
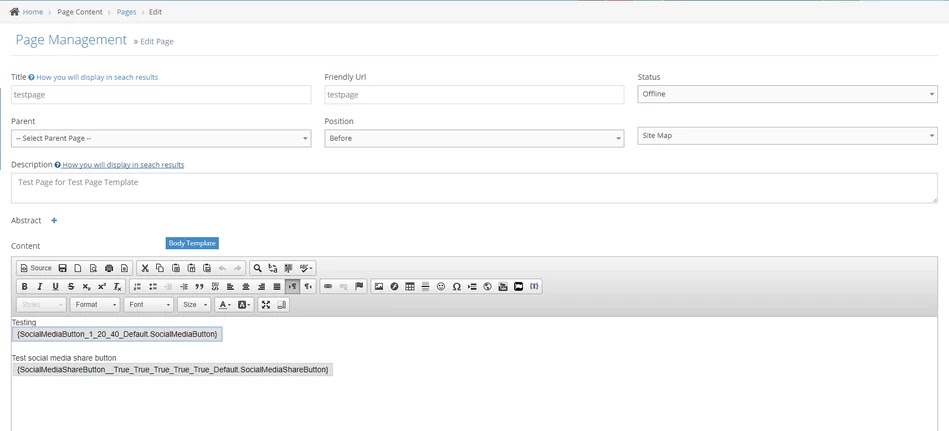
2Create or Edit any page.
-
3In the editor, click on {} icon and click Configure
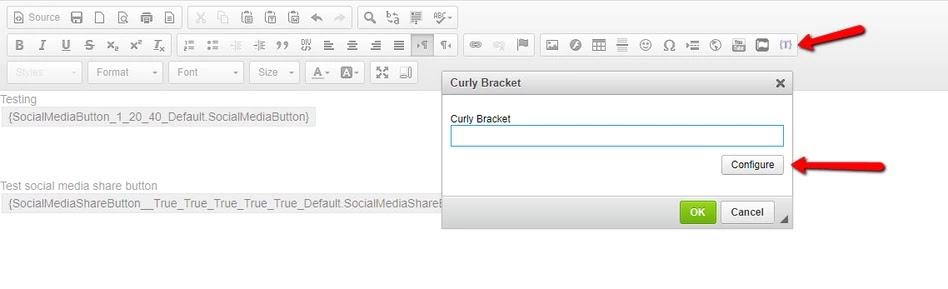
-
4When selecting the curly bracket, select Social Media Share Button instead of Social Media Button
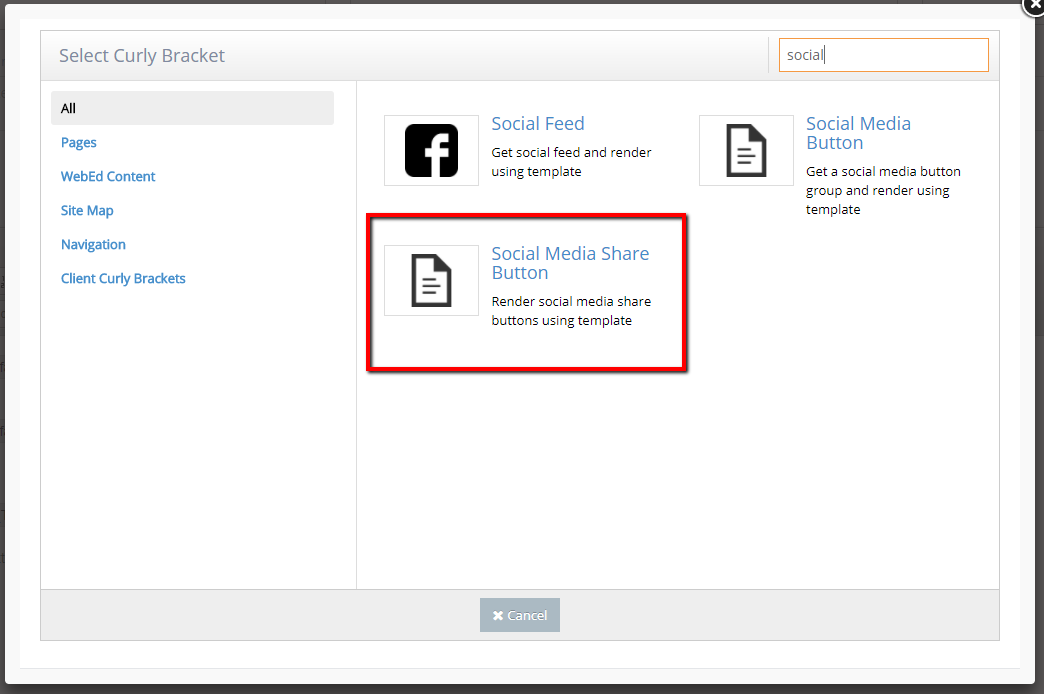
-
5The configuration for the curly bracket will show up. If you leave the URL empty, it will share the link to the current page. Toggle check buttons to hide or show the buttons that you want.
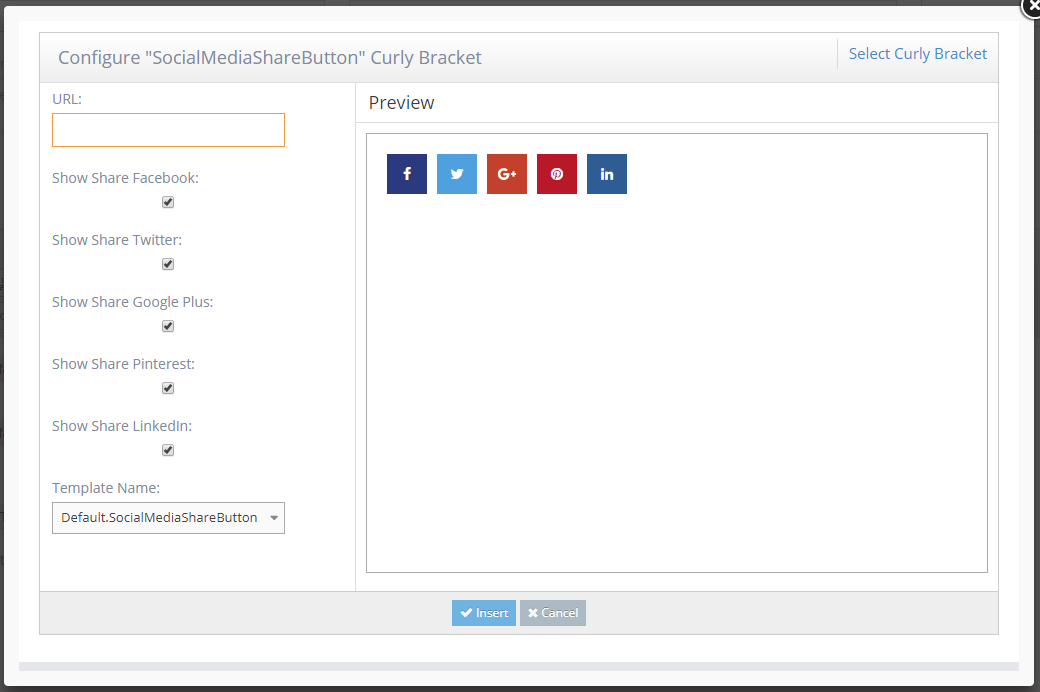
-
6Click the Insert button and click OK from the configuration popup
-
7Save the page and refresh.
Settings for Social Media Buttons
-
1Log in as an administrator and go to the Admin Dashboard.
Learn how to log in here → -
2Go to admin > Module > Social Media buttons > Social Media Button Group
-
3Click the New Social Media button group
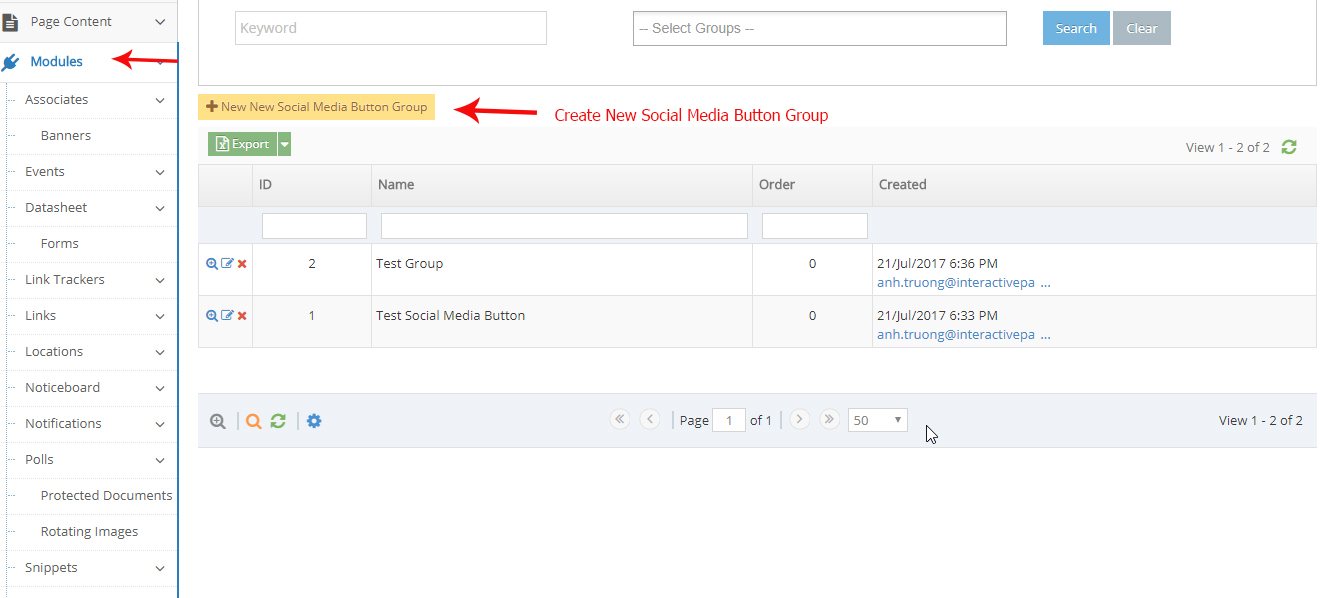
-
4Enter the name field of the social media button group and click create
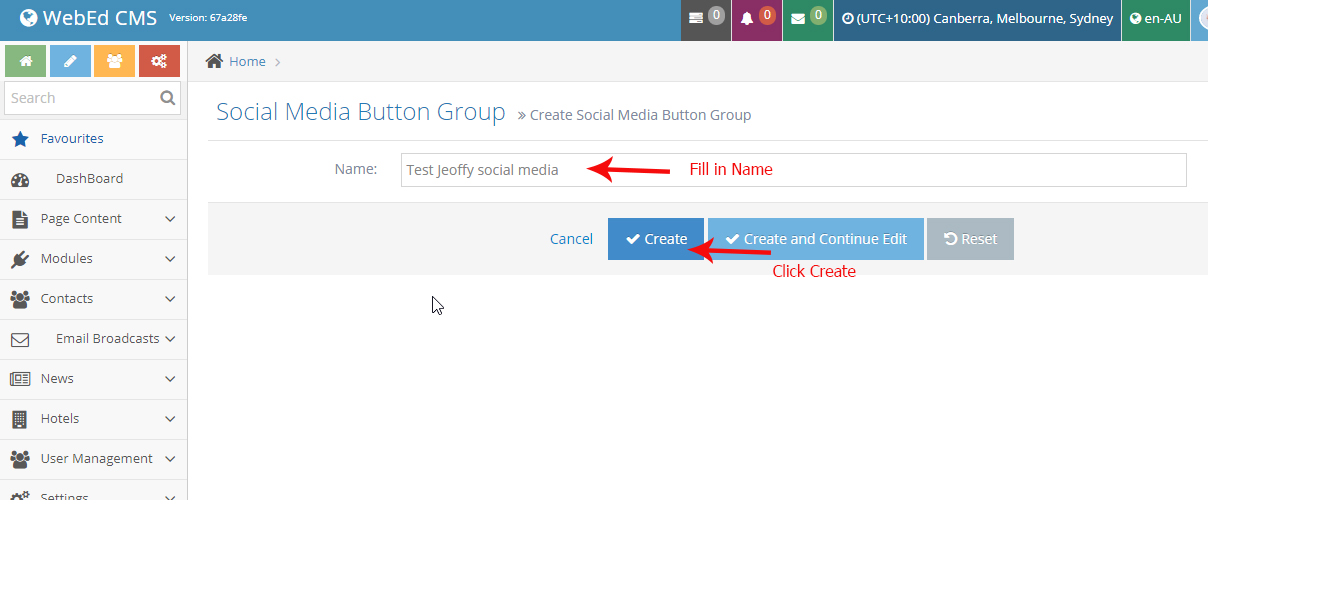
-
5Next is to create a social media button list
-
6Go to admin > Module > Social Media buttons > Social Media Button Listing
-
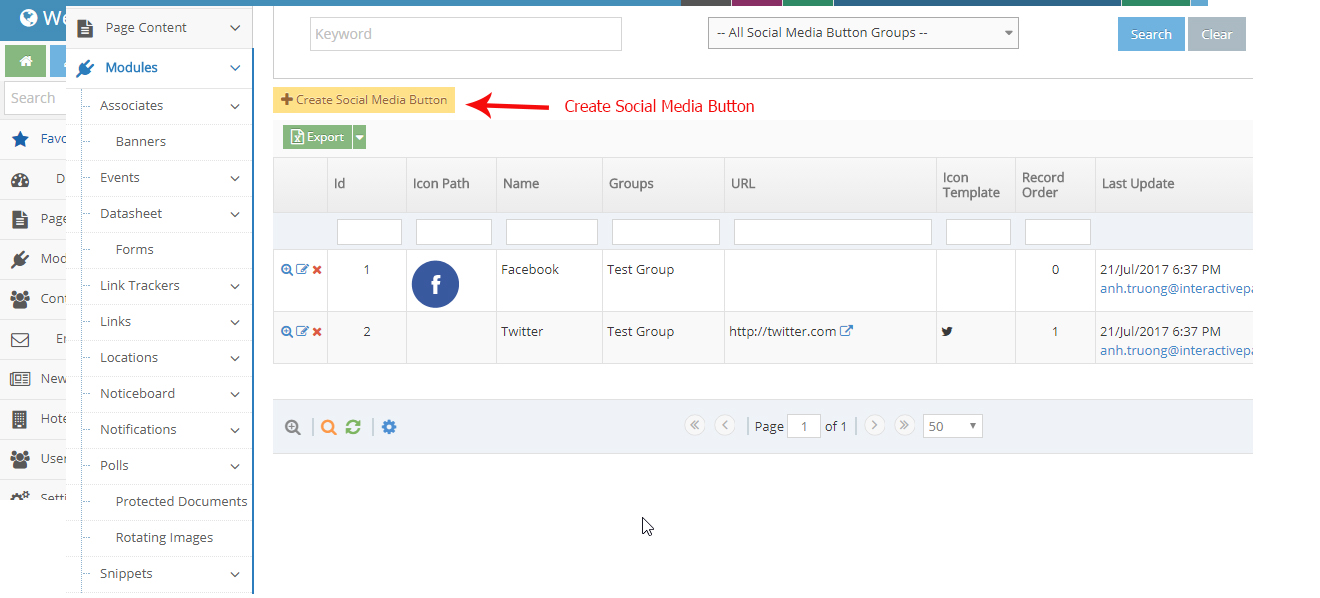
7Click Create New Social Media Button
-
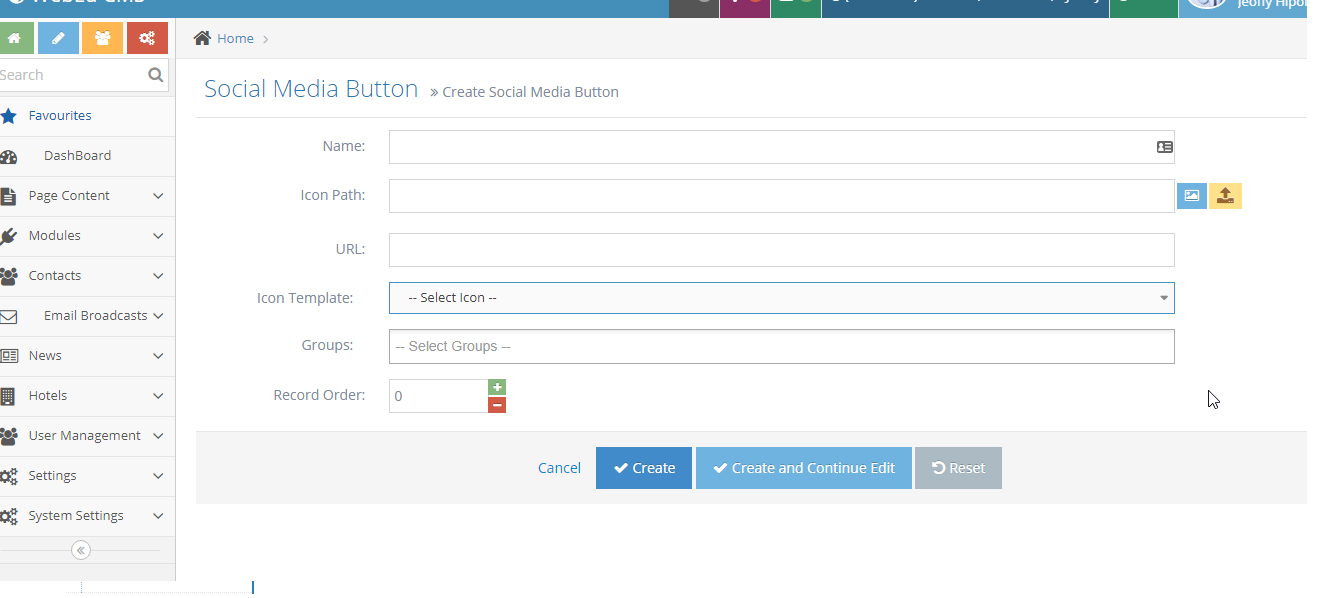
8Enter the necessary fields:
- Name- the name of the social media
- Icon Path - The icon/image URL path for your social media icons
- URL - the URL of your social media account
- Icon Template - Select the default icon template for the specific social media account
- Groups - Select a group name you've recently added
- Record order - Set the order for the display of this button
- Click Create
-
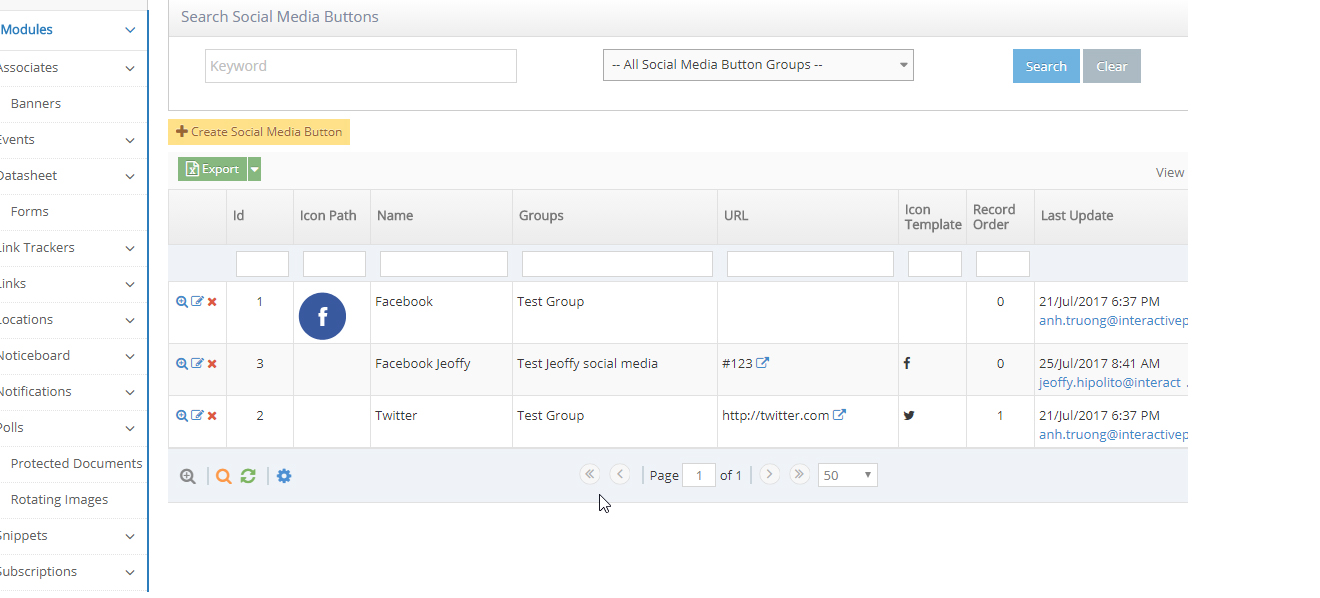
9See the sample listing of social media
Facebook Pixel
What is Facebook Pixel?
The Facebook Pixel is a piece of code that's placed on your website to report conversions, build audiences and get insights about how people are using your website. You can create up to 10 pixels in your Business Manager account
Benefits of using a Facebook Pixel
There are several ways you can use data collected from Facebook pixel tracking to refine your Facebook advertising strategy.
How to Create a Facebook Pixel?
-
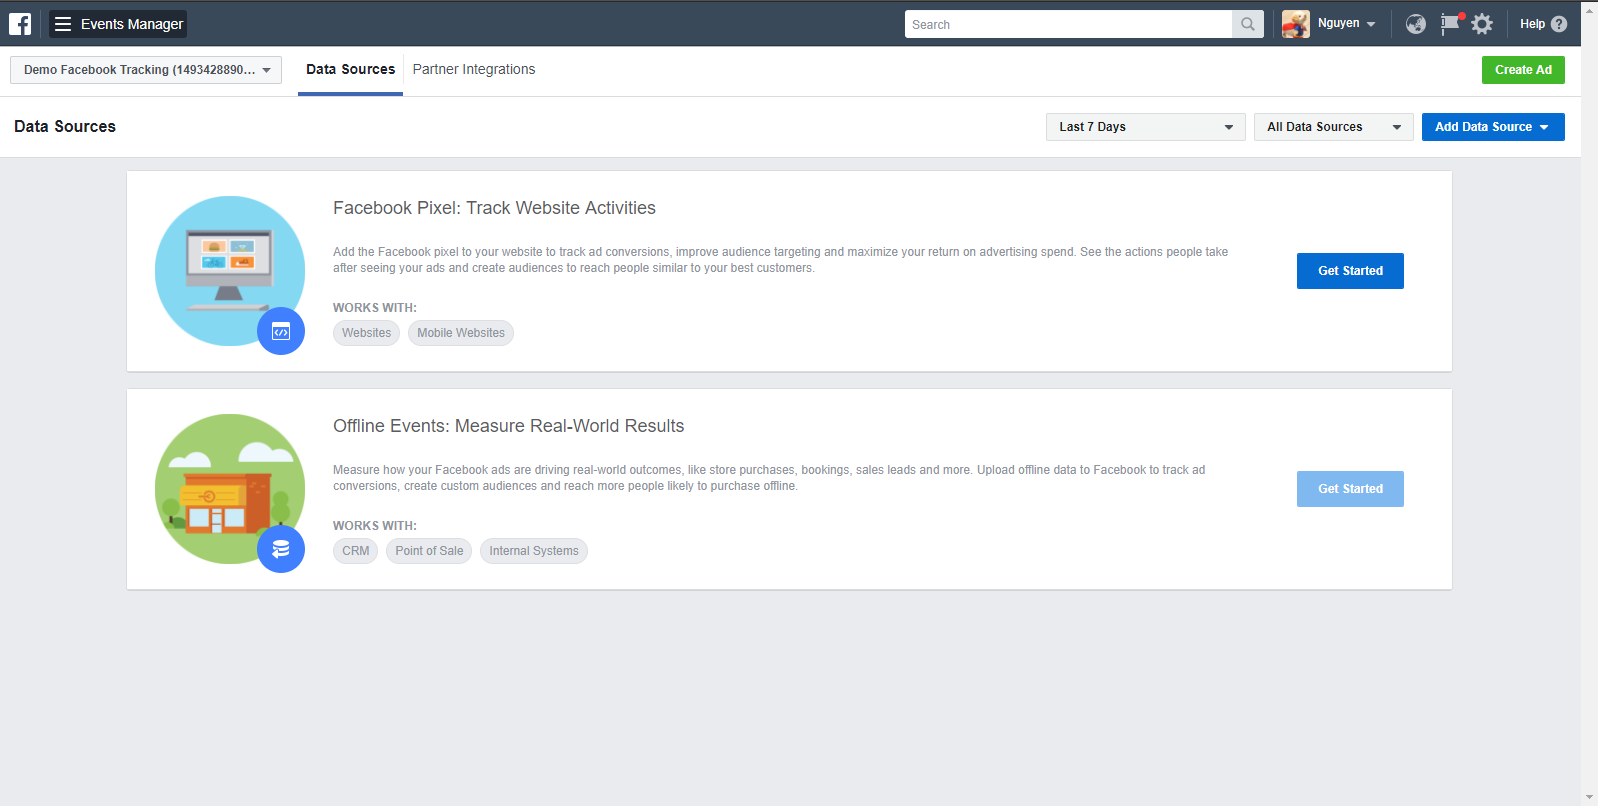
1You need to log in to Facebook user account management and then go to https://www.facebook.com/events_manager/
-
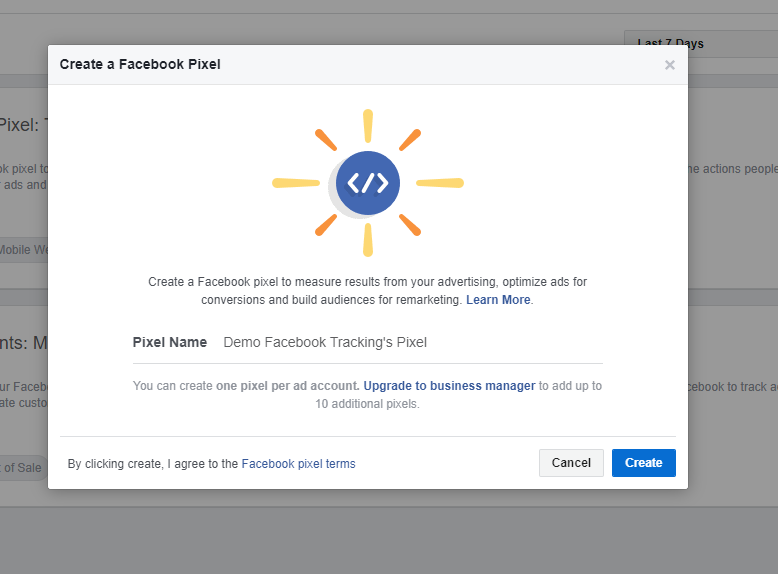
2Click Get Started to create a Facebook pixel
-
3After that, you can change the name of Facebook Pixel if you want. And then you click Create
-
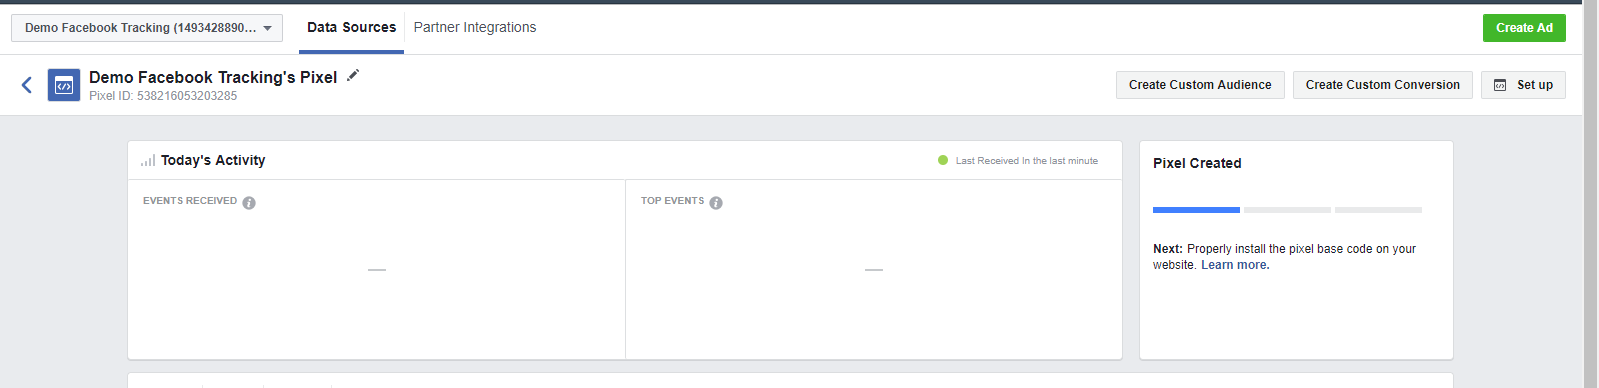
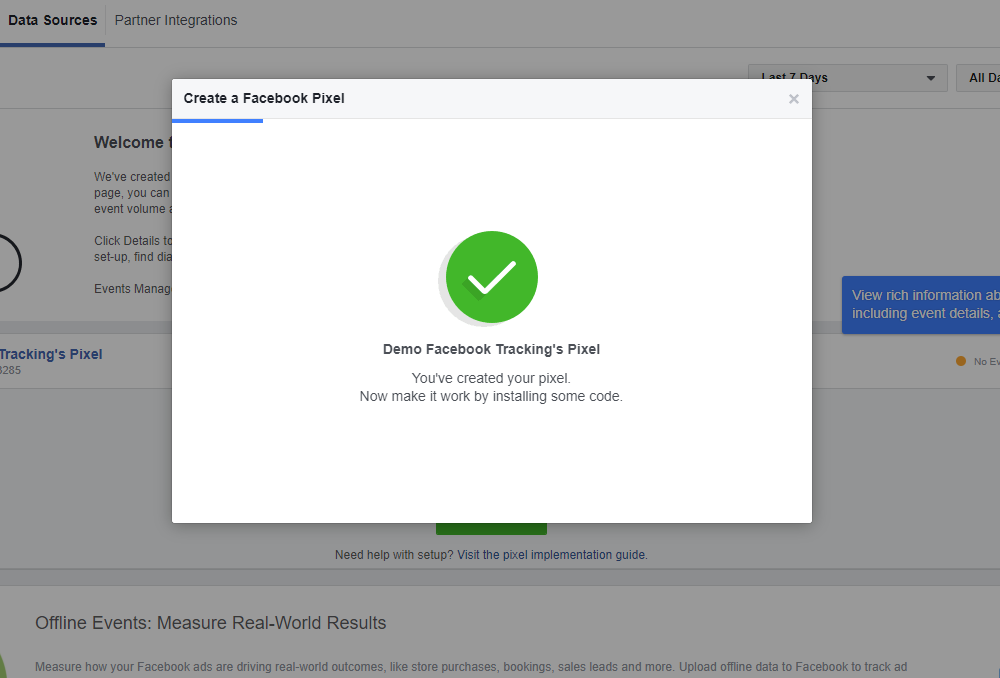
4Wait for few a minutes until the Facebook Pixel is created
-
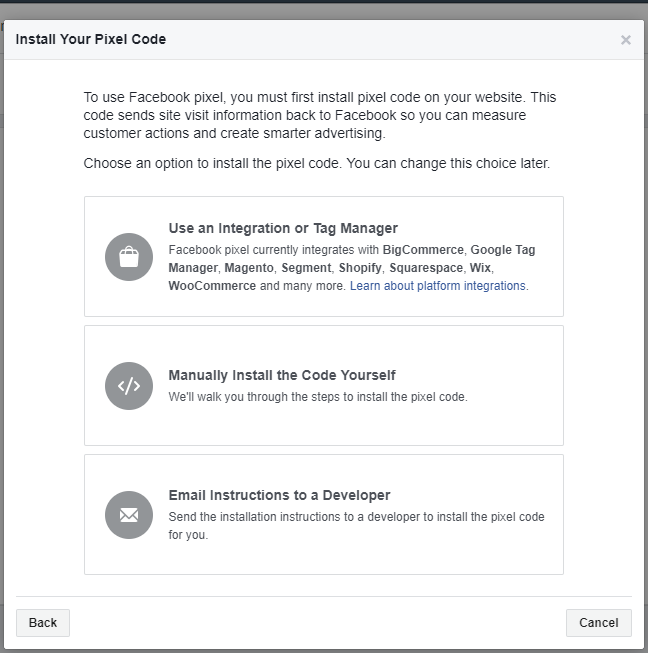
5After that, you need to set up the Facebook Pixel
-
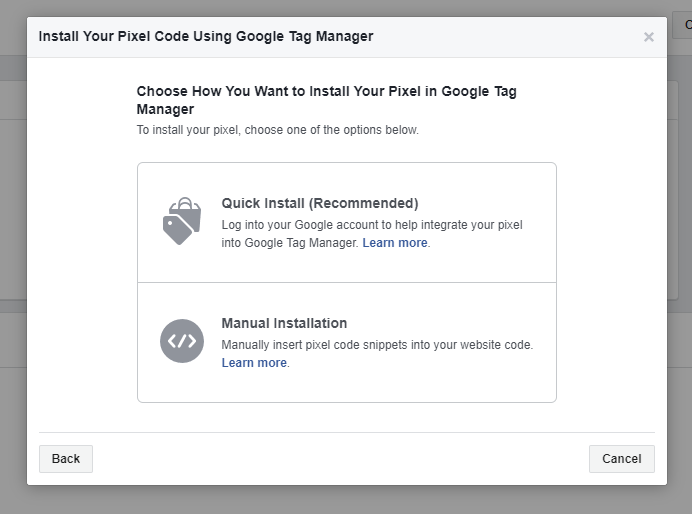
6You have 3 choices to set up a pixel.
-
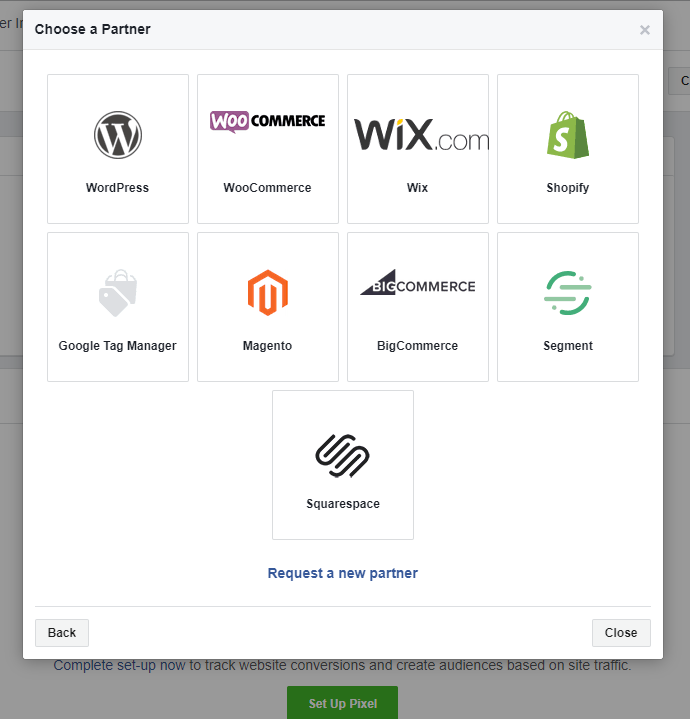
7You can choose to use an Integration or Tag Manager if you have any partner in there
-
8In this demo, we'll choose the Google Tag Manager.
-
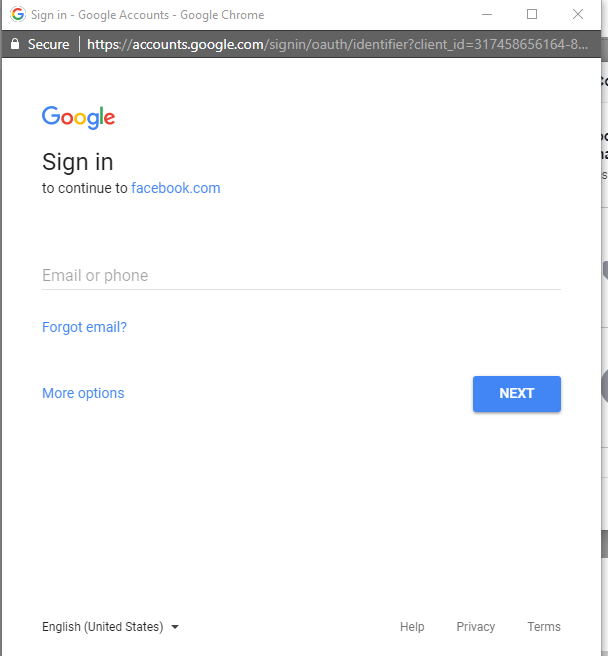
9Choose Quick Install and log in your account google
-
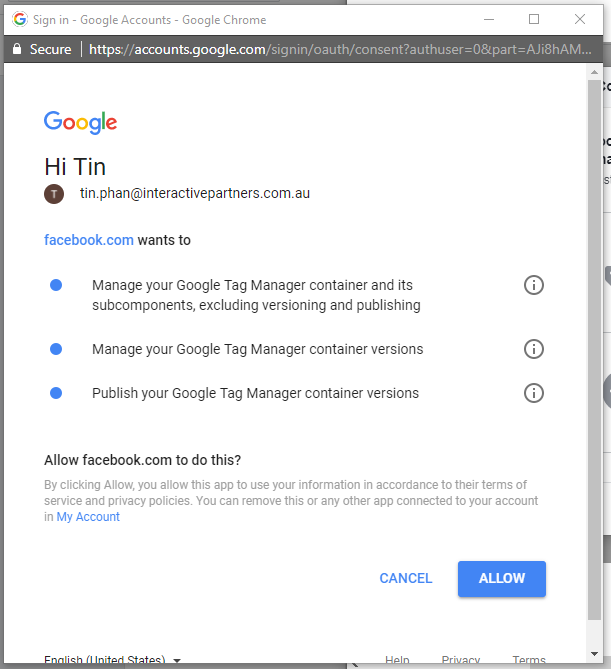
10You can see the list of information. Click Allow
-
11Then your account google will have access to Google Tag Manager.
-
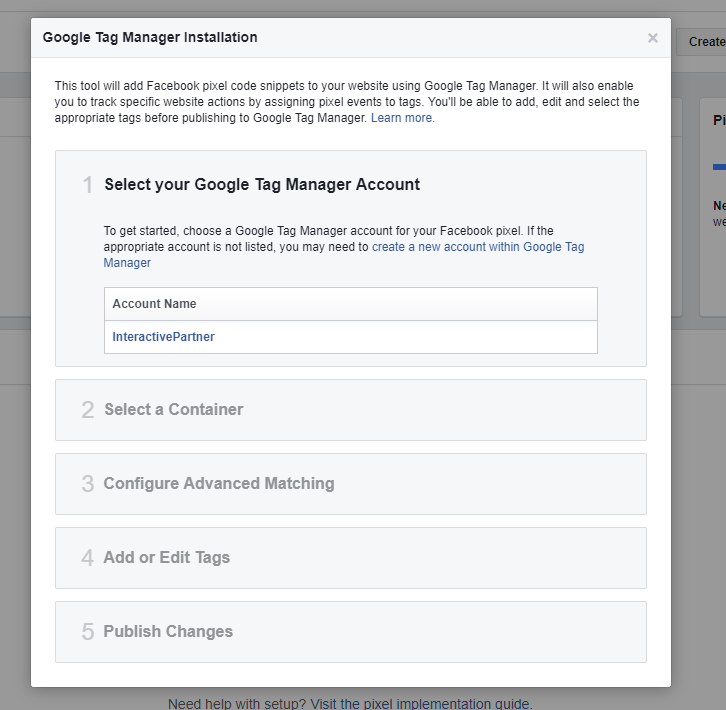
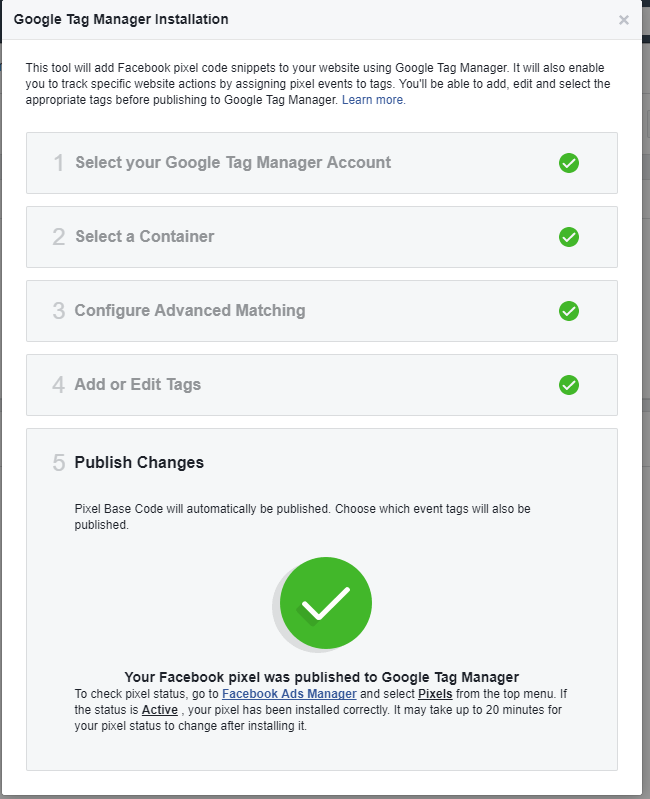
12Select your Google Tag Manager account
-
13Select a container
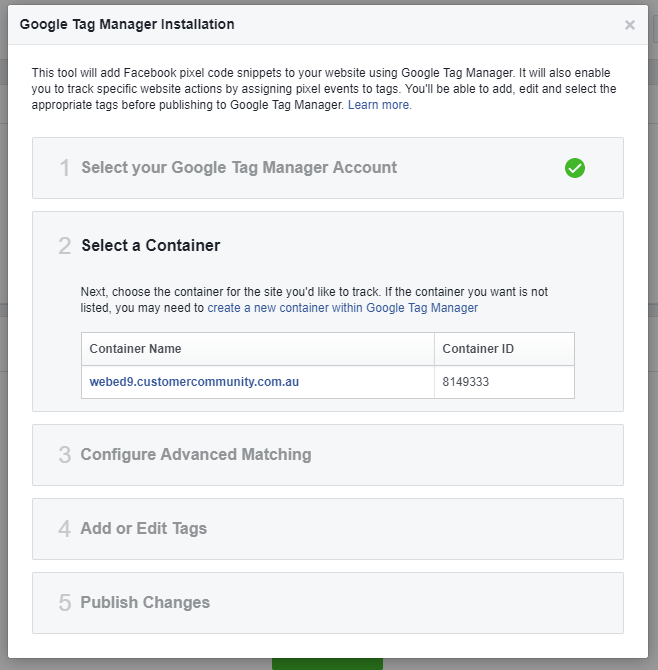
-
14Click Next
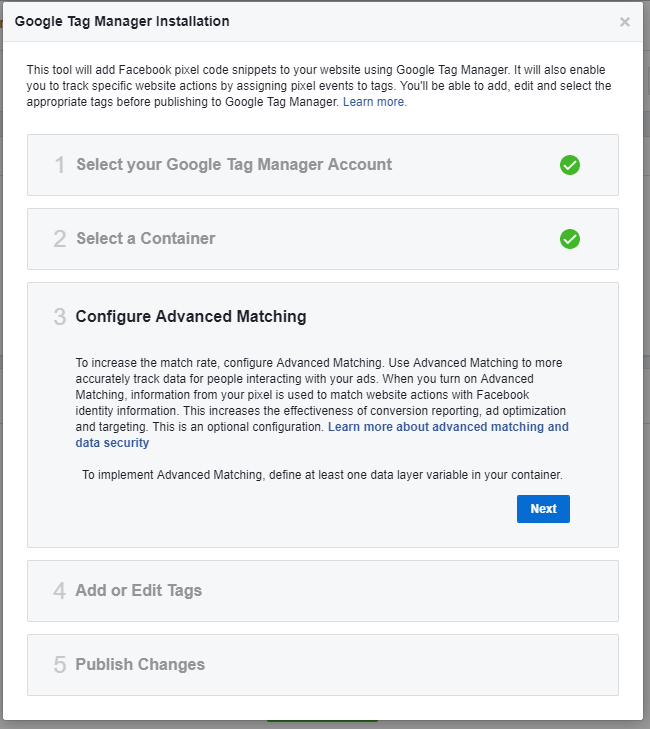
-
15Add or edit tags
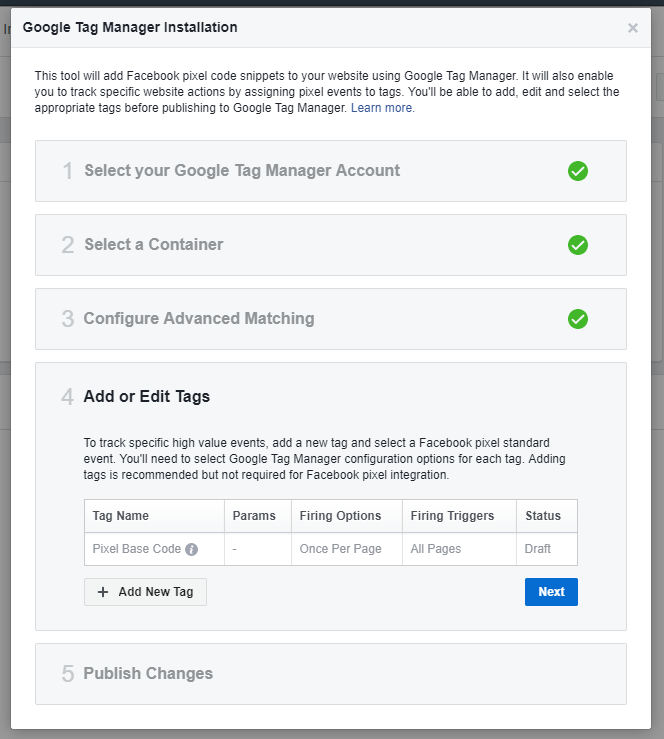
-
16Publish Changes
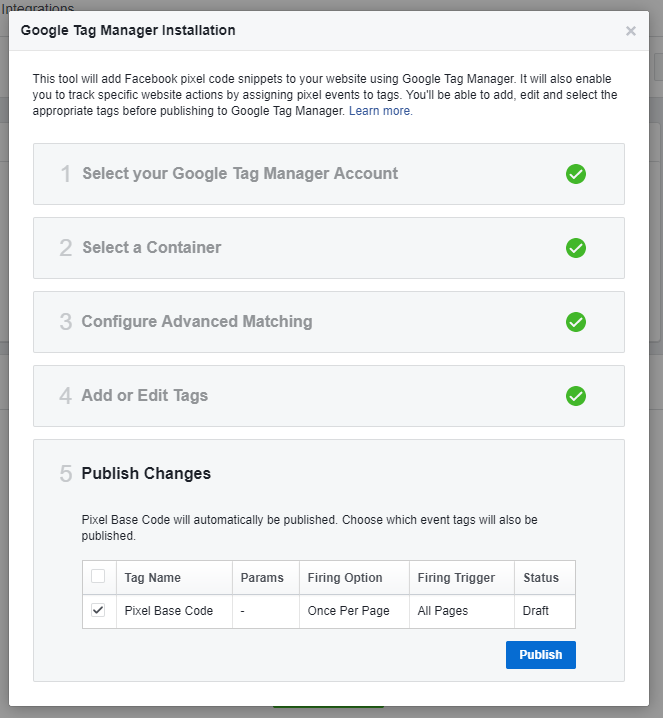
-
17After that click Publish
-
18On option Manually Install the Code Yourself
-
19Follow Find header of your website
-
20Log in as an administrator and go to the Admin Dashboard.
Learn how to log in here → -
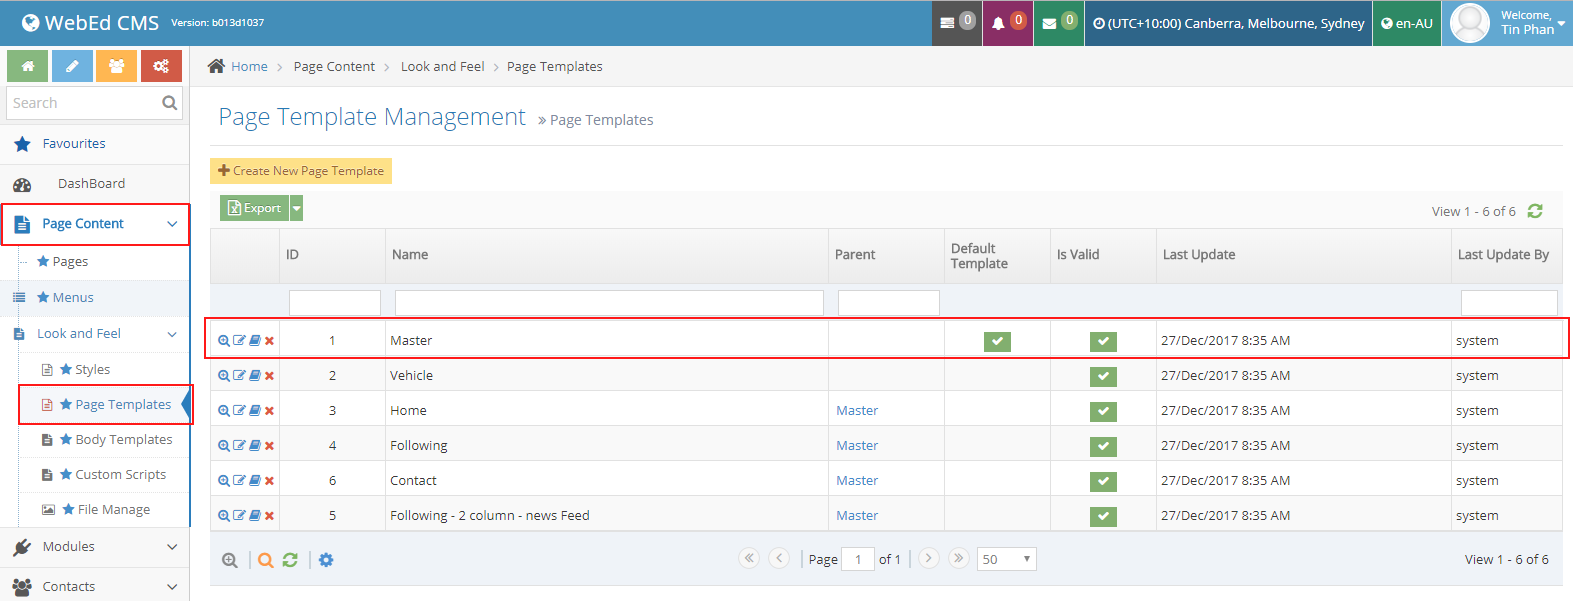
21Go to admin dashboard >> Page Content >> Page Template >> choose master page
-
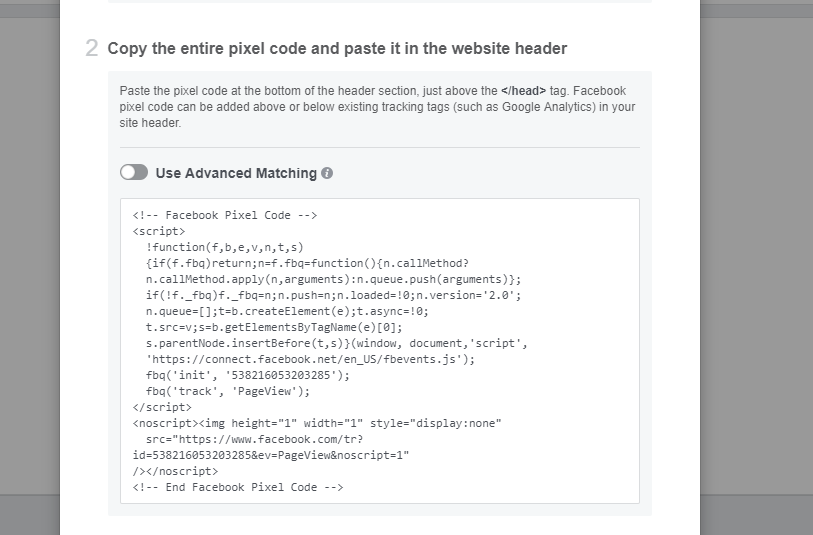
22Copy the entire pixel code
-
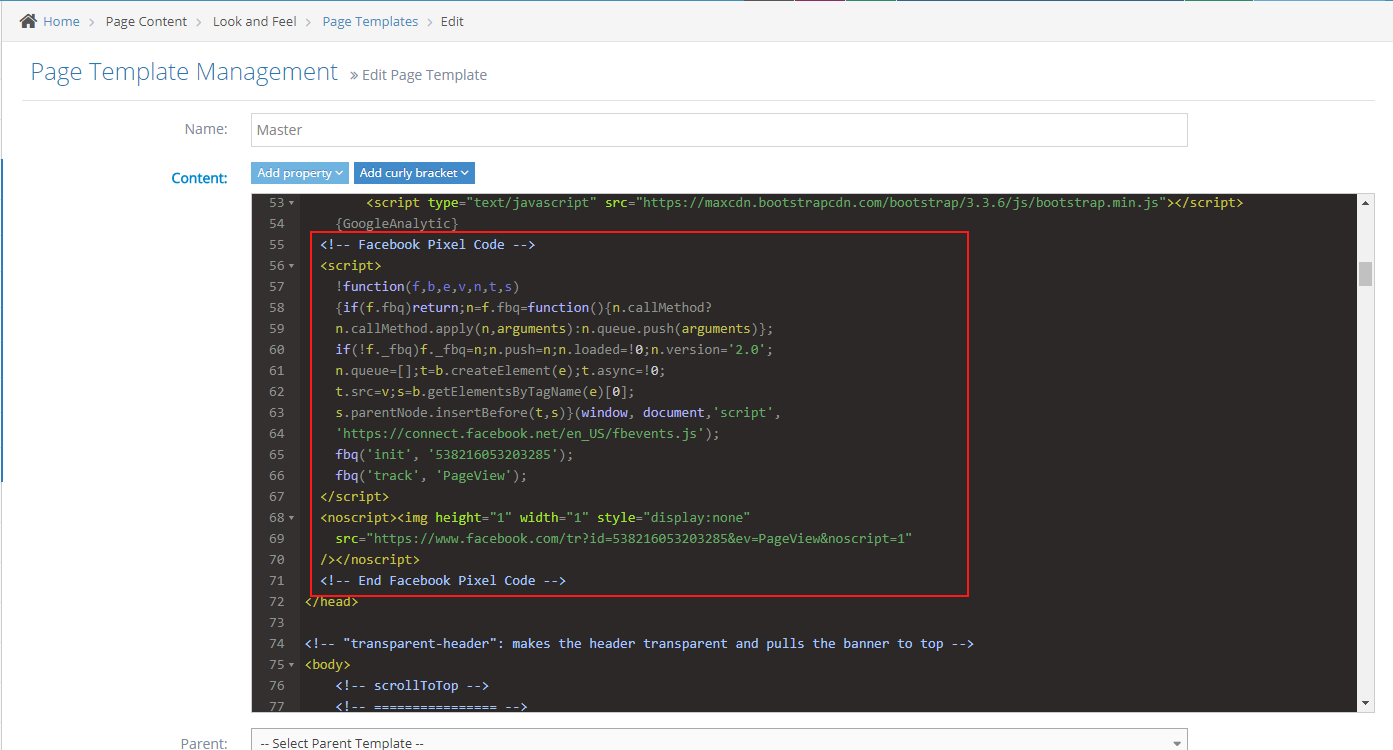
23Put this in header of website on content of master page like this
-
24After that you can send test traffic to your pixel. Enter your website in there and click Send Test Traffic
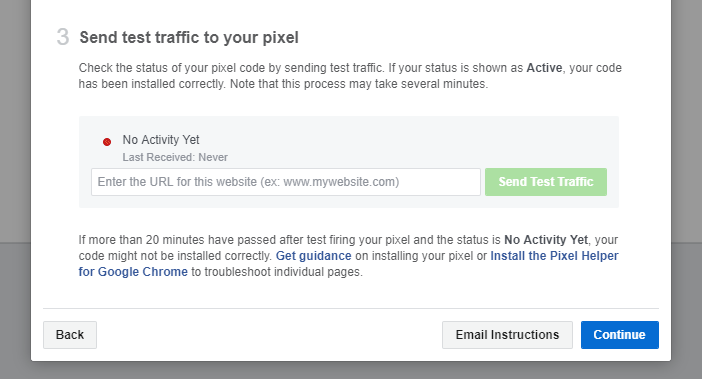
-
25If you install correctly, your status will be shown as "active" like this
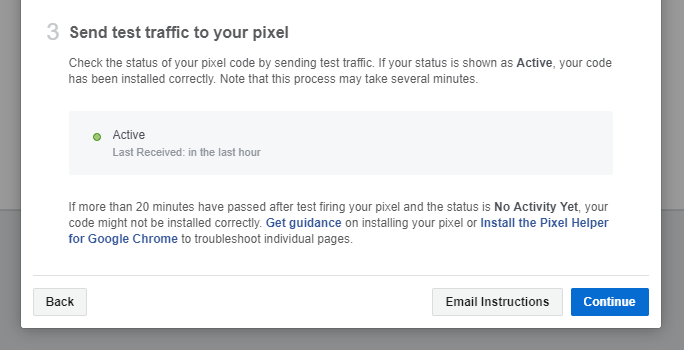
-
26After that you can choice any events you want to track on continue tag
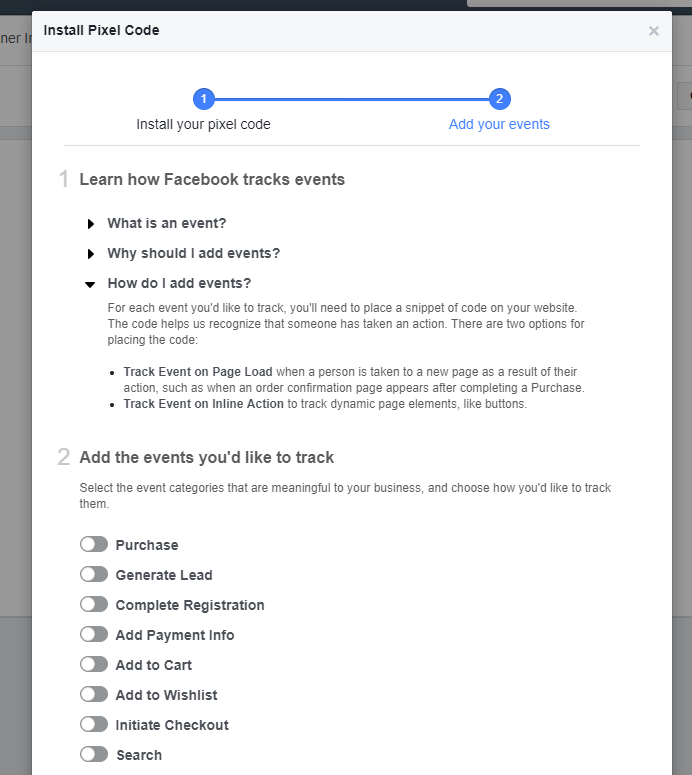
-
27Set up is now done
-
28On option Email Instructions to a Developer, enter recipient and install pixel base code on header page and click Send
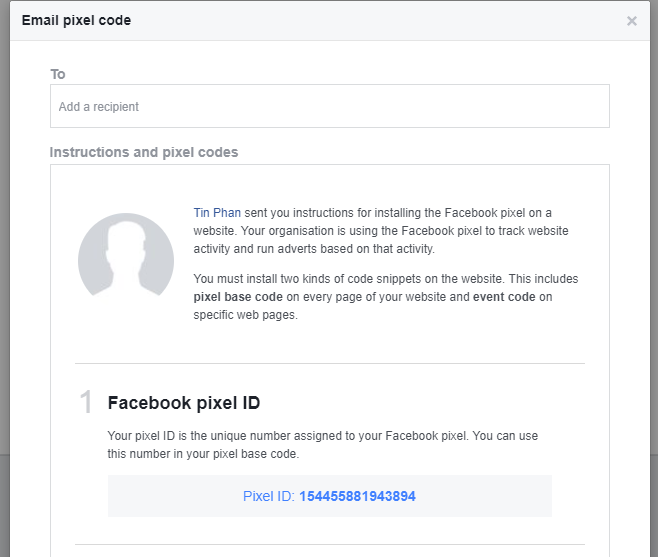
-
29Check your email. You will receive an email like this
-
30After that you can see chart of activities in here