STEP-BY-STEP
-
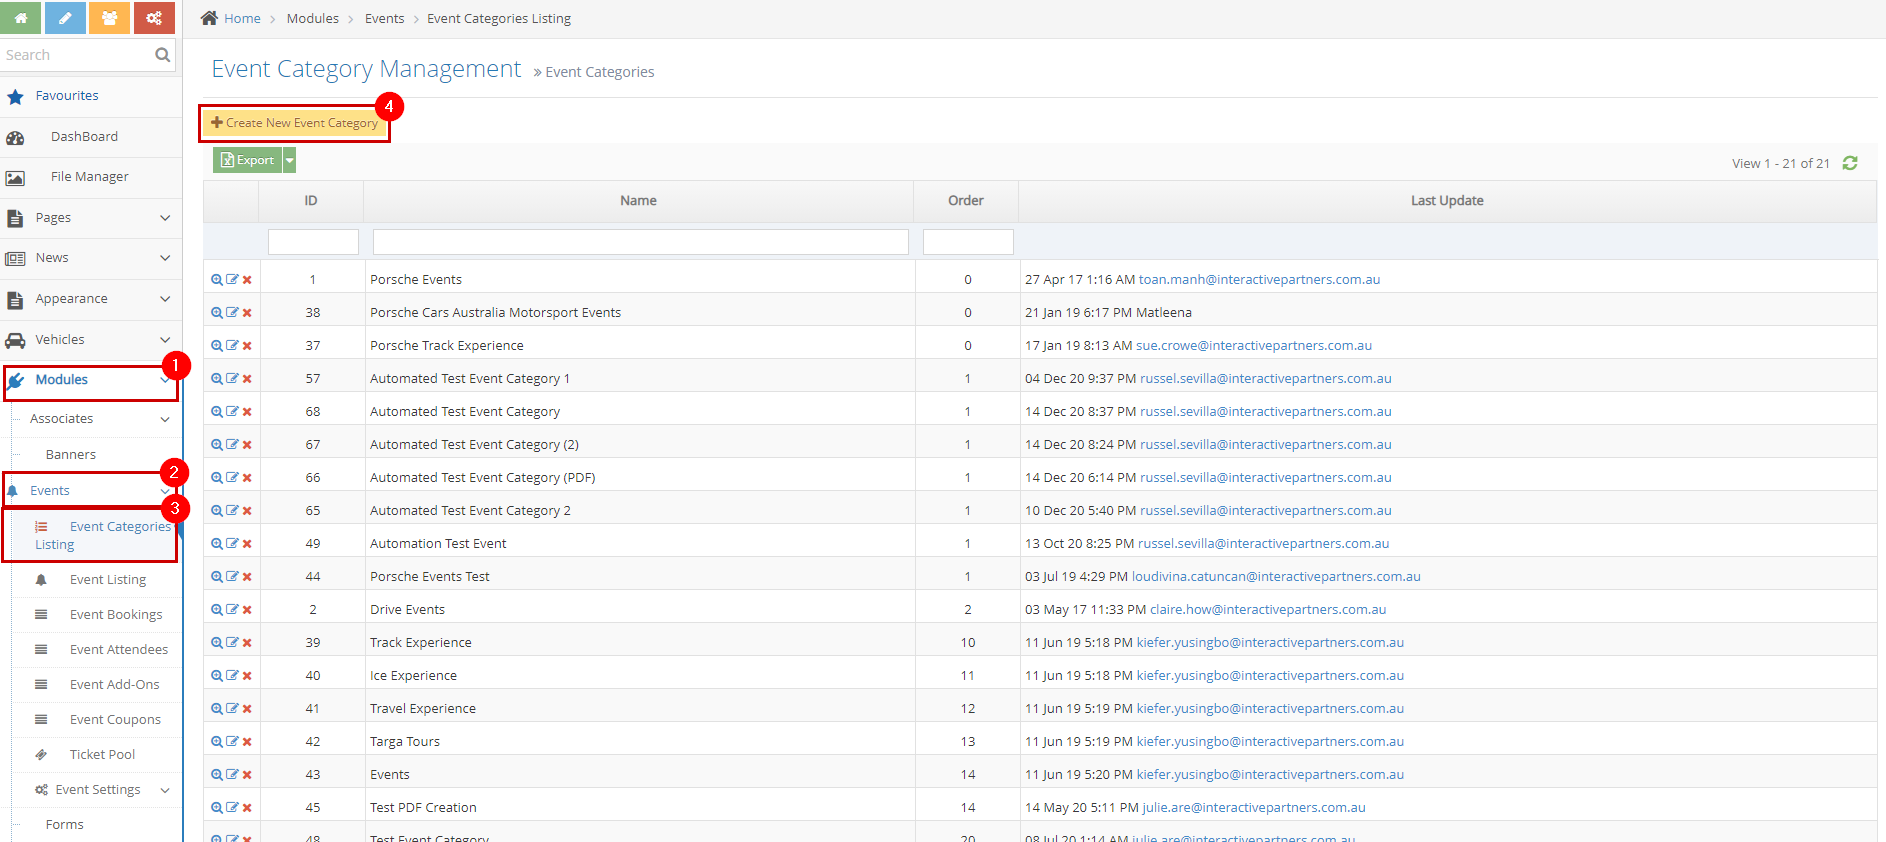
1Log in as an administrator and go to the Admin Dashboard.
Learn how to log in here → -
2Under ‘Modules’ on the left menu, click Events > Event Categories (or use the Search space at the top left)
-
3Click the Create New Event Category button
-
4Fill in the Event Category Information
- Category Name - this serves as the Event Category name/title
- Category Order - this serves as the Order of the event category
-
5Submit the new event category
- Create - click the 'Create' button to submit the new event category. This action creates your event category, closes the page and redirects you to the Event Category Listing page (see image below). On the Event Category Listing page, you will see a note "Event category created successfully".
- Create and Continue Edit - Click the 'Create and Continue Edit' button to submit the new event category. This action creates your event category but lets you stay on the page.
- Reset - click the 'Reset' button to start over. This action refreshes the page and shows a blank 'Create New Event Category' page. Your event category will not be saved/created.

-
6A message will appear at the top of the dashboard that says ‘Event category created successfully’ to confirm the updates have been successful.
