- Why you would use a Photo Gallery curly bracket?
- Creating a Photo Gallery folder of your images
- Inserting a Photo Gallery on a page
Inserting a Photo Gallery on a page
STEP-BY-STEP
-
1Log in as an administrator and go to the Admin Dashboard.
Learn how to log in here → -
2Load the page editor
-
3Position the cursor where you want to place the gallery and click the curly bracket icon

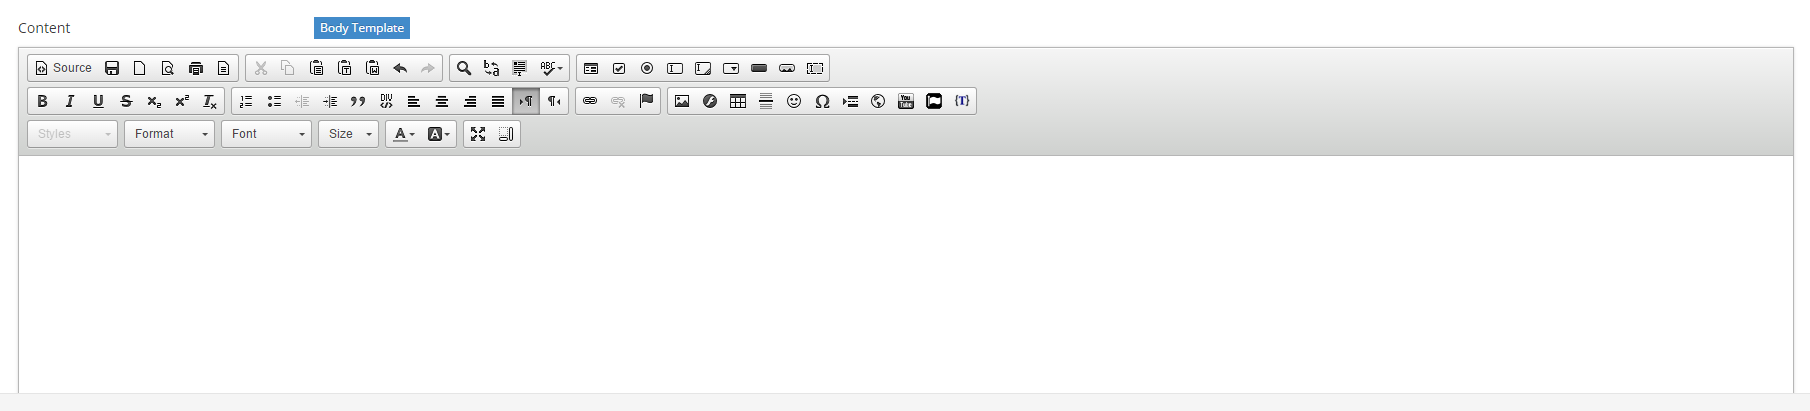
-
4When the window opens, click Configure

-
5The available curly bracket features are shown
-
6Search the "Photo" keyword and then select the Photo Gallery curly bracket
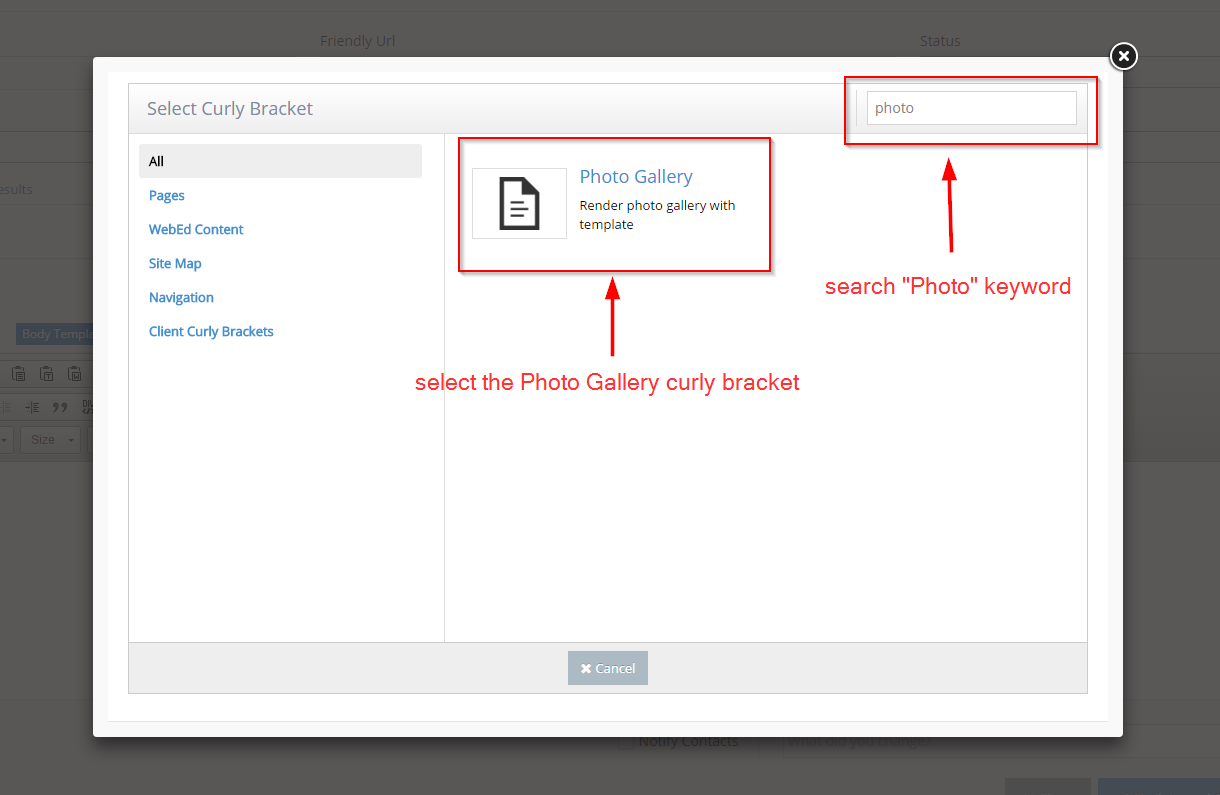
-
7Open the Photo Gallery configuration form
-
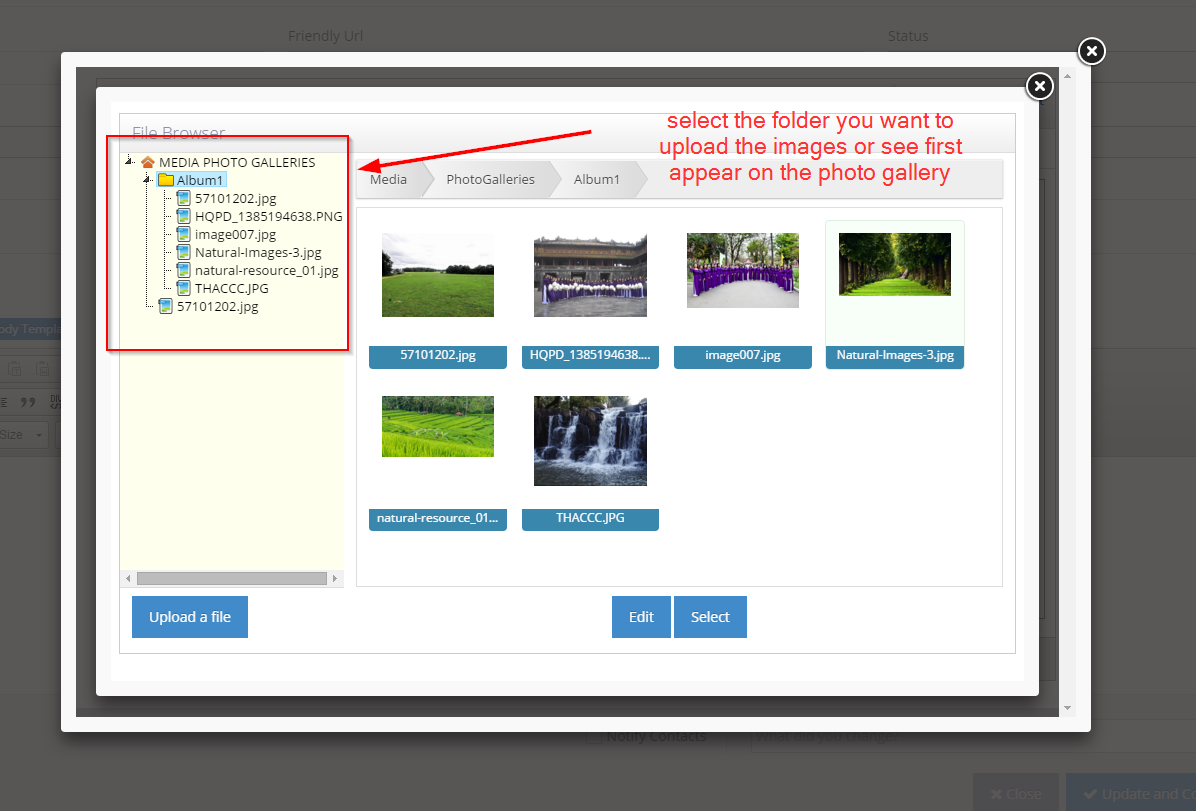
8Click on the folder icon to open the media browser
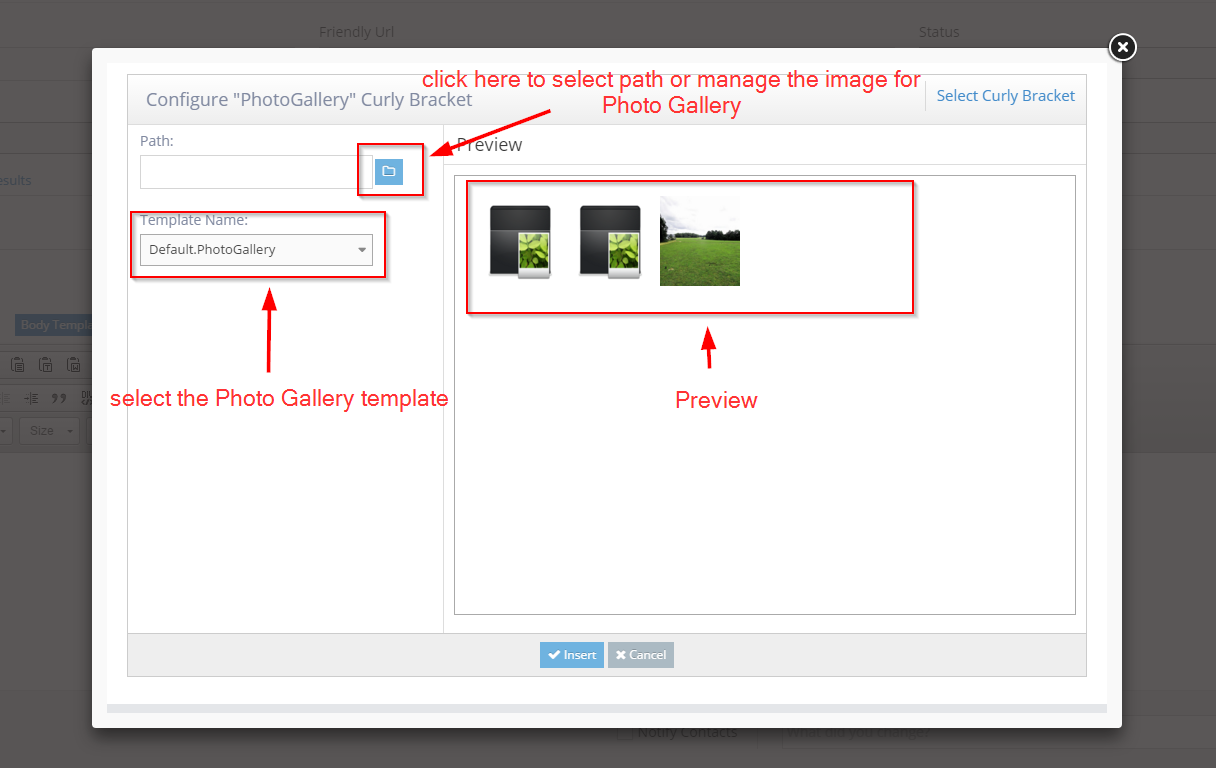
-
9Click the folder you want to use for the photo gallery on the Configure "PhotoGallery" Curly Bracket form
-
10Click Select Button
-
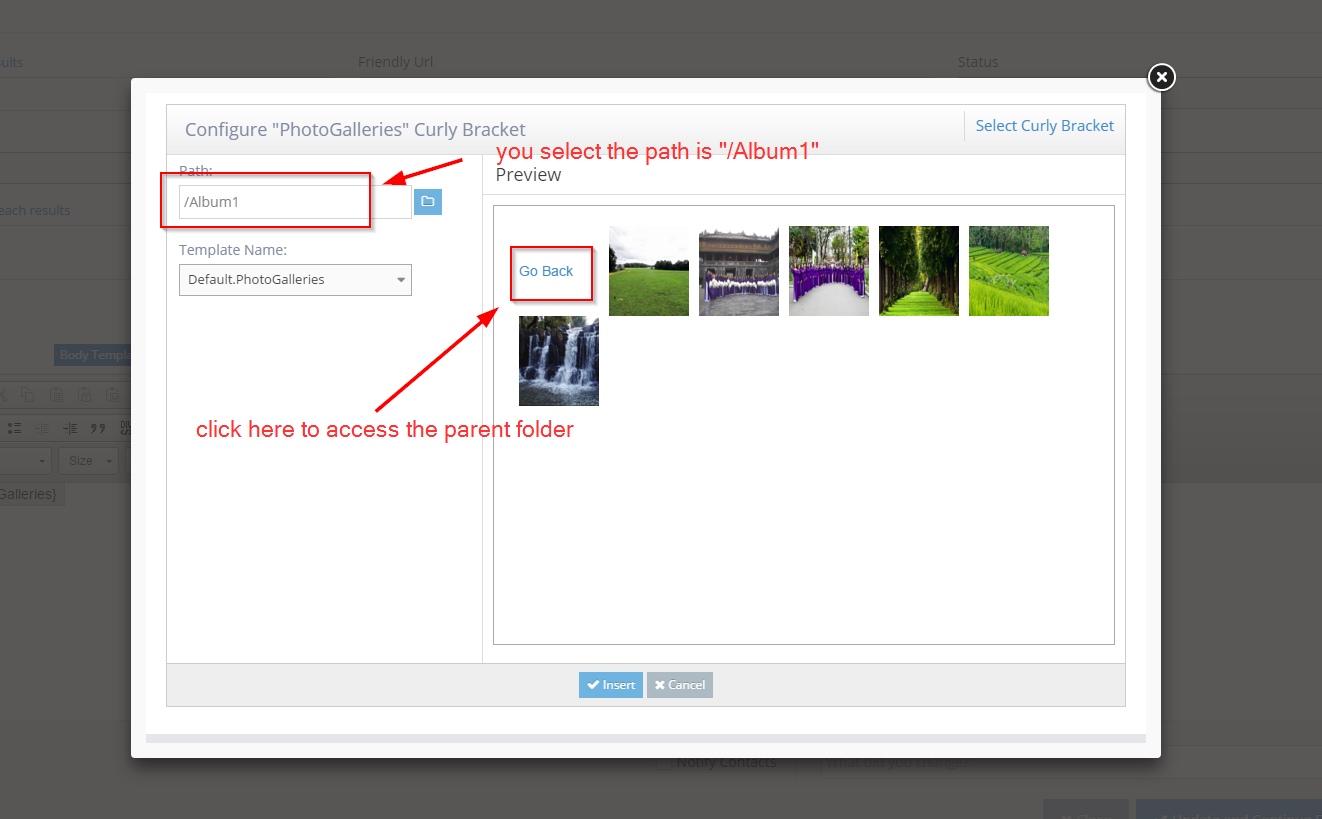
11The folder selected will populate into the path
-
12Select the template name to use for the gallery (Default.Photogallery by default)
-
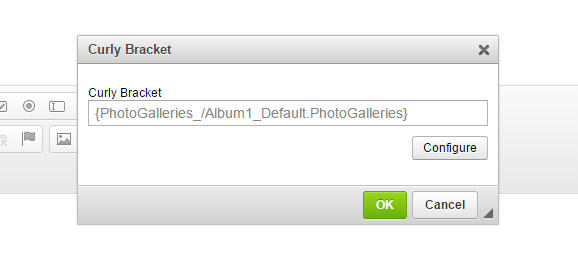
13Click Insert - this is what you should see (or something like it)
-
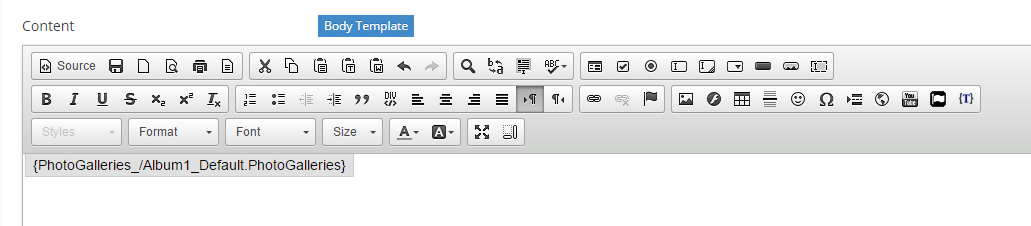
14Click OK to insert into the page
-
15Click 'Update' and Close to save the page
-
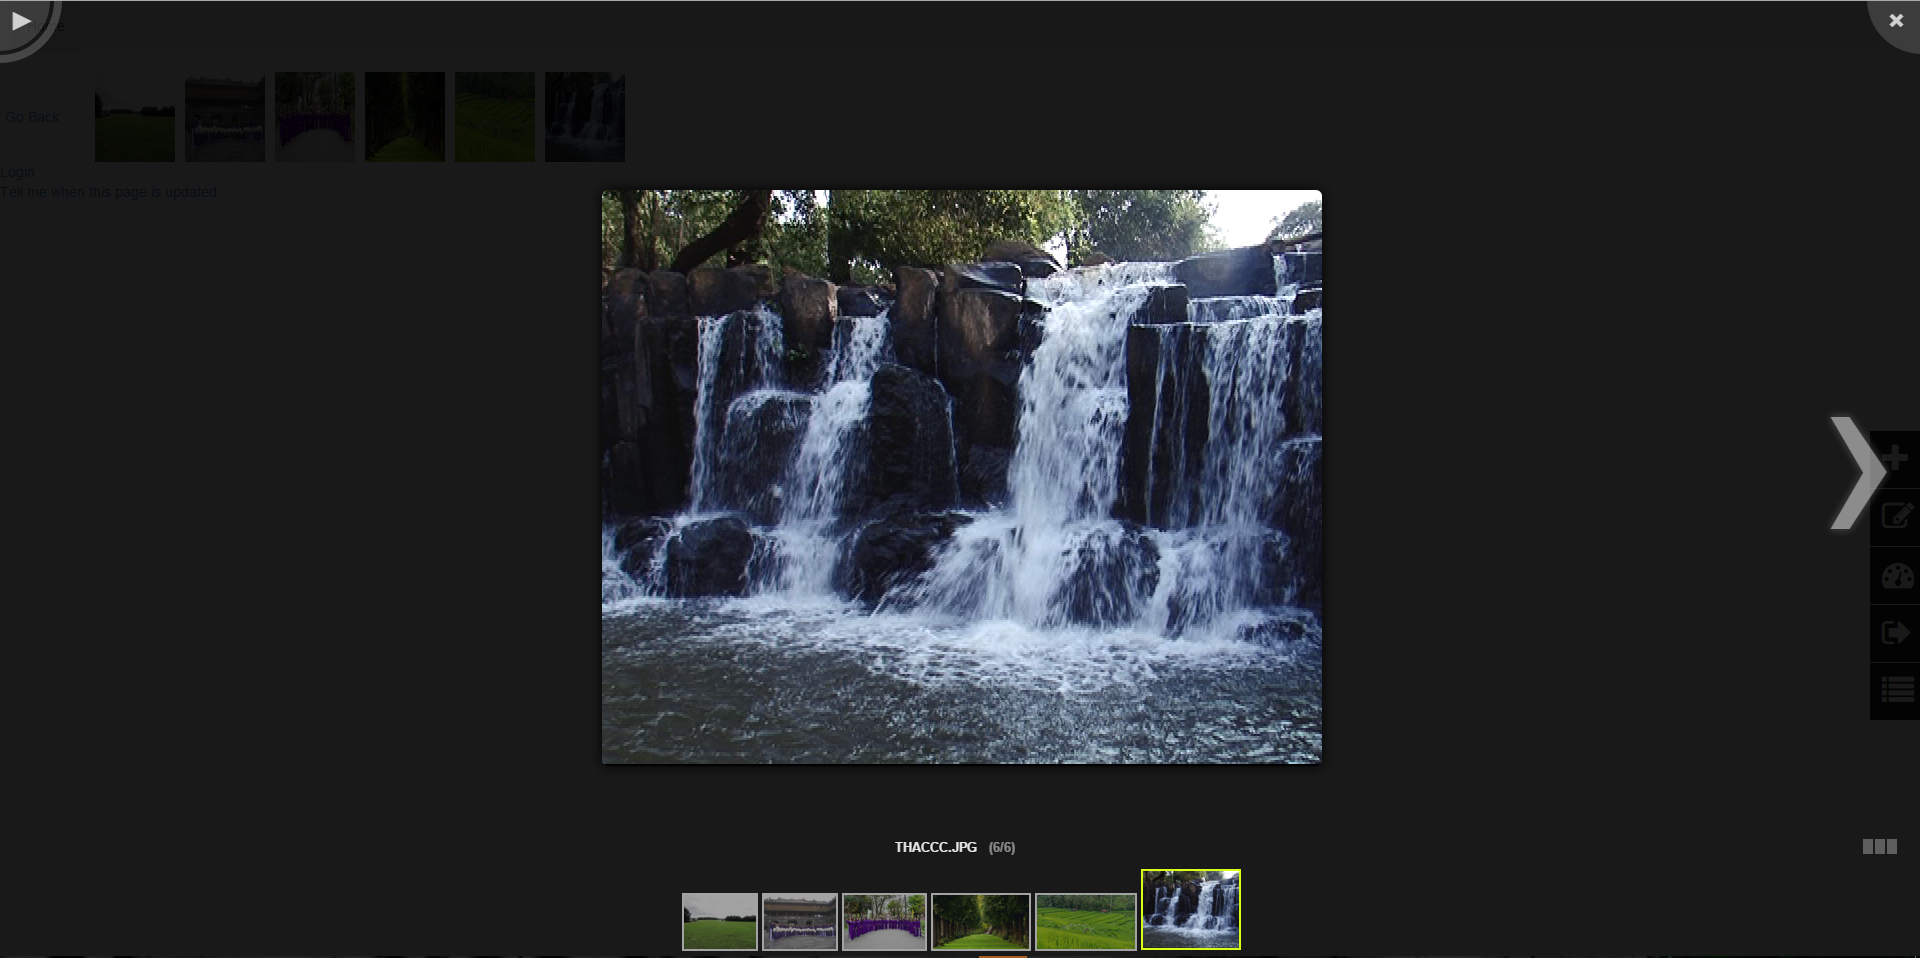
16The photo gallery will be displayed as a series of images and scrollers
-
17Click on the image item to test