- Why you would Send an Email to an Individual Contact
- How to send an email to individual contacts from listing
- How to send an email to a contact from the details page
Sending an Email to an Individual Contact
Why you would Send an Email to an Individual Contact
This is useful if you will send a notification, information and private messages to another user within WebEd 9 CMS.
How to send an email to individual contacts from listing
Users can send an Adhoc email to individual contacts from contact listing
-
1
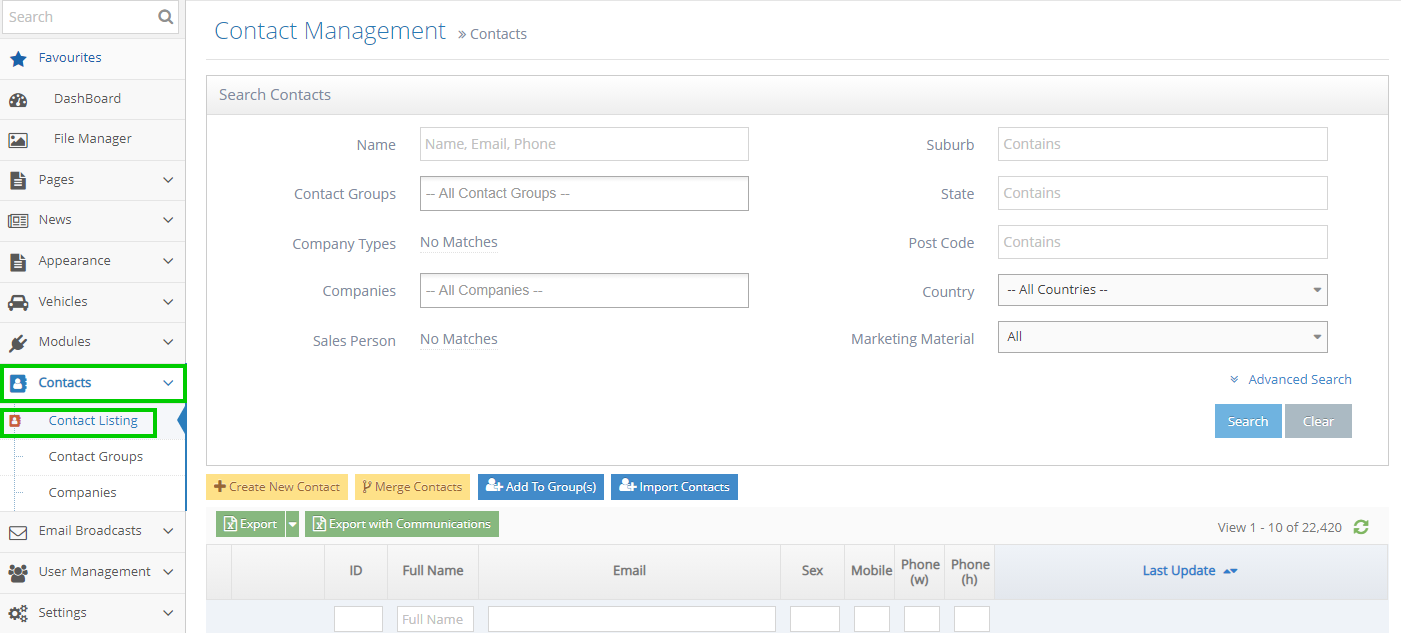
Go to Admin Dashboard > Contacts > Contact Listing


-
2
All contacts with an icon can send Adhoc email in the grid


-
3
Click the Adhoc Email icon to send emails to individual contacts

-
4
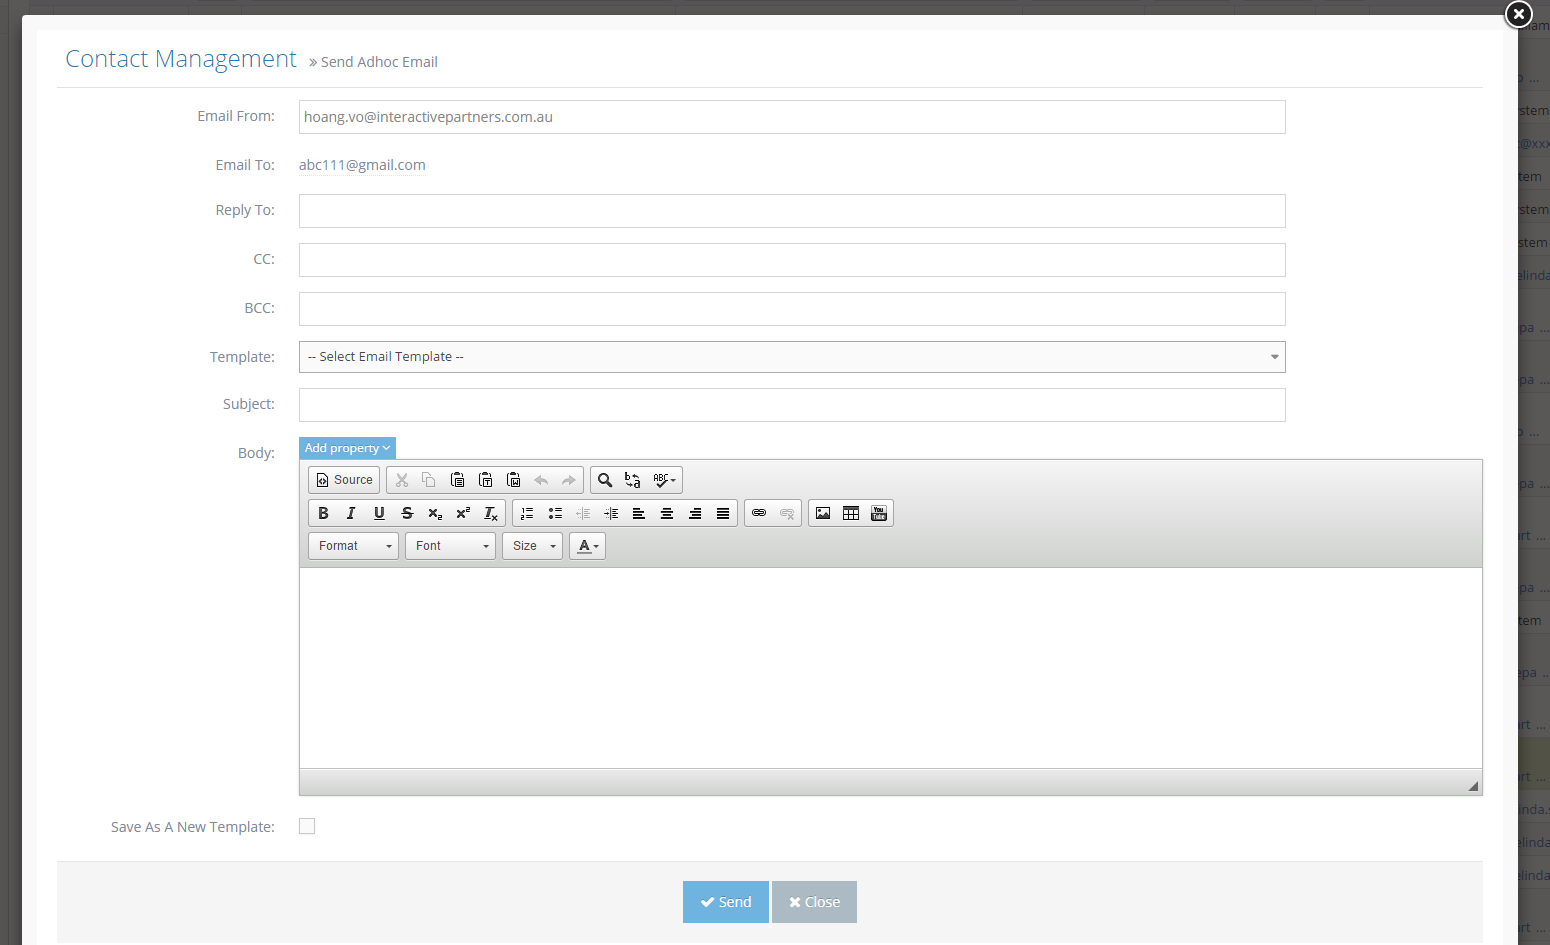
The Contact Management window will pop up

-
5
The email address of the currently logged-in user will be pre-populated in the Email From field
-
6
The email address of the selected contact will be populated in the Email To field

-
7
Input the subject and body to send an email. These fields are required.
-
8
If you want to use an existing template, please choose it from the Template list box (a list of all email templates has the type "Adhoc Email To Contact" in the system ).
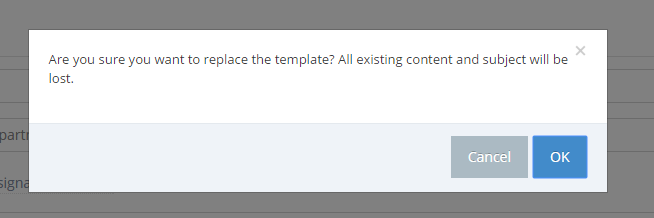
- When choosing an existing template, your Subject and Body can be overridden. A popup will be displayed to warn about this.
- Click OK to confirm you want to use the existing template.

-
9
In case you want to save your Subject and body as a new template, please check "Save As A New Template"
-
10
Then input your template name to save (This textbox only appears once you check "Save As A New Template")

-
11
Click the Send button to send the email
-
12
Once an email is sent, it will be logged against the contact record
How to send an email to a contact from the details page
Users can send an Adhoc email to individual contacts from their details page
-
1
Go to Business Dashboard >> Contacts >> Contact Listing
-
2
Click the View Details icon to go to the details page of a contact.

-
3
Click the "Adhoc Email" button in the button group on the top right-hand side

-
4
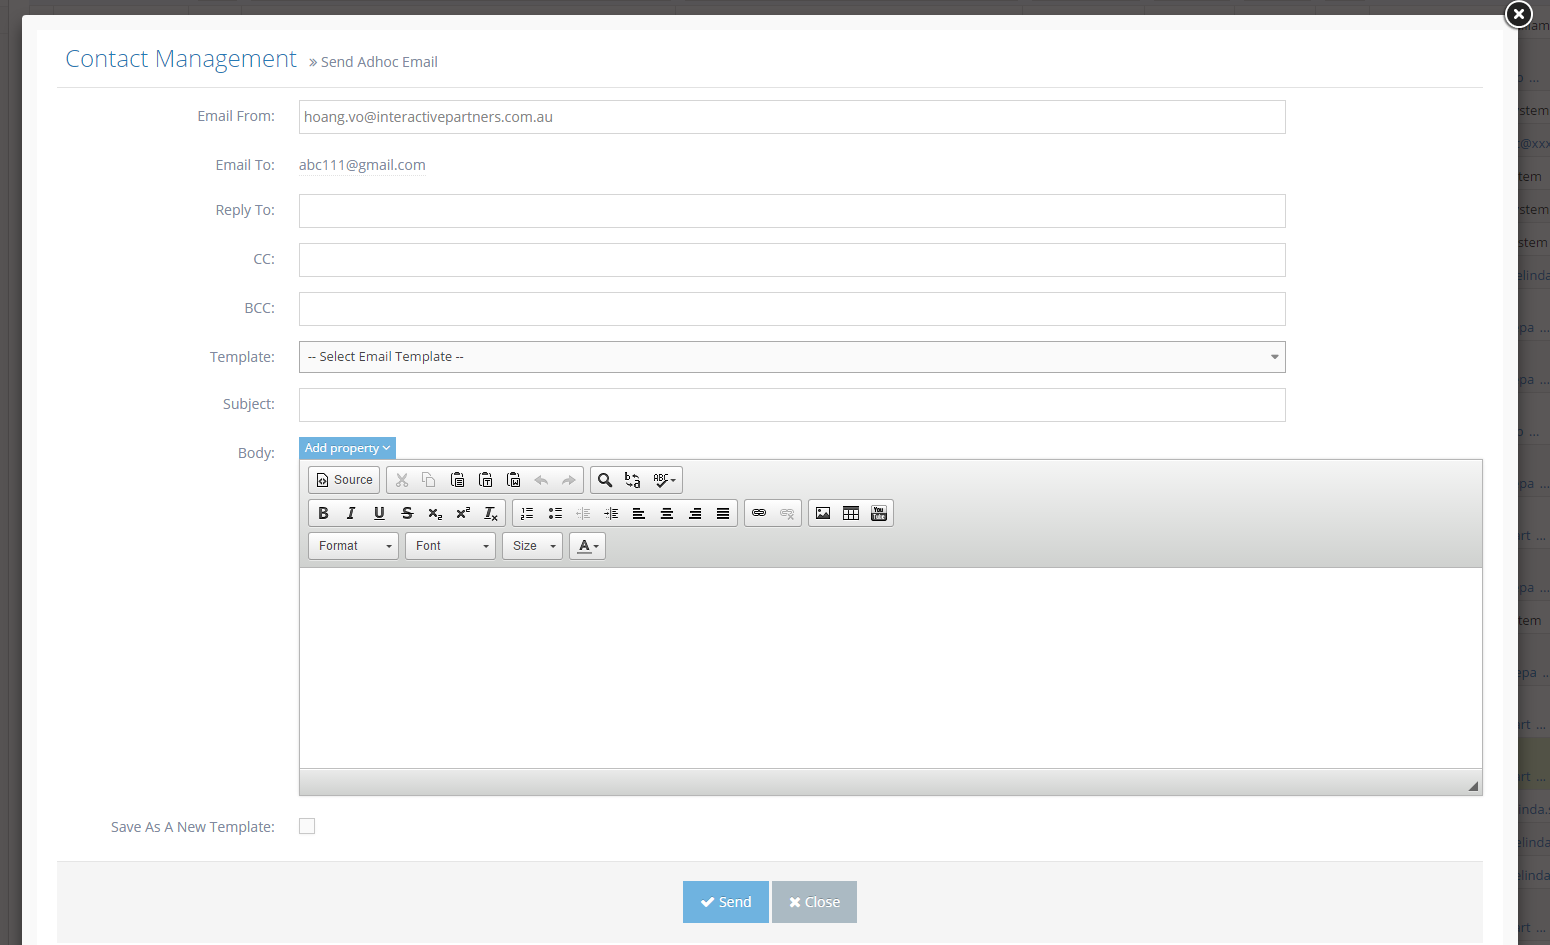
A popup to send the email will be displayed
-
5
The email of the selected contact will be populated in Email To.
-
6
The email of the currently logged-in user will be pre-populated in Email From

-
7
Input the subject and body to send an email. These fields are required.
-
8
If you want to use an existing template, please choose it from the Template list box (a list of all email templates has the type "Adhoc Email To Contact" in the system ).
-
9
When choosing an existing template, your Subject and Body can be overridden. A popup will be displayed with a warning about this.
-
10
Click OK to confirm if you want to use the existing template.

-
11
In case you want to save your Subject and body as a new template, please check "Save As A New Template"
-
12
Then input your template name to save (This textbox only appears once you check "Save As A New Template")

-
13
Click the Send button to send an email
-
14
Once an email is sent it is logged against the contact record