- Google Analytics Overview
- Adding Analytics to your Site Dashboard
- Register for the Google OAuth Client
- Add to the Google Analytics Site Setting to your Website Admin Dashboard
- Add the OAuth details to your website
- Adding Analytics Tracking to your site
- Editing the Analytics code on your site
- Adding Google Analytics Tracking Code into your Master Template
- Managing your Analytics Account
- Setup Automated Google Analytics Reports
Register for the Google OAuth Client
STEP-BY-STEP
-
1Browse the URL https://console.developers.google.com
-
2Sign in with your Google account
-
3Click on the Create Project button to create a new project
-
4In the pop-up window which appears, enter your project name as desired and click on Create button. Let this process run, it may take a few seconds
-
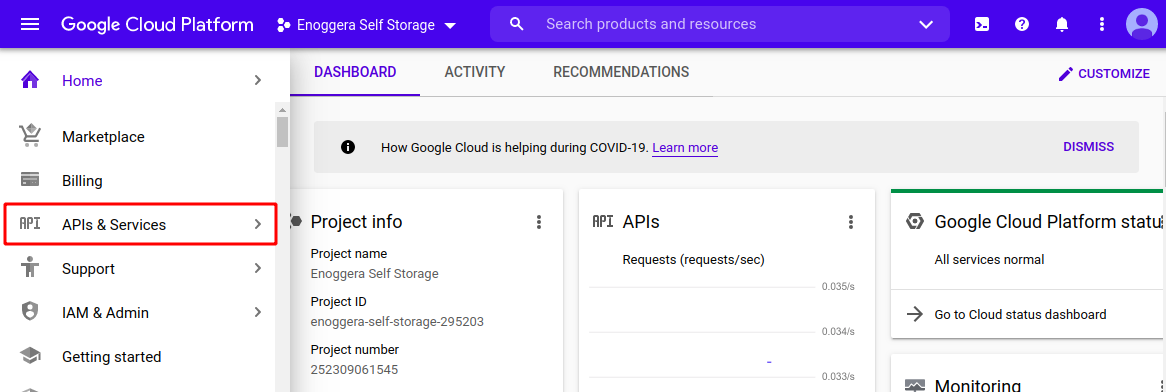
5After the project is created successfully, the page reloads with some options on the left menu: Home, Marketplace, Billing, APIs & Services, Support, etc.
-
6Click on the APIs & Services
-
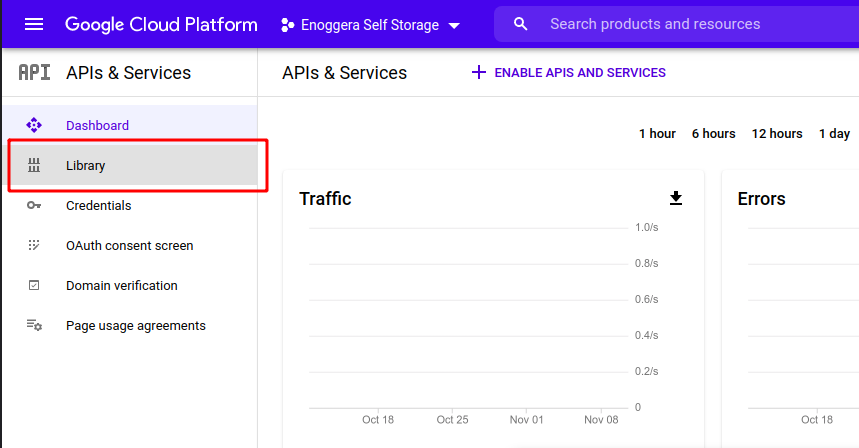
7Choose the Library tab.
-
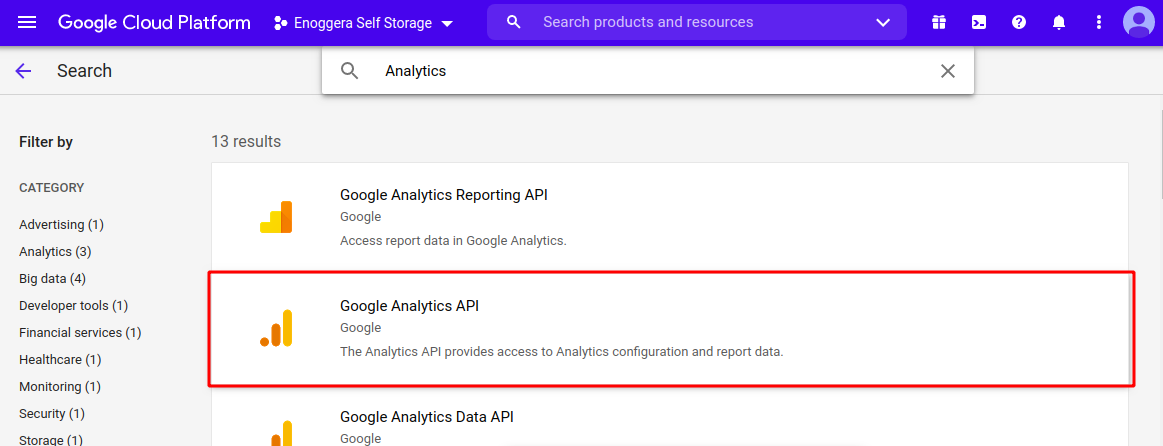
8In the search box on the top search "Analytics API", then click on "Google Analytics API".
-
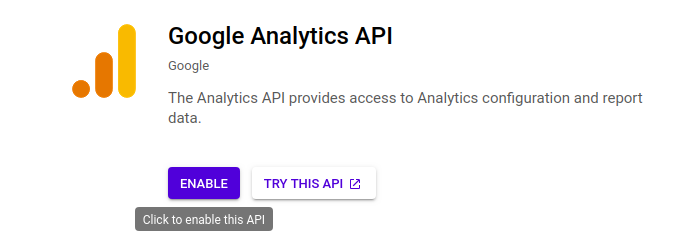
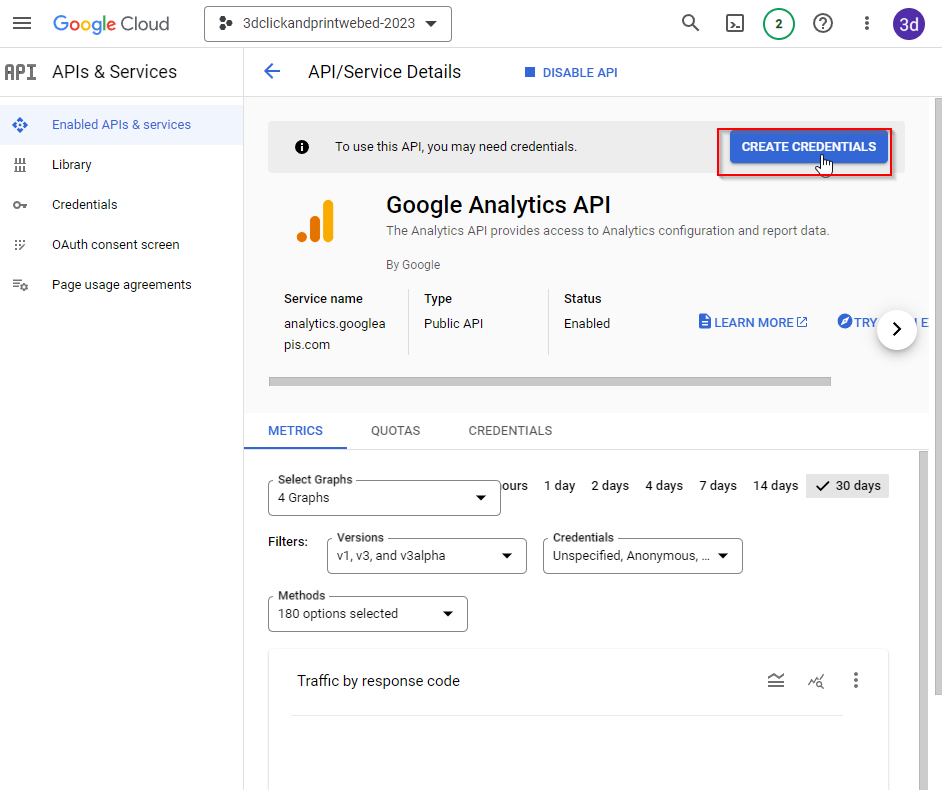
9Once you're on the Google Analytics API, click the "Enable" button
-
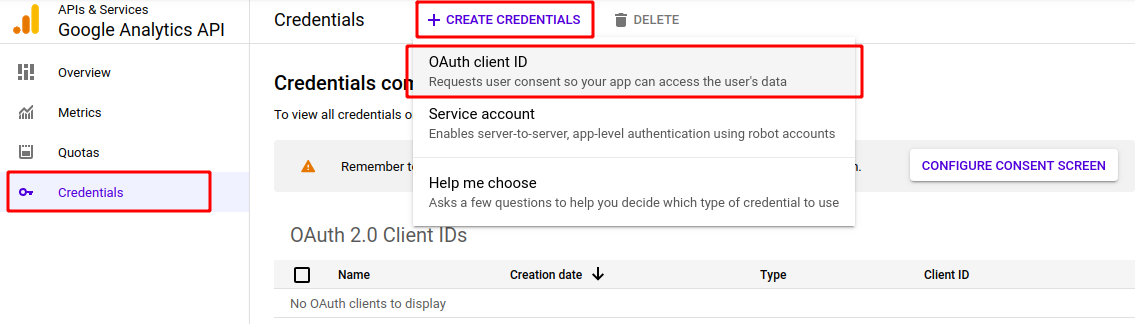
10Now on the left menu, click the Credentials tab, then click Create Credentials on top, and choose OAuth Client ID.
-
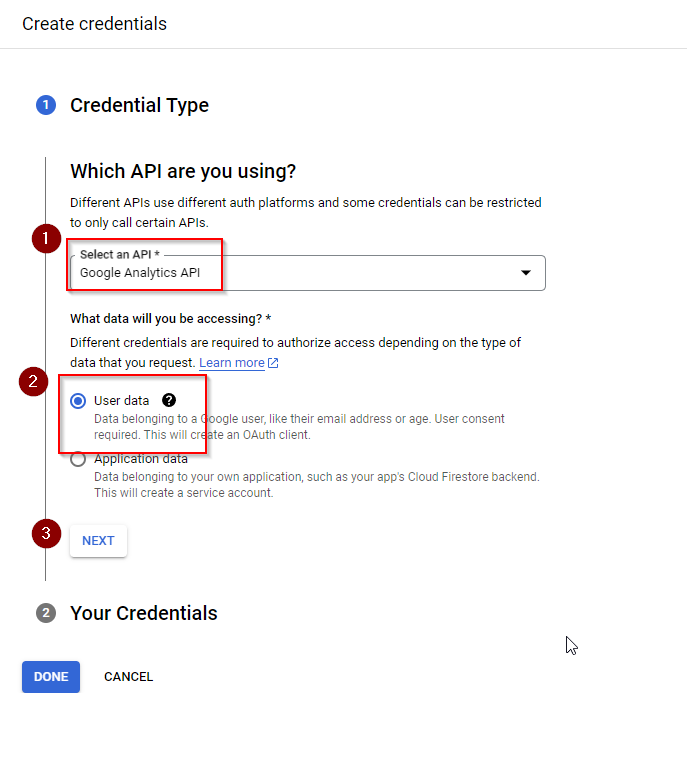
11Follow the details for the Credential Type form
-
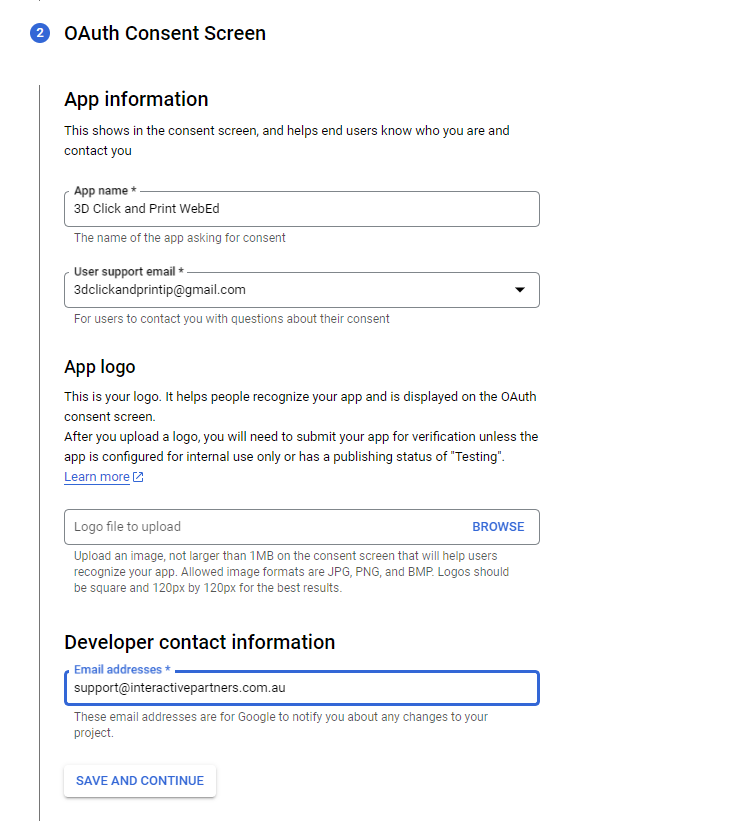
12OAuth Screen form details:
-
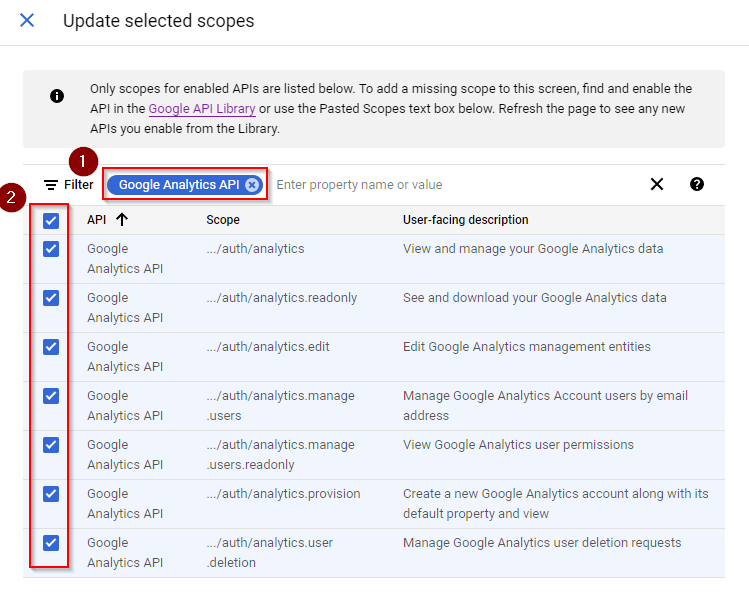
13Update selected Scopes, search for the "Google Analytics API" on the filter section and select all the scopes from the results
-
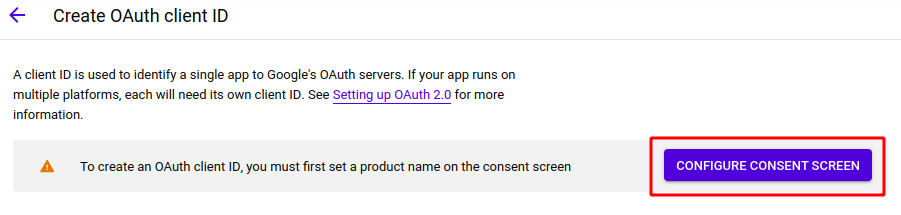
14If you are not on the Google Analytics API screen anymore, on the left menu, click the Credentials tab, then click Create Credentials on top, and choose OAuth Client ID.
-
15Once you're on the "Create OAuth client ID" page, click the Configure Consent Screen button
-
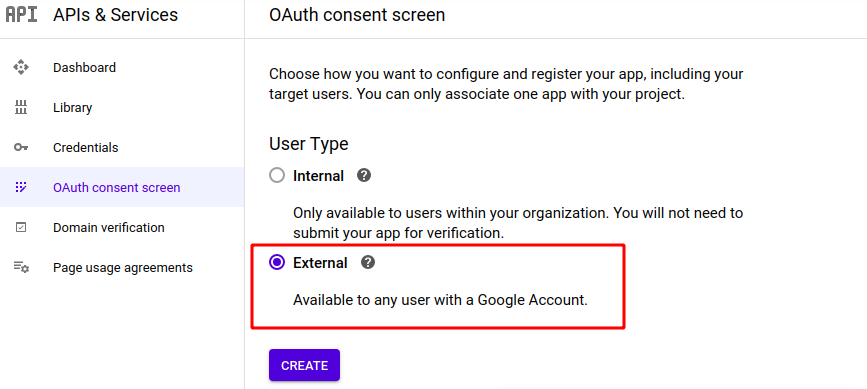
16On the OAuth Consent Screen, choose "External", then click the Create button
-
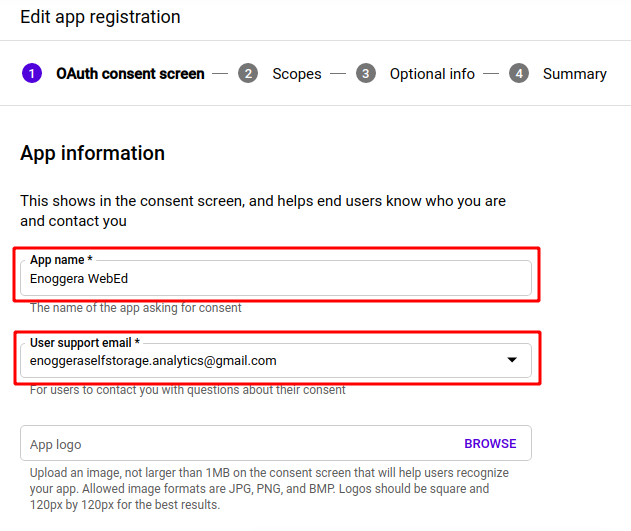
17You will now be taken to the Edit App Registration page > OAuth Consent Screen
-
18For the App Information, enter the following:
- App Name - enter a name, which can be company name + "WebEd"
- User Support Email - use the email address you created for the API (Gmail)
-
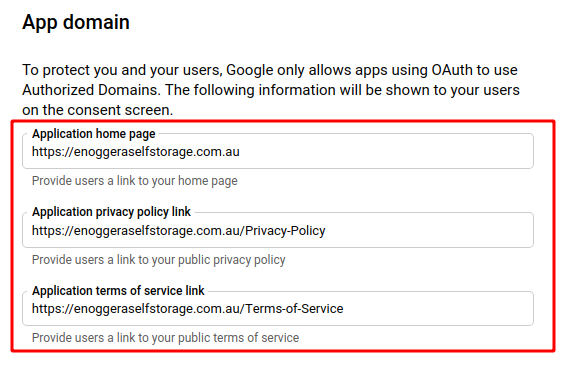
19Under App Domain, enter the following:
- Application home page
- Application Privacy Policy link
- Application Terms of Service link
-
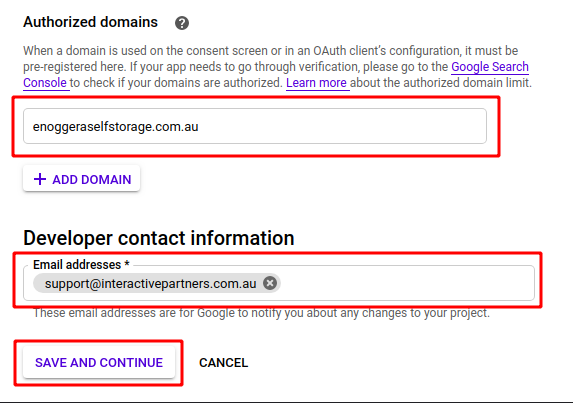
20Under Authorized Domains, enter the following:
- Domain - add the domain of your site
- Developer Contact Information - enter and add [email protected]
- Then click the Save and Continue button
-
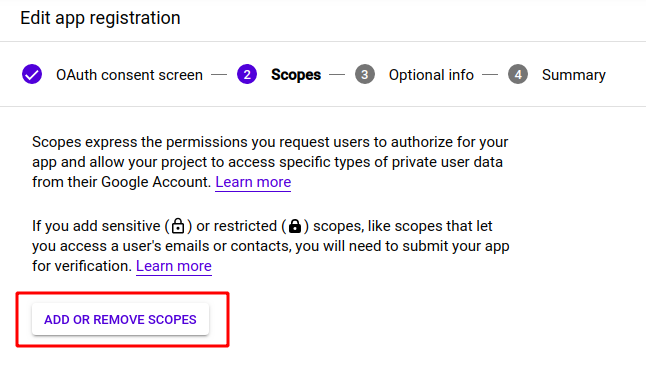
21You will now be taken to the Edit App Registration page > Scopes
- Click the Add or Remove Scopes button
-
22A window "Update Selected Scopes" will pop up on the right
-
23Click through the table rows and look for "Google Analytics API" without a lock icon
-
24Once you find it, tick the box beside it, then click the Update button at the bottom of the window
-
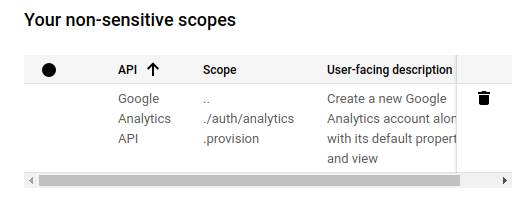
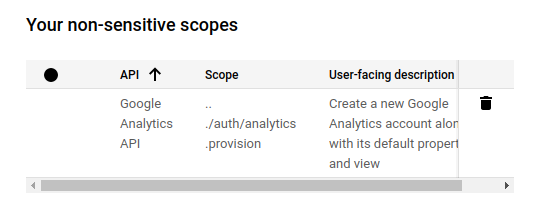
25Upon doing this, the window should close, and the Google Analytics API should now be added under "Your non-sensitive scopes"
-
26Ignore "Your sensitive scopes" and " Your restricted scopes", and scroll to the bottom, click the Save and Continue button
-
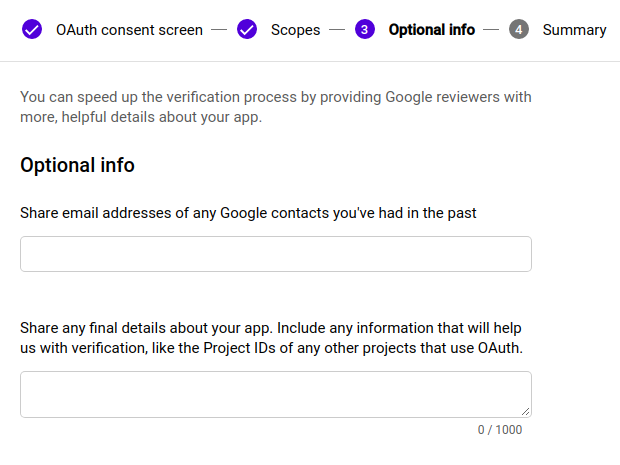
27You will now be taken to the Edit App Registration page > Optional Info
-
28Ignore all fields here. Scroll to the bottom and click the Save and Continue button
-
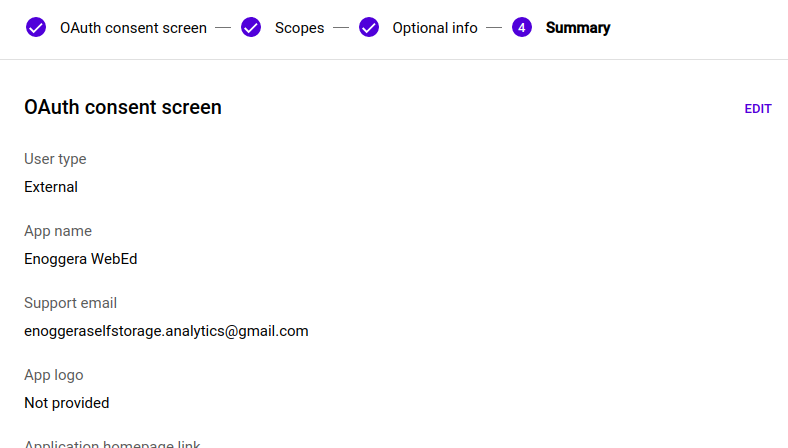
29You will now be taken to the Edit App Registration page > Summary screen
-
30Check everything, then click the button "Back to Dashboard" at the bottom
-
31Now, go back to the Credentials page, click Create Credentials, choose OAuth Client ID
-
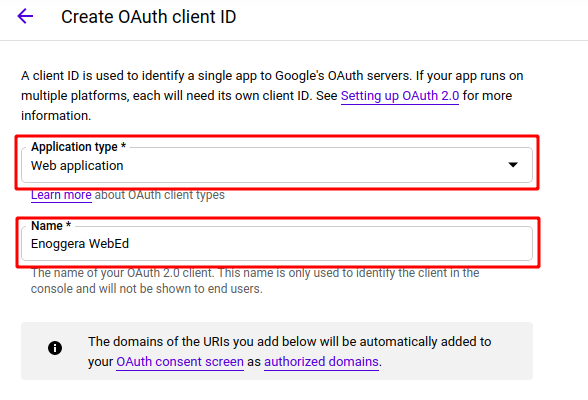
32You will now be taken to the Create OAuth client ID page
-
33Enter the following information:
- Application type - select Web application
- Name - enter the name of the site or any preferred
-
34Under Authorized JavaScript origins, add your website URL in the URIs field
-
35Under Authorized redirect URIs, enter "https://developers.google.com/oauthplayground"
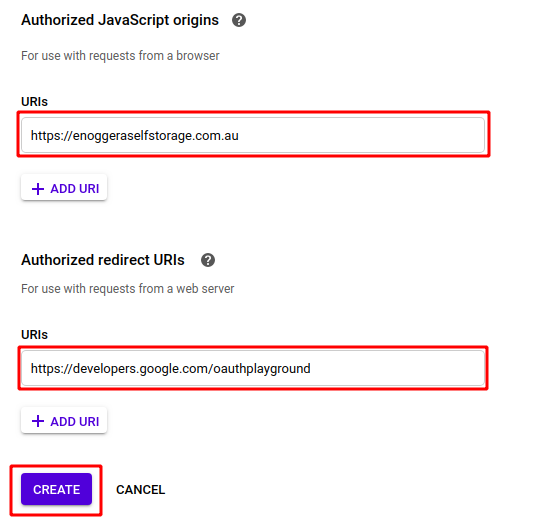
-
36Click on the Create button. This will generate your Client ID and Client Secret
-
37Once you click the Create button, the page reloads and a window with your Client ID and Client Secret information appears
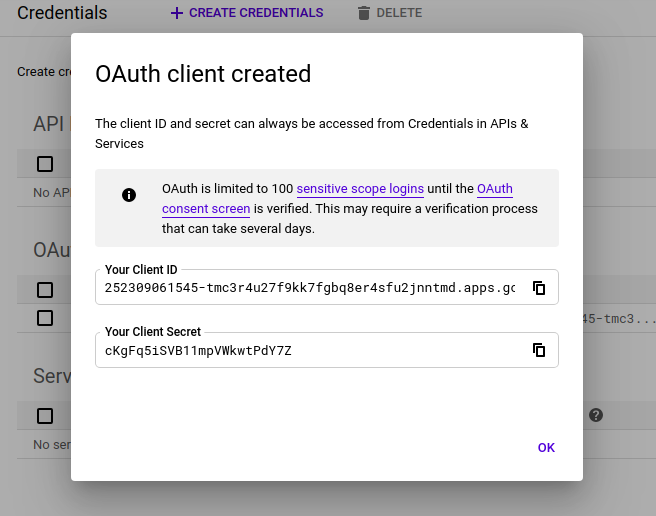
-
38Copy both Client ID and Client Secret and paste them into Notepad, you will need it in a minute